
GOAL
Use Photoshop or Photopea to combine two celebrities into a single face. The instructions for the two programs are very similar.
Photoshop/Photopea tools you will use:
- Transform
- Polygonal lasso
- Brush
- Mask
- Layer
- Hue/Saturation
Photopea instructions
Photoshop instructions
Use Google image search to find large (school appropriate!) pictures of two famous people. Make sure they are both looking in the same direction at the same (or nearly the same) angle. Here’s how:
Go to http://images.google.com
Enter the name of a famous person. Google will show a LOT of pictures, but most of them won’t work. You need a picture that is large and mostly face. The good news: Google will let us search for only large images!
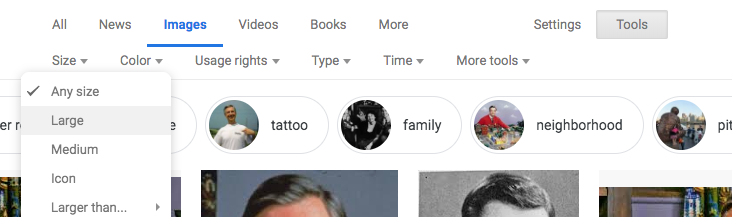
Under the search bar, click Search Tools. A new submenu will appear. Click Size on the new menu and select Large.
Find a picture that clearly shows the person’s face. Choose an image where they are not being silly- you will be adding the silly!
Click on the picture. A larger version of the picture will appear.
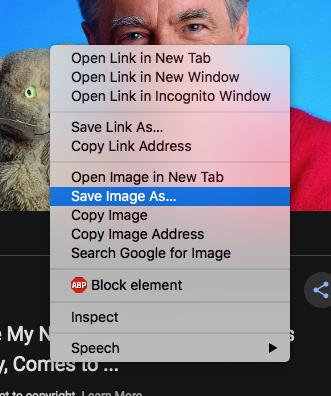
Hold down control and click the image. A menu will appear.
Click Save Image As.
Change the name of the file to the name of the person and save the image.
Repeat the above instructions to find a second famous face. Remember, they should both be facing the same direction. Look at the ears and nose of each face- it will help you check that they are looking in the same direction.
I chose these faces.


You don’t have to chose a man and a woman, but you should choose faces that are different enough that changes will be noticed. Remember that large differences in skin tone will make blending the two images more difficult. Also, it’s more difficult to blend faces with glasses or facial hair.
- Open Photoshop.
- Open the pictures of the famous people.
- Choose the move tool.
- Decide which face will be the “main face,” and which one you will be using for parts.
- Select the crop tool.
- Select “W x H x Resolution” for the crop method.
- Set the Width to 7.5, the Height to 10, and the resolution to 200 pixels per inch.
Select part of the other face.
I’m going to take one of her eyes.
- Make the second face the active image.
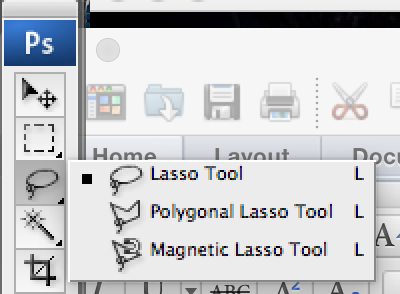
- Select the lasso tool.
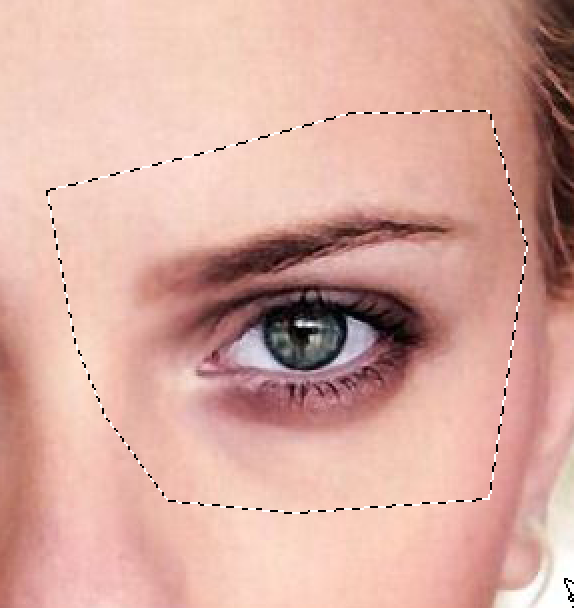
- Lasso the section you want to copy. Don’t try to get close to the eye. Give yourself some space.
- Press command-c to copy the selection.
Copy the selection to the new image.
- Make the main face the active window.
- Press command-v to paste in the selection as a new layer. Rename the layer to match what you’ve added. I’m calling this layer “left eye.”

Resize the selection. Use the transform tool (command-t) to make the eye the right size and in the right location. The skin won’t match, but that’s okay.
Fix the skin tone

- Select Image, Adjustments, Hue/Saturation. You’ll get this menu.
- Hue adjusts the base color (red/green/blue)
- Saturation adjusts the amount of color
- Lightness adjusts the brightness/darkness of the image
- Adjust the sliders to get the skin tones close to each other. They don’t need to be exact.

Use a layer mask and the brush tool to blend the skin.
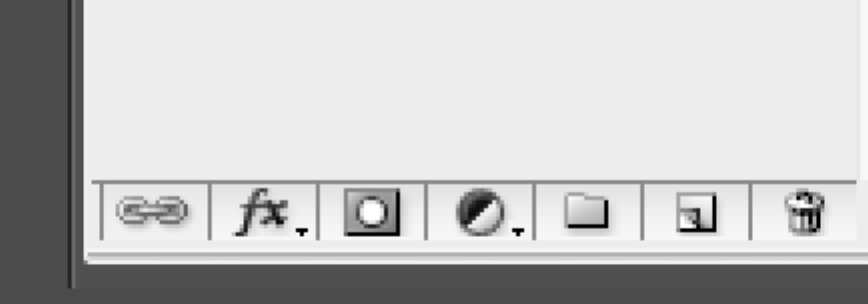
- Select layer mask (the circle inside the rectangle at the bottom of the list of layers). A new white box will appear on the selected layer.
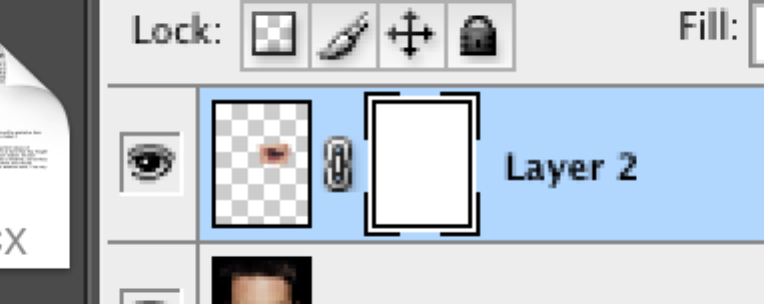
A layer mask is exactly what it sounds like: a mask that hides part of the layer. The darker the mask, the more it hides.

- Select the brush tool (on the left).

- At the top of the screen, adjust the size, hardness and opacity of the brush:
- Set the opacity somewhere between 50% and 70%. That makes the brush slightly clear.
- Set the brush hardness to 0.
- Set the brush size to a fairly large size- around 125.
- Set the brush color to black.
- Brush around the edges of the pasted in shape to make it blend in. If you accidentally hide something you meant to keep, switch the brush color to white and brush over it to make it reappear.
My final product:
