
Goal
Make the top of a head look cracked open.
Instructions
Find a picture of a head. Short hair or bald heads are easiest to work with. Lucky for me, I happen to have a bald head.

Find a picture of something that could be the cracked open part of the head. I found this by searching for “broken jar”: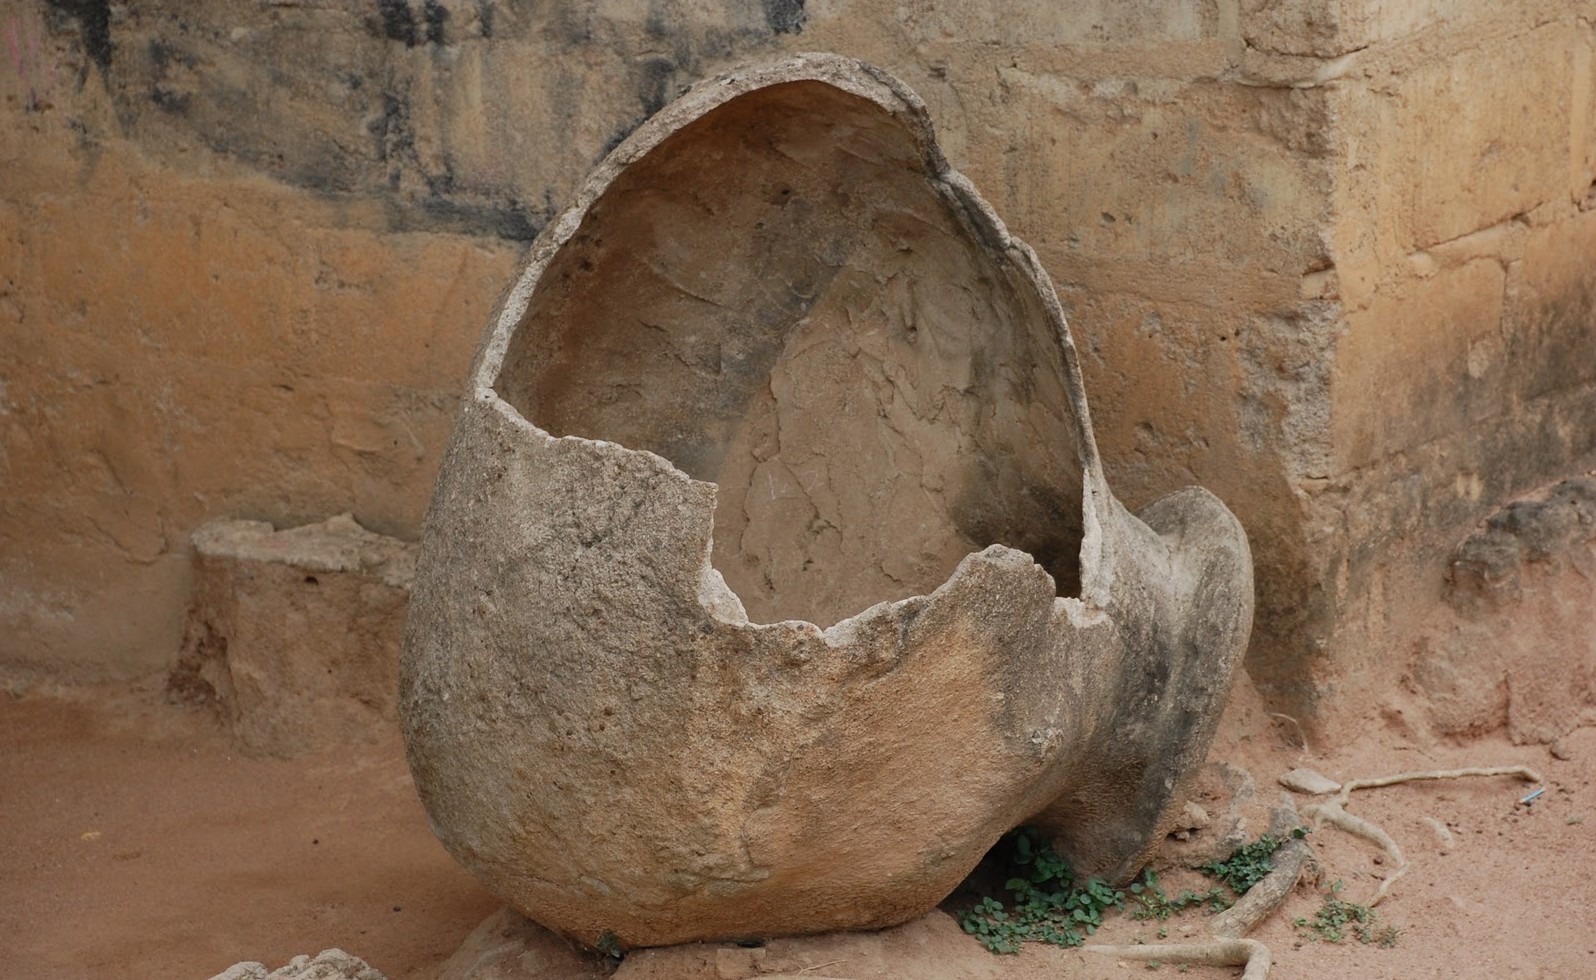
Open both images in Photoshop.
Use the polygonal lasso tool to lasso the broken portion of jar. Keep some extra jar at the bottom to make blending easier later.

Press command-c (Windows: Ctrl-C) to copy the selected area.
Switch to the head image.
Press command-v (Windows: Ctrl-v) to paste in the selection on a new layer. Name the layer “Broken Jar.”

Reduce the opacity of the jar so you can see the head. This is reduced to 50%.

Press command-t (Windows: Ctrl-t) and transform the jar until it closely matches the top of the head. DON’T PRESS RETURN.
![]()
You can adjust the transformation even more by using the warp tool. Control-click (Windows: right-click) and the transform context menu will appear. Choose Warp. A grid will appear over the transform box.
![]()
Adjust the points on the transform box to make the jar match as closely as possible.

Set the opacity of jar to 100%.
Add a layer mask to the Broken Jar layer.
Switch to the brush tool.
Set the hardness of the brush to zero and the opacity to 50%.
Set the size of the brush to something fairly large.
Brush over the bottom edge of the jar to blend the edge into the head.
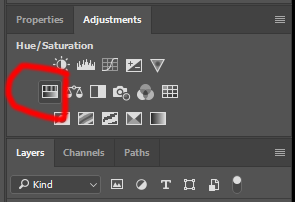
If needed, create an hue & saturation adjustment layer above the jar layer, and click the “clip to layer” button to make it so the layer only effects the jar.

Adjust the hue and saturation of the broken jar to make it blend more smoothly with the head.
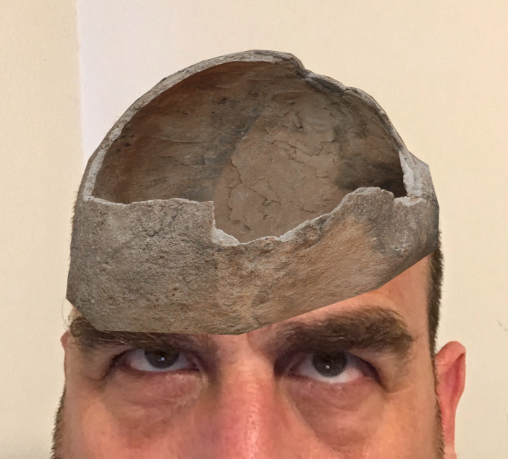
Final product:
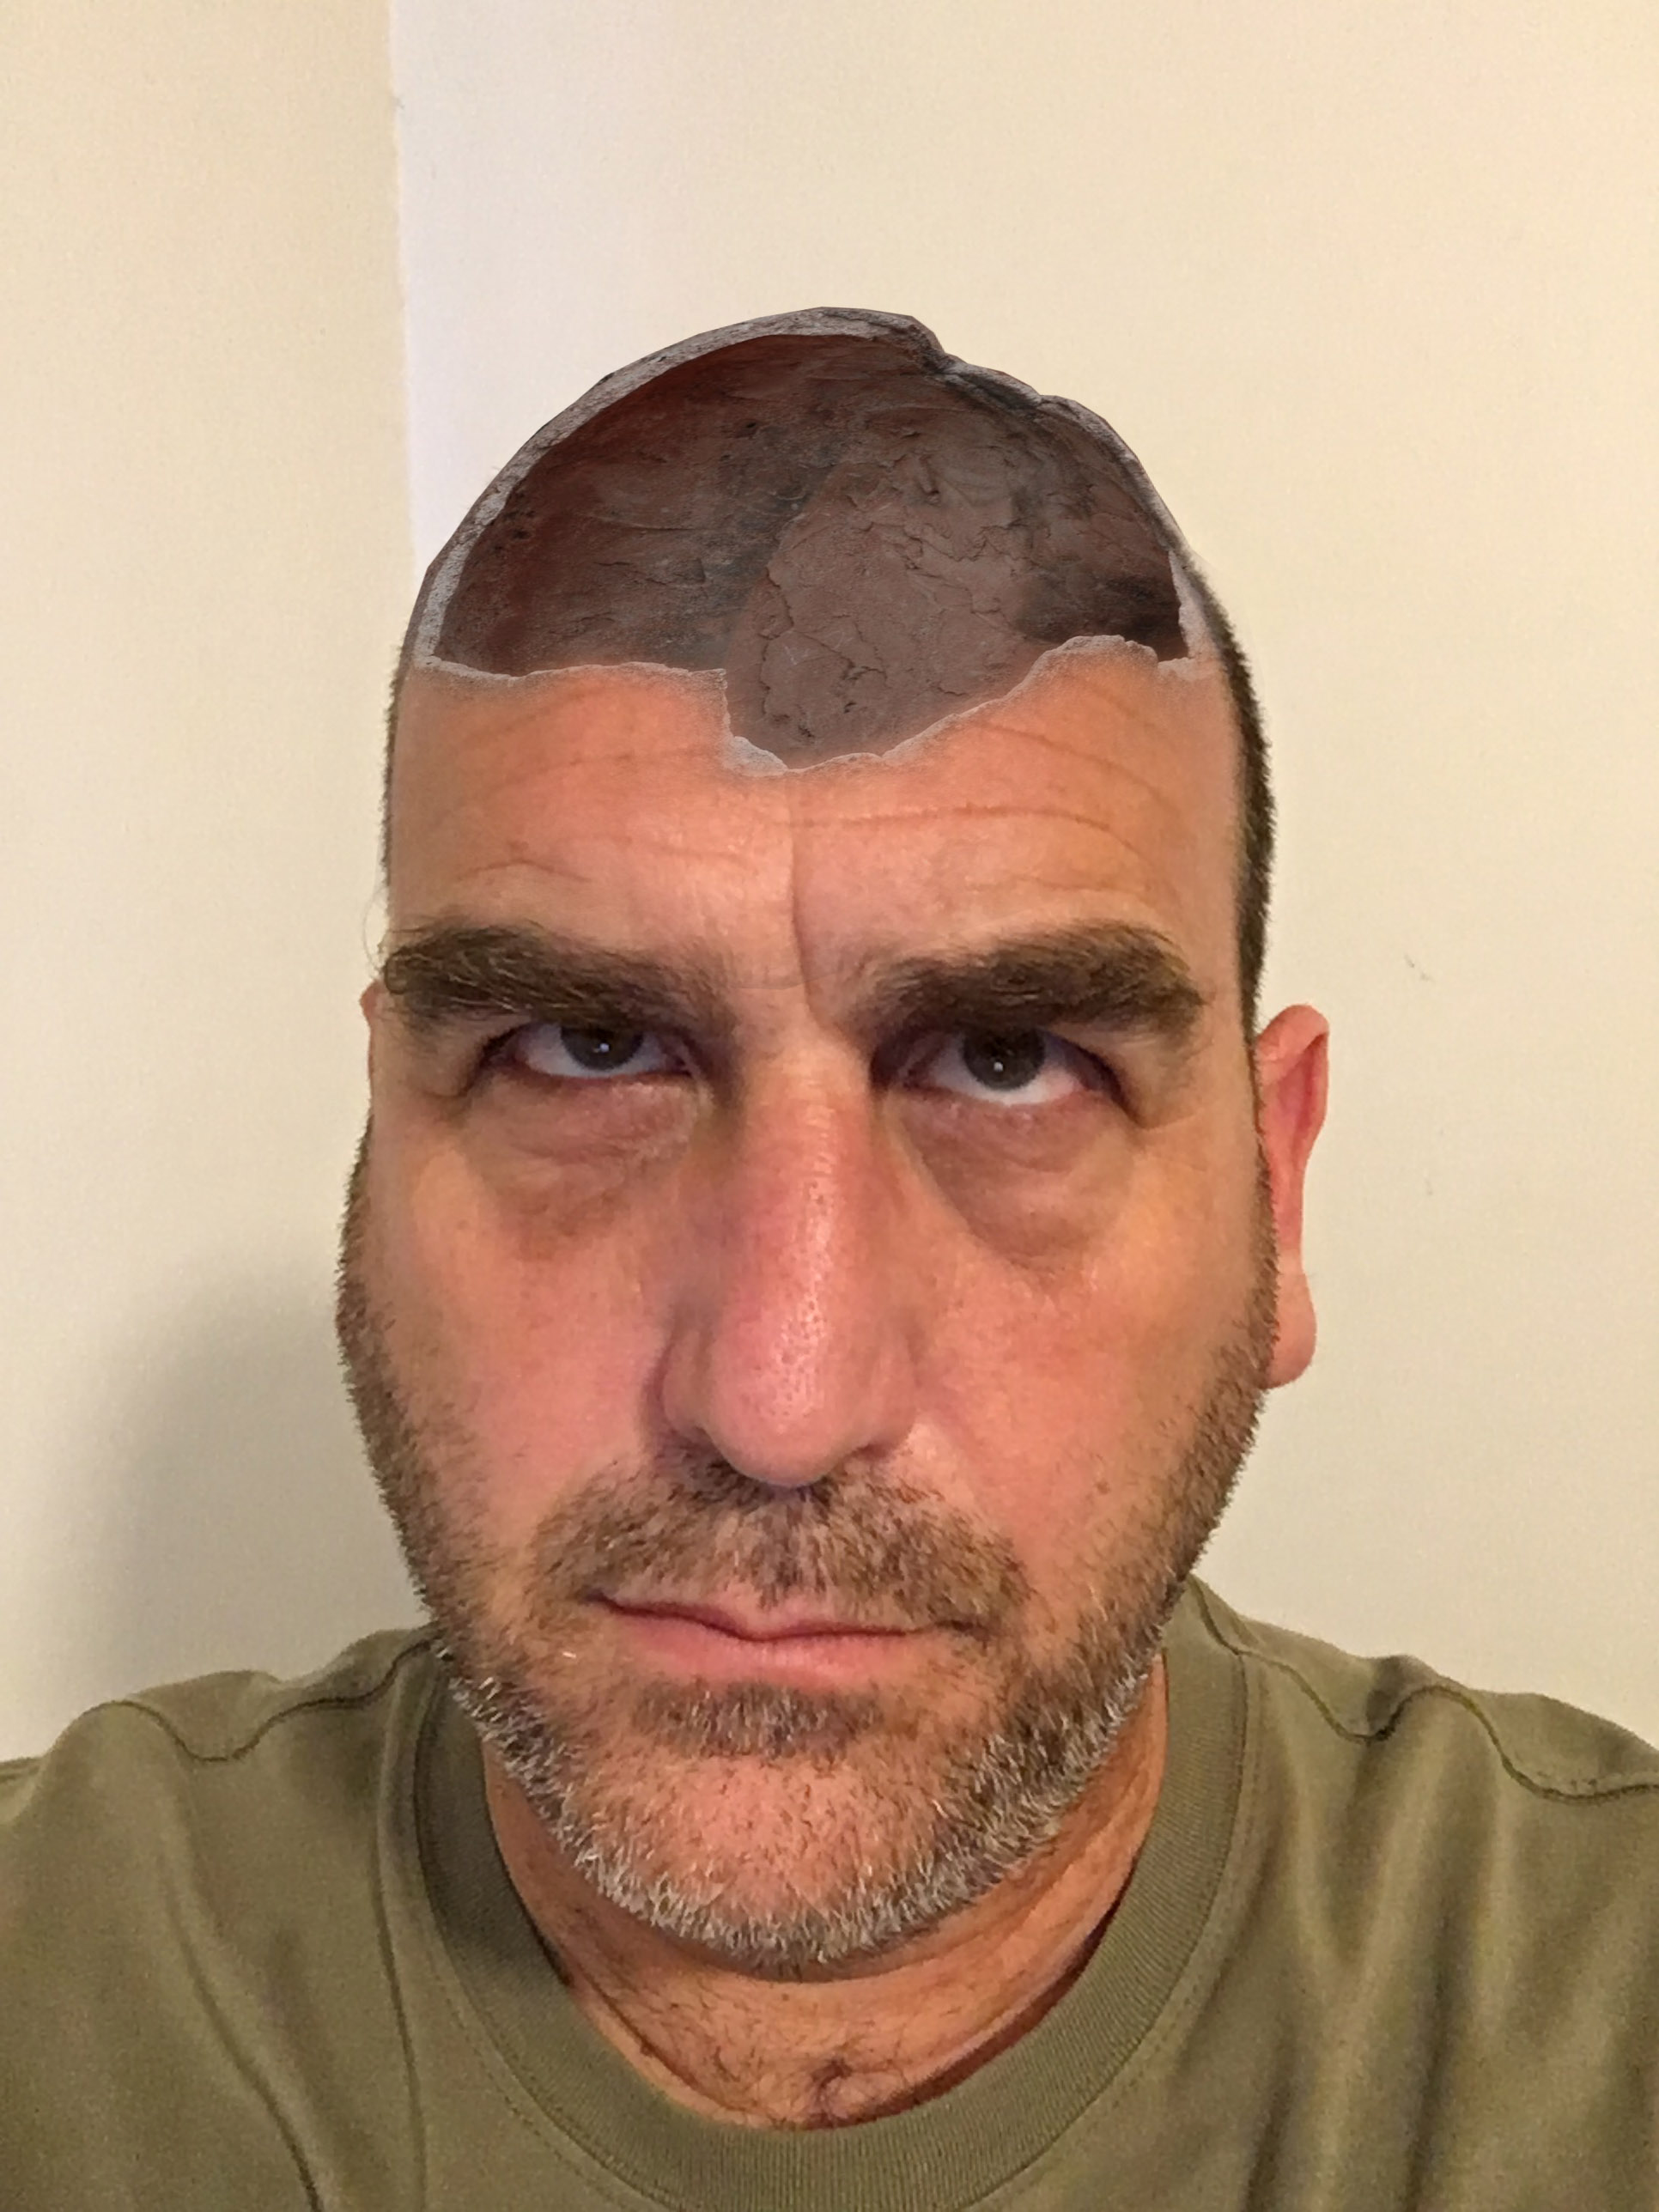
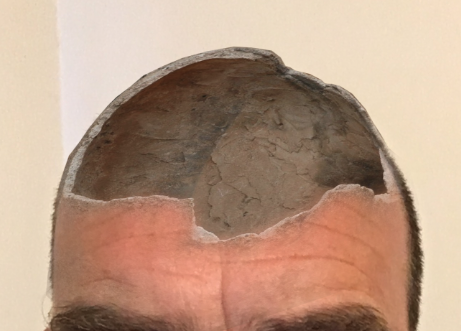
BONUS: If you’d rather not have an empty head, you could put something in there.