An older version of this project that uses a different method can be found here.
Walkthrough
Instructions
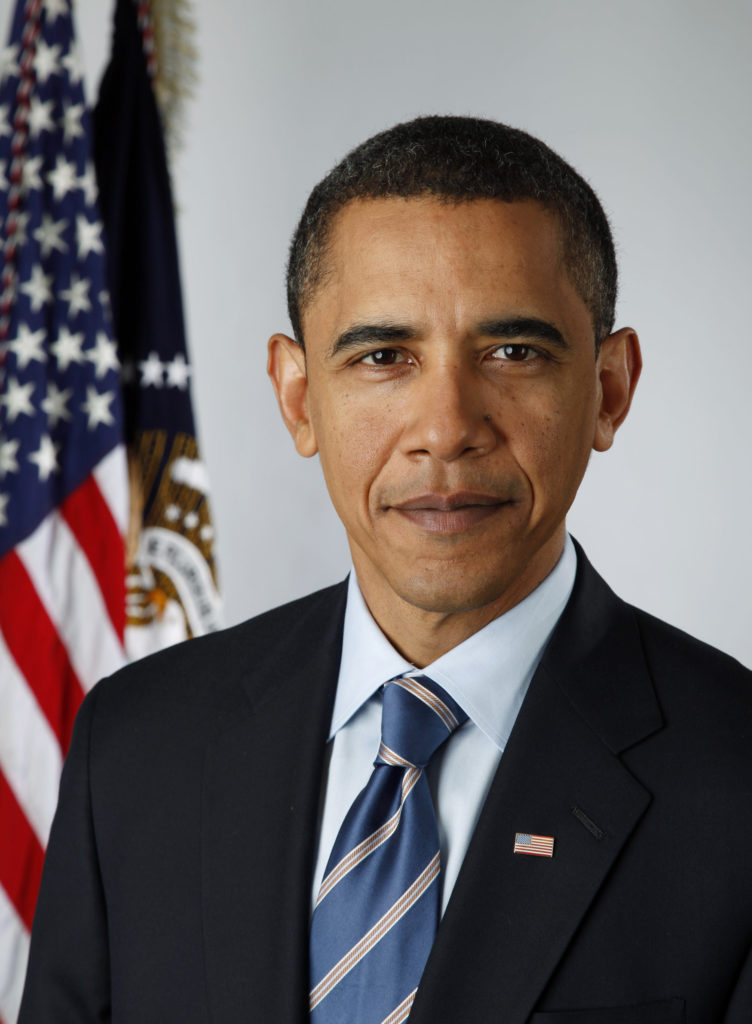
Choose two faces.
Pick two faces that are looking in as close to the same direction as possible. The effect works best with faces that have fairly similar skin tones. If you’ve never done this project before, it’s easiest to start with two faces that are looking straight ahead.


Open both images in Photoshop.
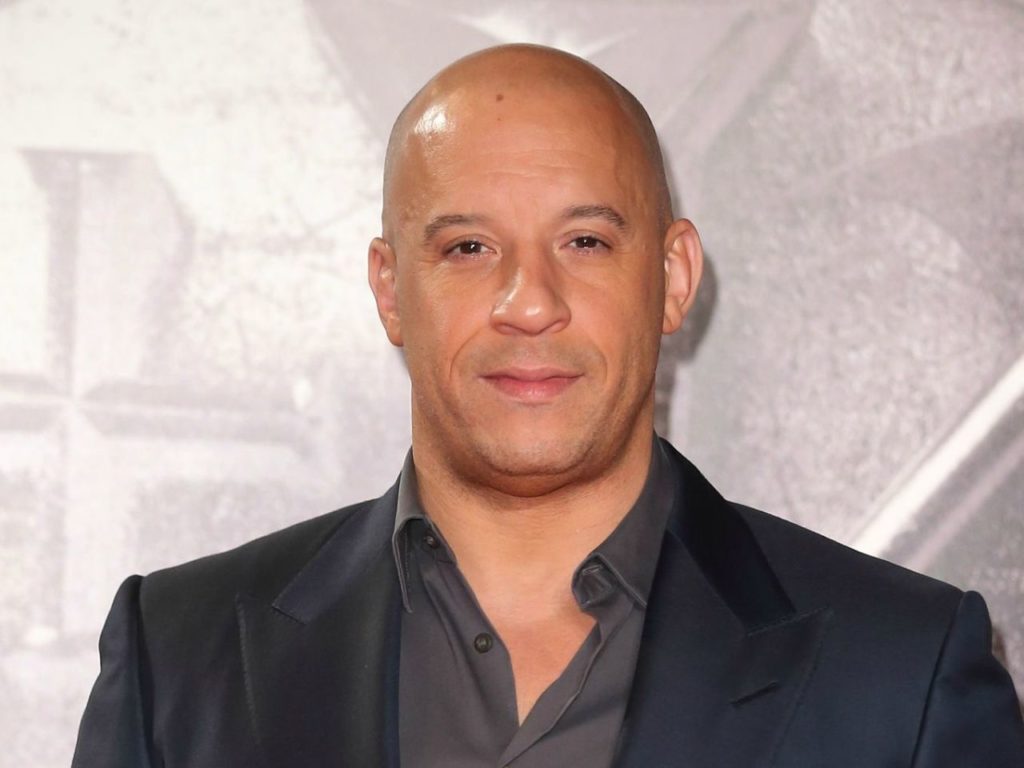
Choose the image that will be the main face.
I’m going to use Vin Diesel.
In the Layer panel, double click the background layer to convert it to a standard layer.

Give the layer a meaningful name and select OK.

Select the second image.
Select the lasso tool.

Lasso the area around the object to want to copy.

Copy the lassoed object.

Switch to the main image.
Paste in the lassoed object.

On the layer menu, turn down the opacity of the new layer.


Adjust the object’s size and position with Free Transform.
You can either press command-t or go to Edit/Free Transform on the top menu.

Place the object.
Reset the opacity to 100%.

Select both layers.

From the top menu, select Edit>Auto-Blend Layers.

Make sure Stack Images, Seamless Tones and Colors, and Content Aware Fill Transparent Areas are selected and click OK.

Photoshop will recolor the top layer and add masks to each layer. It will probably make mistakes.

If Photoshop creates a merged layer, delete it.

Select the mask for the object layer, and use the brush tool to fix any problems.

If needed, you can use the healing brush to fix other issues.

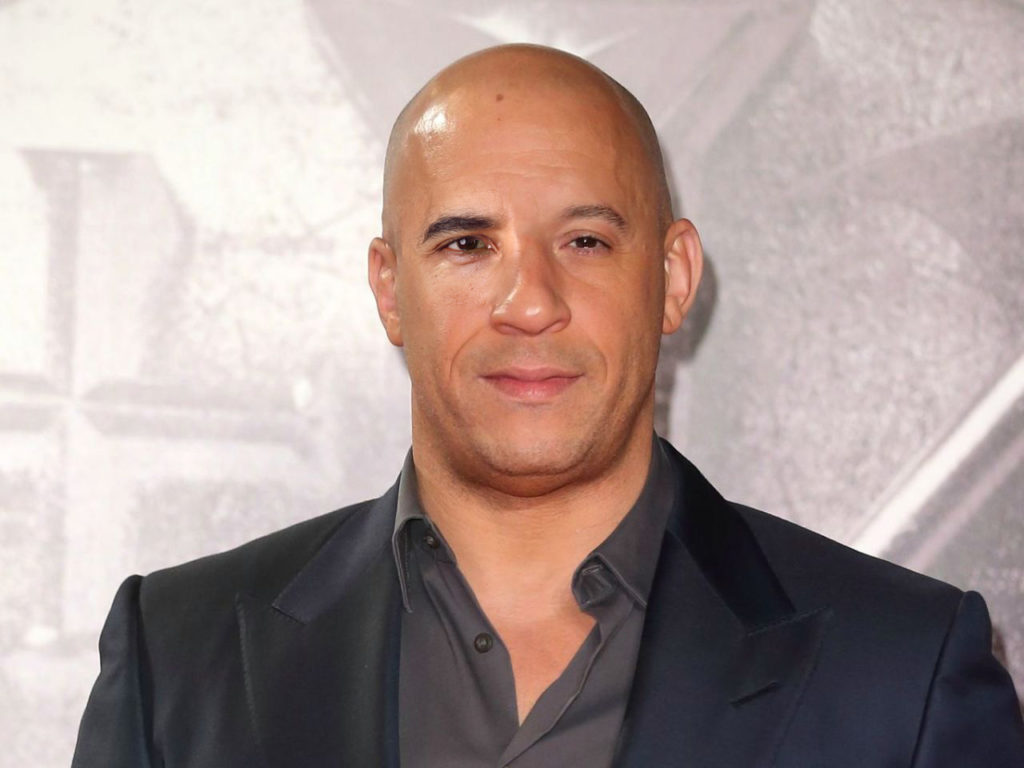
Finished sample

Notes
If you want to add more than one object, the tool works better if you merge the first object with the background before adding a new layer.
If you are using a Windows-based machine, you would use the Ctrl key instead of the command key (Ctrl-C to copy, etc.).
