
A more current version of this project can be found here.
Create a new blank image. The size will vary depending on the the length of your text. Set the background contents to black. I’m using a 600 x 400 image so that it will fit on the page, but yours will probably be larger.
Select the type tool. Choose a thick font and set the text color to white.
Type your word, and make it large enough to nearly fill the image.

Select the Gradient tool.
Ctrl-click (on a Mac, command click) your text layer. The area of your text will be selected.

Select the new layer icon (the square with the plus sign) at the bottom of the layer tray.
Set your foreground color to black and background color to white.
Set the gradient to fade from the foreground to the background.
Fill the selected area so it fades from black at the top to white at the bottom, like this:

Select Image > Adjustments > Curves.
Choose settings close to these. Add control points by clicking and dragging. Use the background grid to help you see where to place the points:
Your image will now look something like this:

Select Image>Adjustments>Hue/Saturation
Use these settings:
Your image should look something like this:

Choose Select>Modify>Contract.
The more you contract, the wider the “gold” edge will be on your bling. I contracted by five pixels, but use whatever you think looks best.

Create a new layer. Name it “Diamonds.”
Select Edit>Fill. Use these settings:
You’ll get something like this: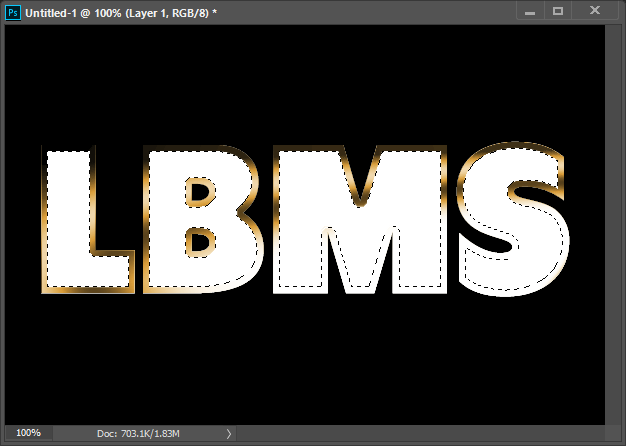
Select Filter>Noise>Add Noise. Use these settings:
Press Alt-Ctrl-F (on a Mac control-command-F). This is just a quick way to repeat the filter effect two more times. Your text will look like this:
Press Ctrl-D (on a mac command-d) to deselect everything.
Double-click the diamonds layer on the layer palette to open the layer styles menu.
Select stroke. Use these settings: 
Select Bevel & Emboss. Use these settings:
Your basic bling is done!
