Goal
NOTE: There is an updated version of this tutorial.
Merge two or more creatures into a new animal.
Instructions
You will be picking your own images which will not be the same as the ones here. You will have to judge when to change the instructions to better suit your images.
I’m starting with these:
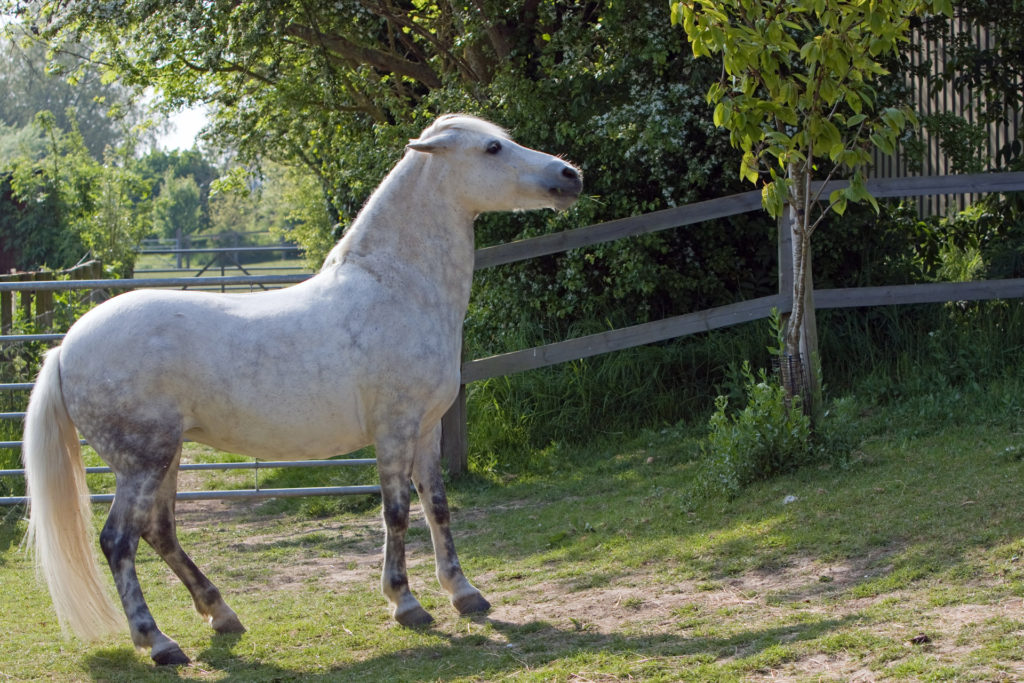
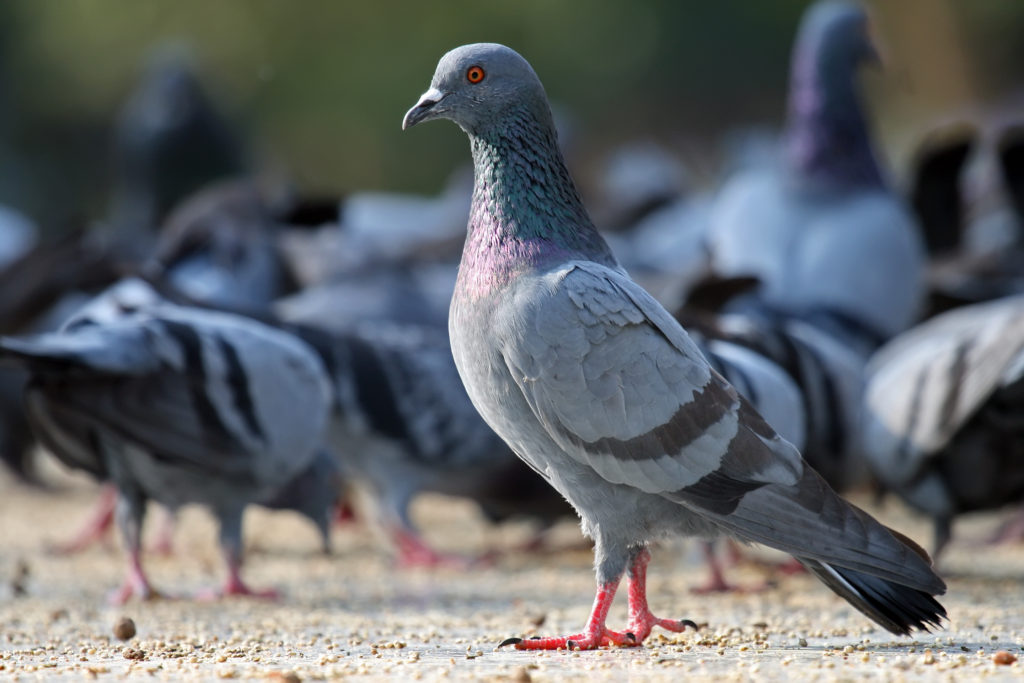
Let’s copy the pigeon’s head and put it on the horse.
Open both files.
Lasso the head of the pigeon. Because the head is against a distinct background, I can use the magic lasso. If the object you are cutting out is similar in color to the background, you might want to use the polygonal lasso. You can switch lasso tools by clicking and briefly holding on the lasso tool.

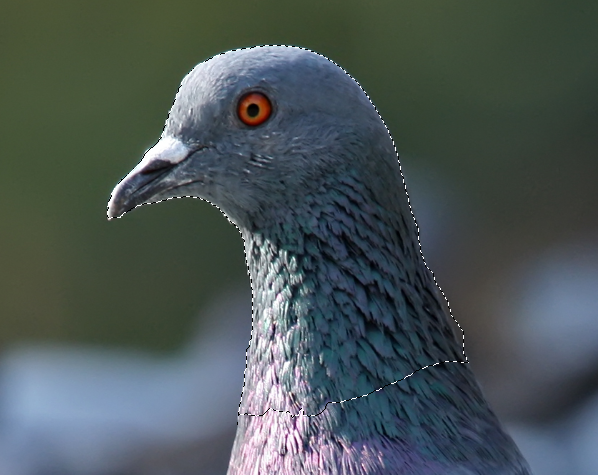
Press command-c (Windows: Ctrl-c) to copy the head.
Switch to the horse image and press command-v (Windows: Ctrl-v) to paste the head onto a new layer.
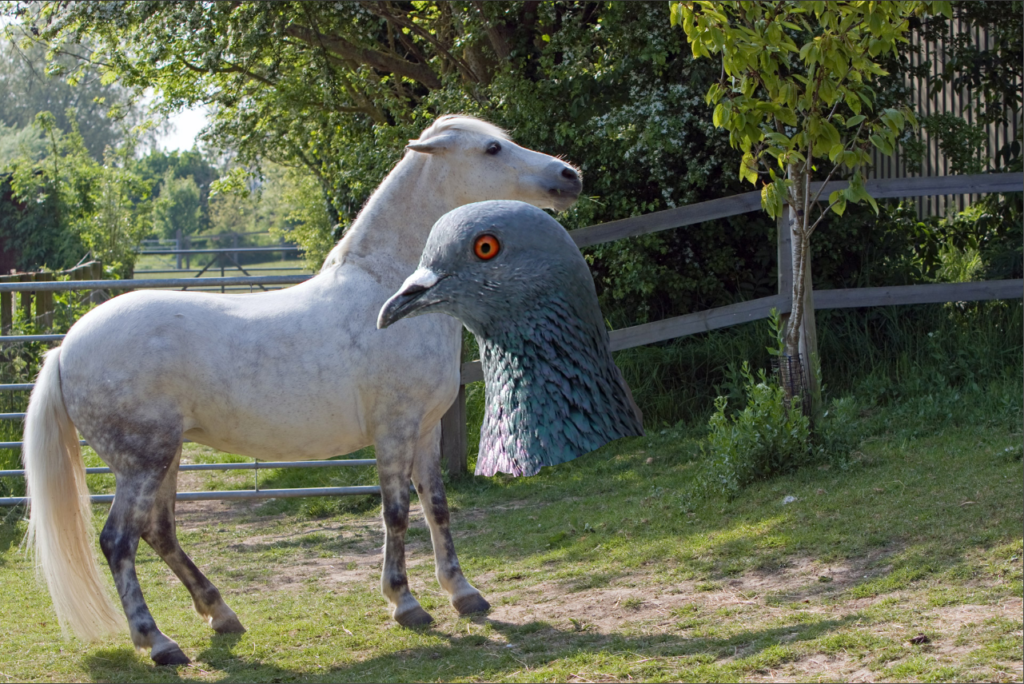
Rename the new layer “pigeon head.”
Press command-t (windows: Ctrl-t) to open the transform tools, and transform the head so that it lines up fairly well on the horse’s body. DON’T PRESS RETURN/ENTER YET!
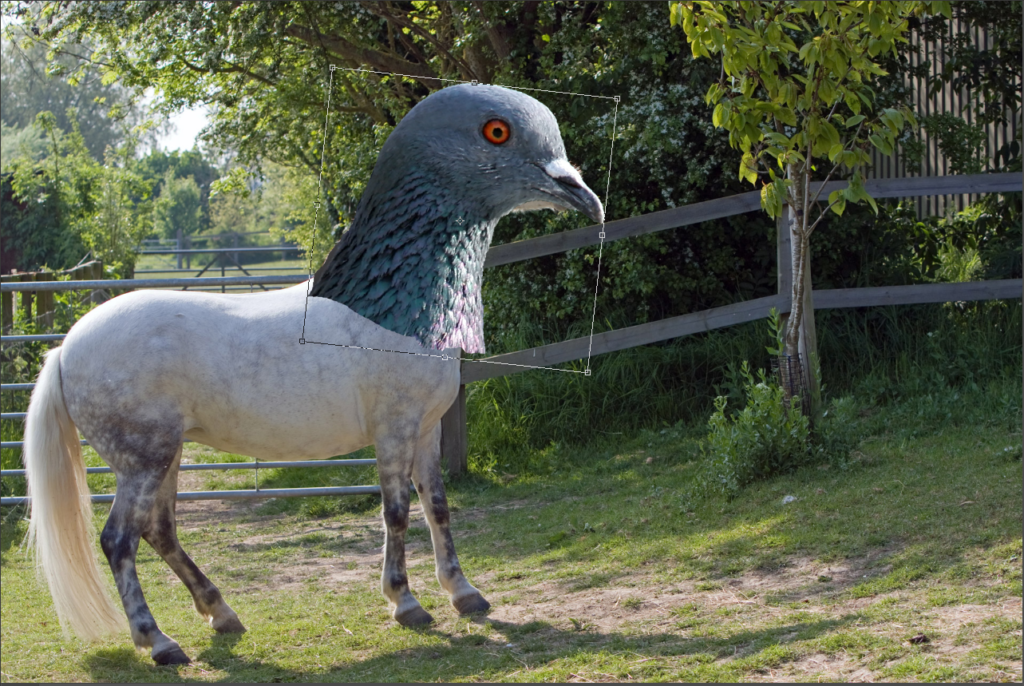
If part of the image doesn’t line up correctly (like the front of the neck here), you can use transform’s warp tools to adjust it control-click (Windows: right-click) the image and choose “Warp” on the menu that appears.
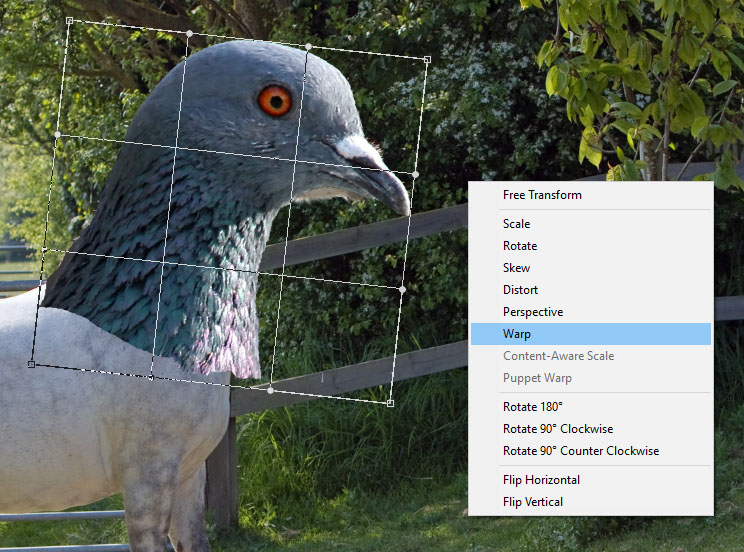
Adjust the image by clicking and dragging wherever lines in the warp box cross.
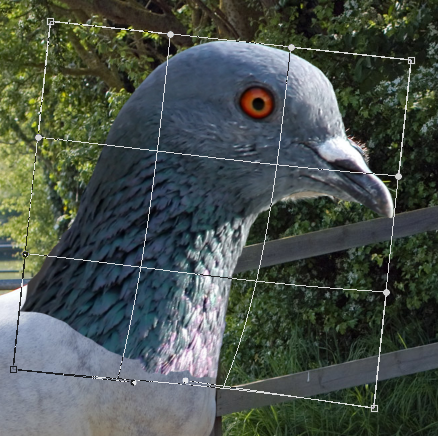
When the head lines up well, press return.
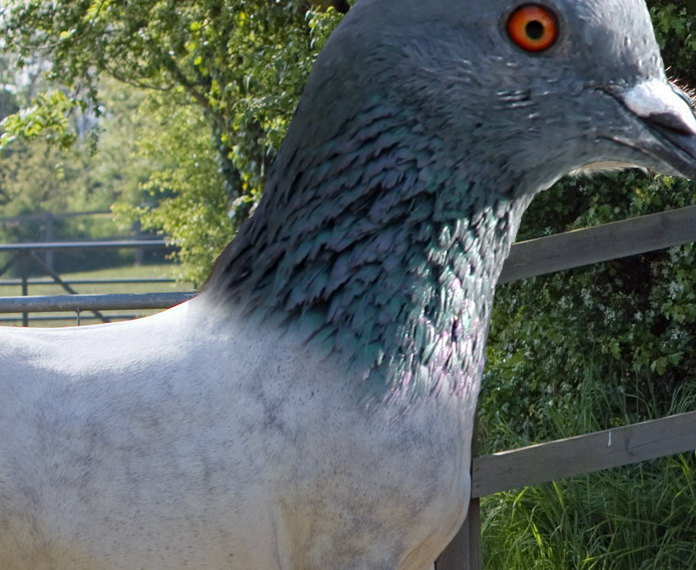
It looks pretty good, but there are still a couple of problems: the neck doesn’t blend well, and part of the horse’s head is still visible.
To fix the neck:
Make sure the pigeon layer is active and click the mask button.
Select the brush tool, and make your foreground color black.
Set the hardness of the brush to 0, the size to somewhere around 100, and the opacity of the brush around 40%.
Brush the rough edge of the neck with black to make it blend in. If you mask too much, you can make it reappear by changing your brush color to white.
Create a new layer between the background and the pigeon head and name it background patch.
Select the clone stamp tool. On the context menu at the top of the screen, set the sample to “current & below.”
Hold down the option key and click an area that will blend with the background. I chose the area above and to the right of the head.
Click on the area’s of the horse’s face that are still visible to patch over them. You only need to cover the visible parts.
Here’s my patch:
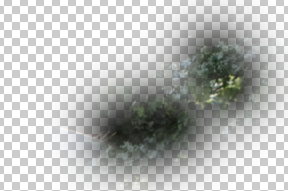
Here’s my patch in place:
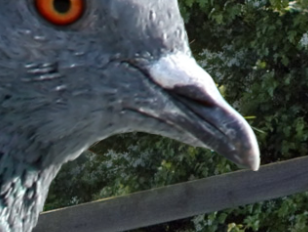
When that’s done, it looks pretty good!
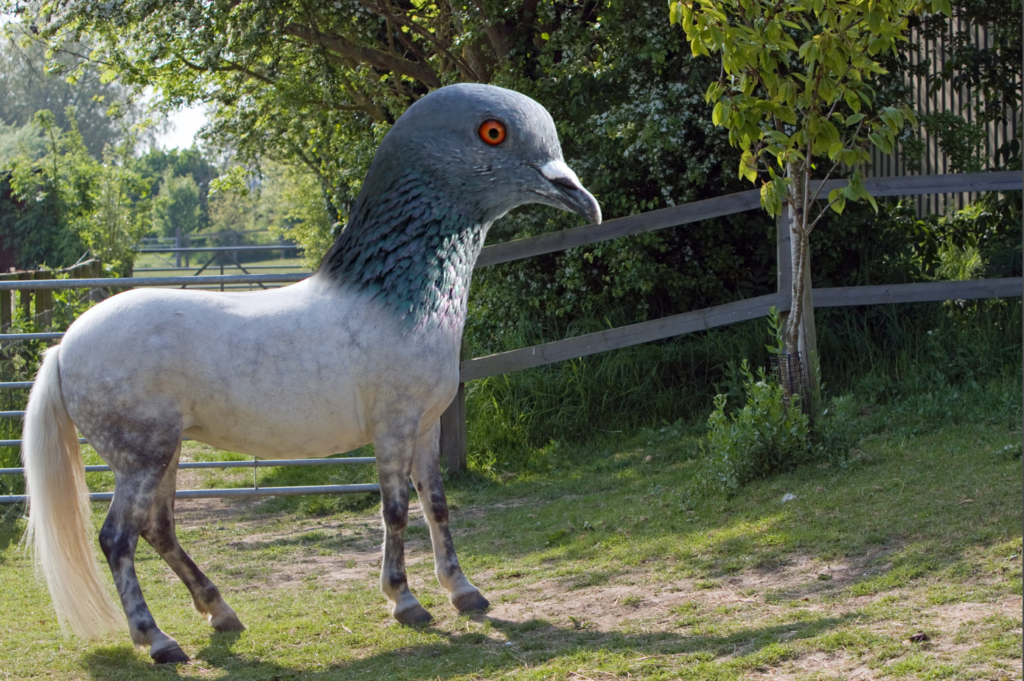
Still, there’s something odd: the light. On the original horse, the back of the horse is lighter than the front.On the pigeon it’s the other way around! Here’s one way to fix this.
Create a new layer above pigeon head. Name it lighting. Set the mode of the layer to Overlay.
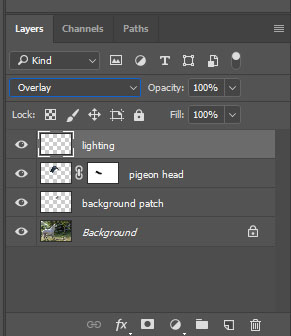
Select the brush tool. Set the opacity somewhere between 40 and 50 percent.
Brush with black where you want more shadow, and with white where you want it to look lighter. Here’s my final image:
Here’s another example: A frog with a parrot head.
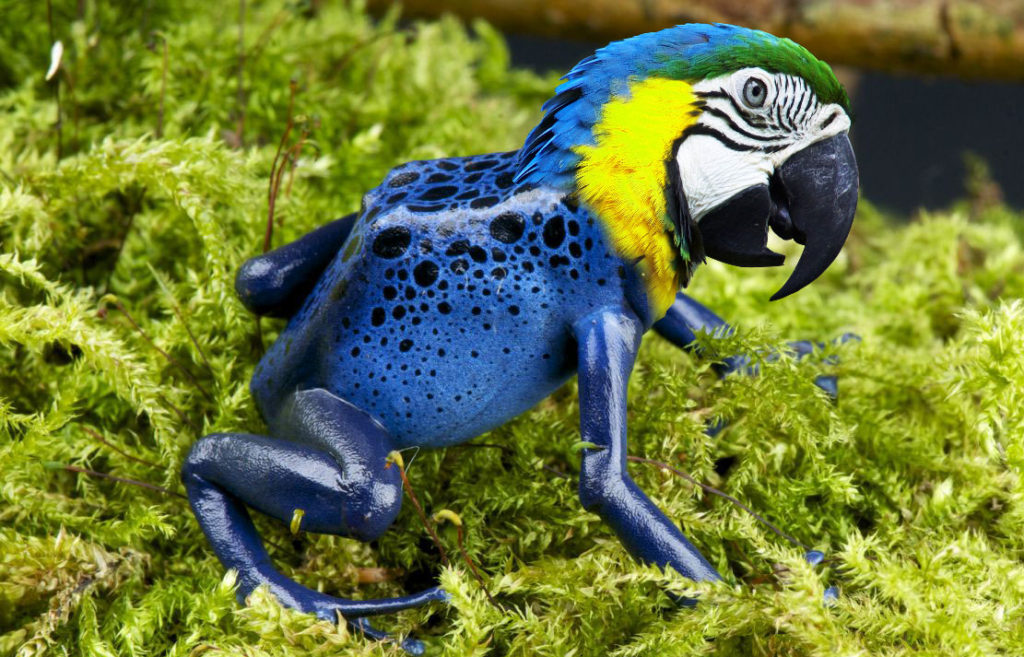
This was done nearly the same way, with a couple notable exceptions. The head was already cut out (which saved a lot of effort), and the hue & saturation of the head were adjusted to more closely match the blue of the head with the blue of the body.
