
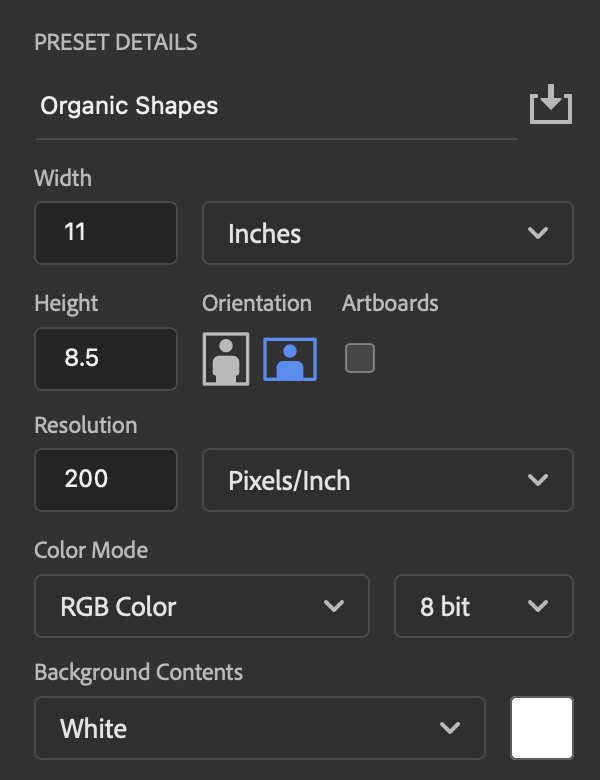
Create a new document
Select New File and create a new document with the following settings:
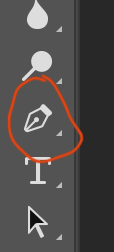
Set up your pen tool
Select and hold on the pen tool. In the default Essentials workspace, it’s on the left side just above the text tool.
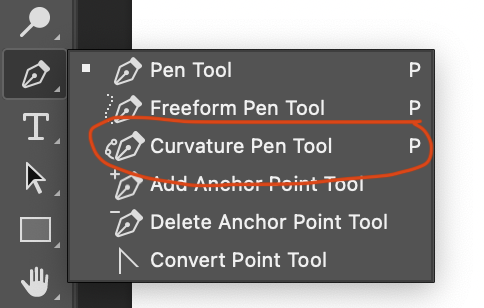
After a moment of holding the pen tool options will appear. Select the curvature pen tool.
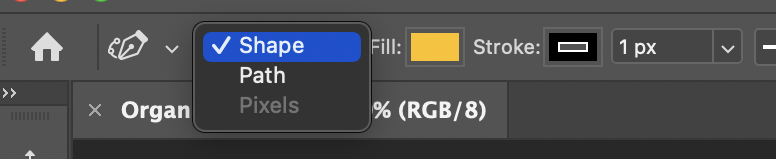
By default the curvature pen tool is set to “path.” Change it to “shape.”
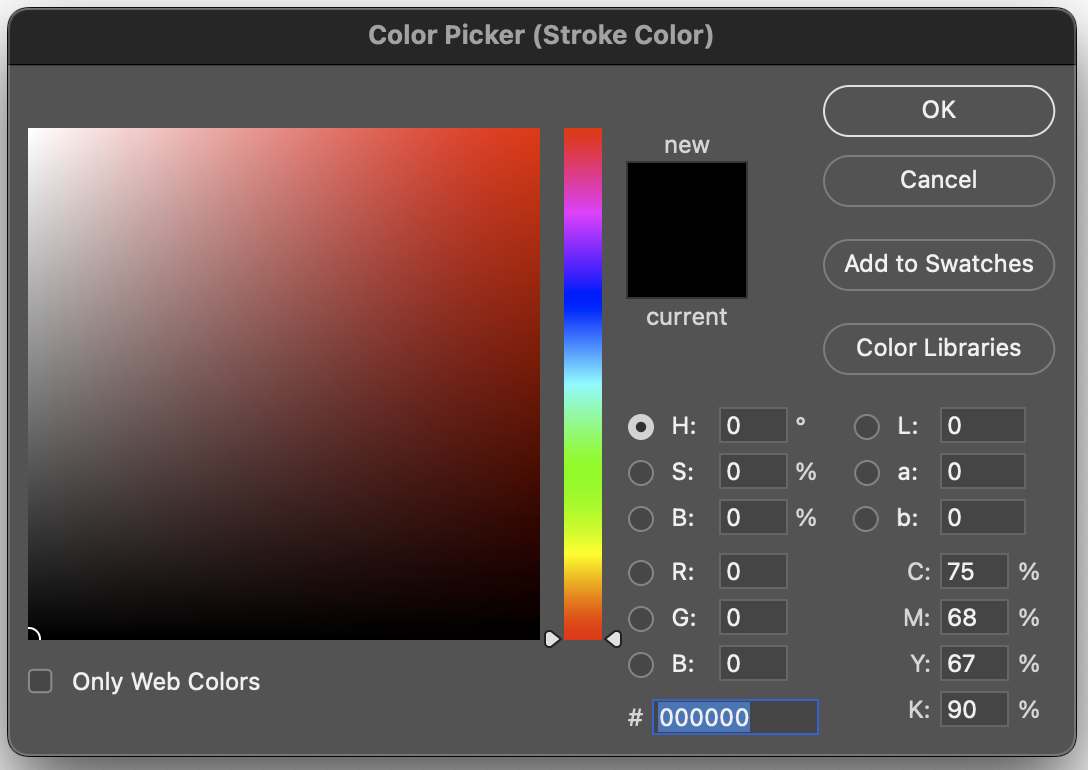
Click the box next to “Fill:” and a fill selection menu will appear. Fill is what is shown inside a shape. Select the color picker in the upper right corner.
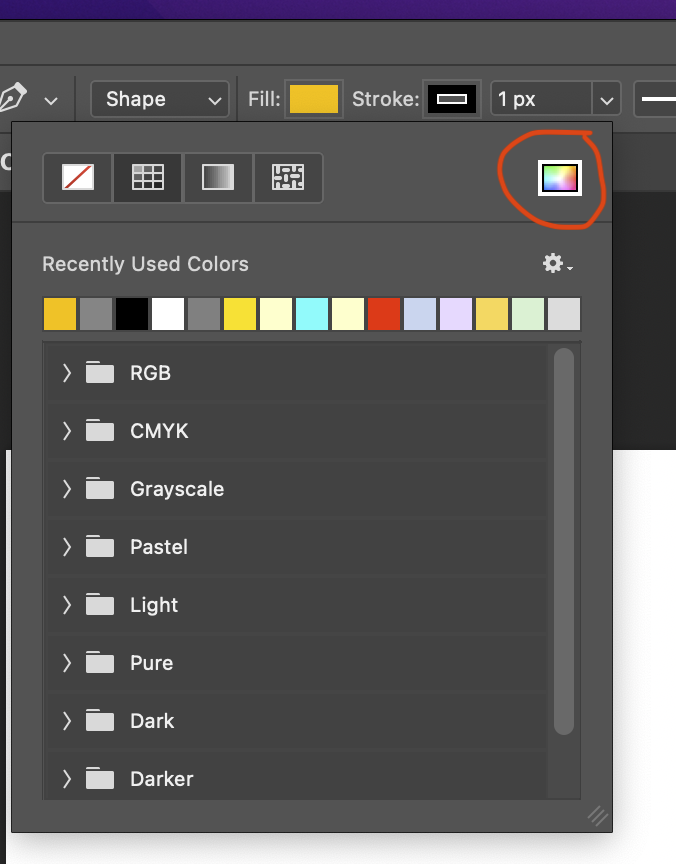
Set the fill color to white. There are at least three ways to do this. You can drag the color selector to the upper left corner of the color box, OR you can set the R, G, and B values to 255, OR you can set the hex color (right below th RGB numbers) to “ffffff.” Click OK when you’re done.

Select the box next to “Stroke:”. The stroke is the line around the outside of a shape. Set the stroke color to black.
Next to the stroke color setting is the stroke width. Type “2 px” in the box and press return. This will make the stroke two pixels wide.

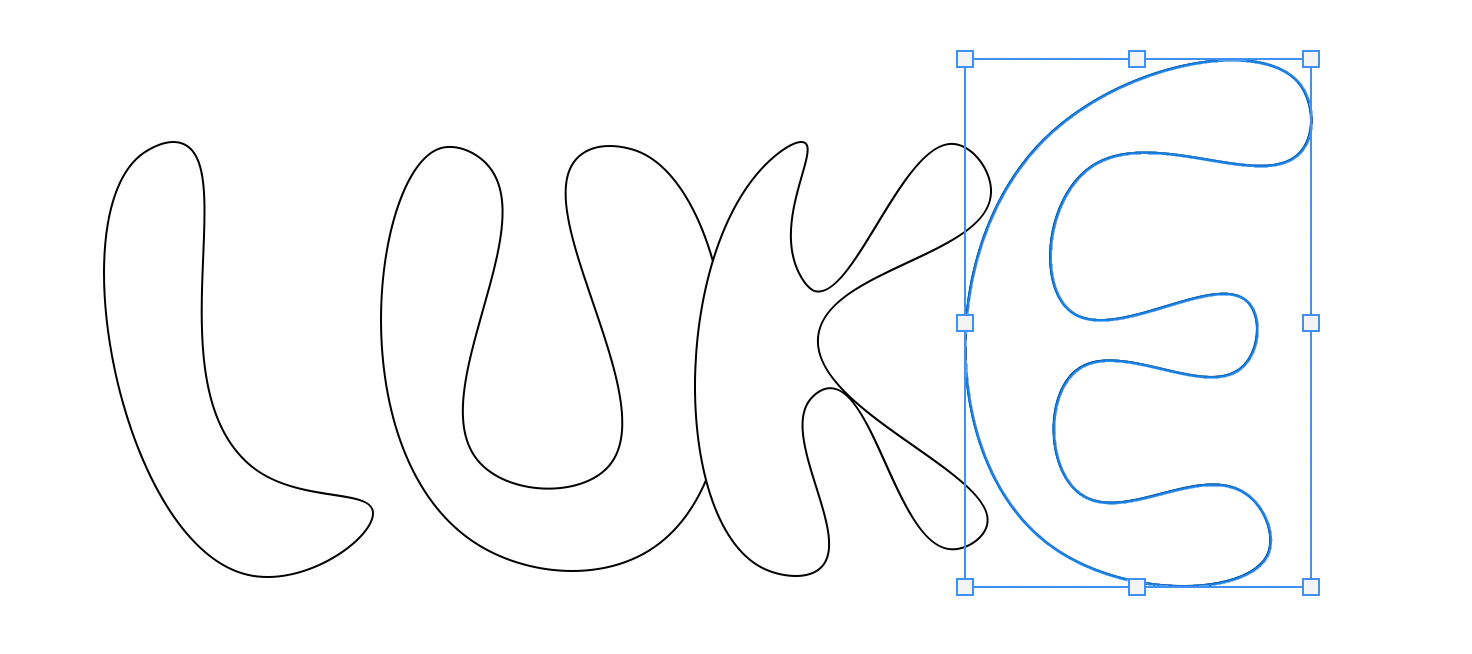
Let’s make some letter shapes
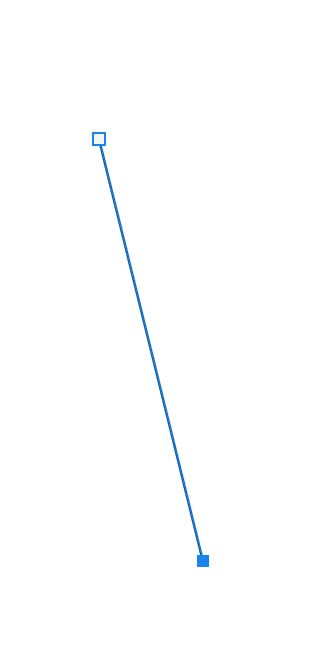
The curvature pen tool tries to draw a curved shape with a border that touches each point you place on your image. Click once on your image and you will just get a dot:

Click twice and you’ll get a straight line:
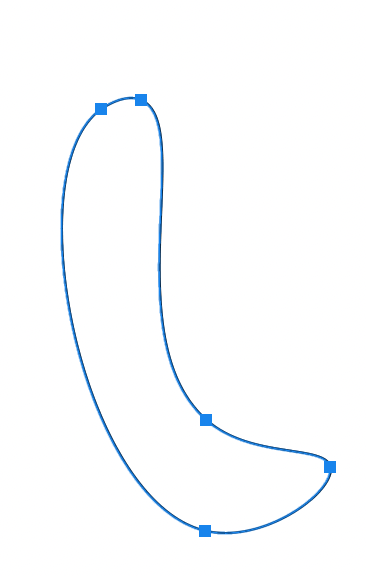
But click more than twice and the line will start curving to touch each point:

Keep placing points to create a letter shape. If you put a point in the wrong place, you can remove it by pressing delete. To make a complete shape, go back to your first point for the last point.
To make your next shape, press “esc” and start you new one. Every shape will be on its own layer, so you’ll be able to adjust them individually. Make a shape for each letter of your name.

Adjusting your letters
When you’re done creating each letter, you might want to adjust them. Maybe you’ll want to move them, maybe you’ll want to resize them. You can do that with the Move and Transform tools.
Select the “Move” tool. It’s at the top of the tool bar – it looks like four arrows.

Make sure “Auto-Select Layer” and “Show Transform Controls are checked.

Click the letter you want to change a box with square handles will appear.
You can now click and drag on the letter to move it. To resize it click and drag on one of the square handles. adjust all your letters to make your name go across the page. It’s fine if they overlap as long as your name is readable.

More shapes
Select the Curvature Pent Tool again. Photoshop remembers the last version you use of each tool, so you can just click the pen tool icon instead of holding it down. Draw organic shapes in the negative space around your name. They can overlap if you’d like, but keep the whole shape on the page.

Fill the negative space
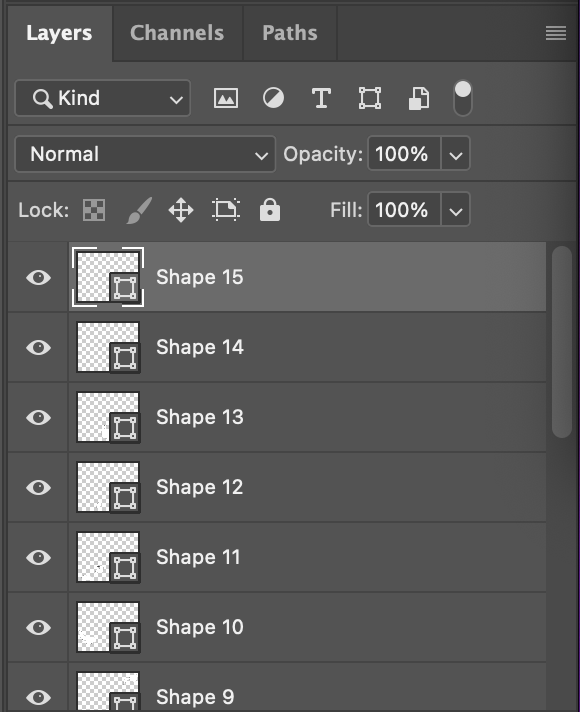
Every shape you created is on a separate layer of your image, and the layers are all stacked on top of each other. You can see the stack at the bottom right of the screen. My stack is so large that it doesn’t fit on the screen.
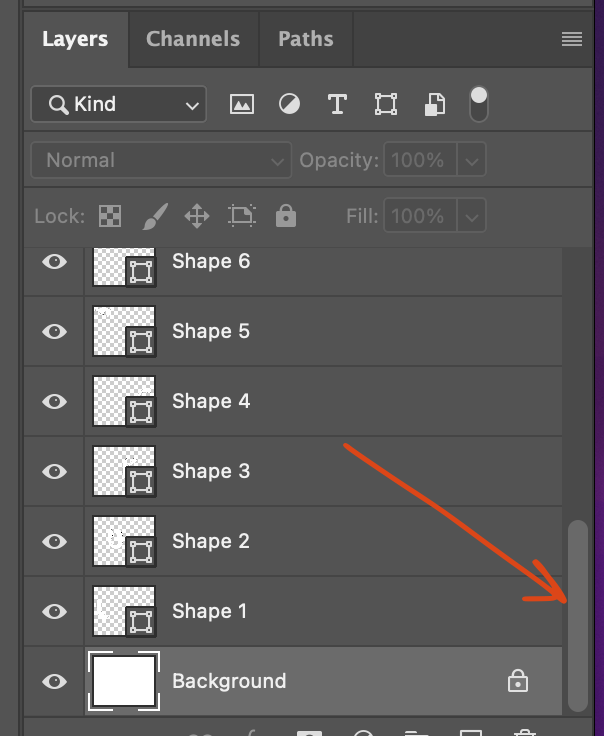
Go to the bottom of the stack and click the layer called “Background.”
Press “D” on your keyboard. That resets the main colors being used to black and white.
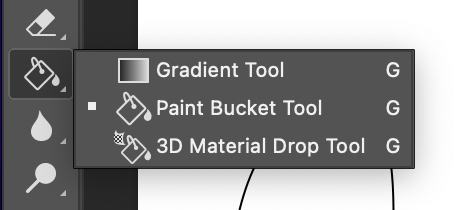
The next tool we need is the gradient tool. It might be hidden behind the paint bucket tool. If it is, click and hold on the paint bucket to make the other tools appear and choose the gradient tool.
Set the options of the gradient tool to match this:

Click and hold the center of your image, and drag out about halfway to the edge.
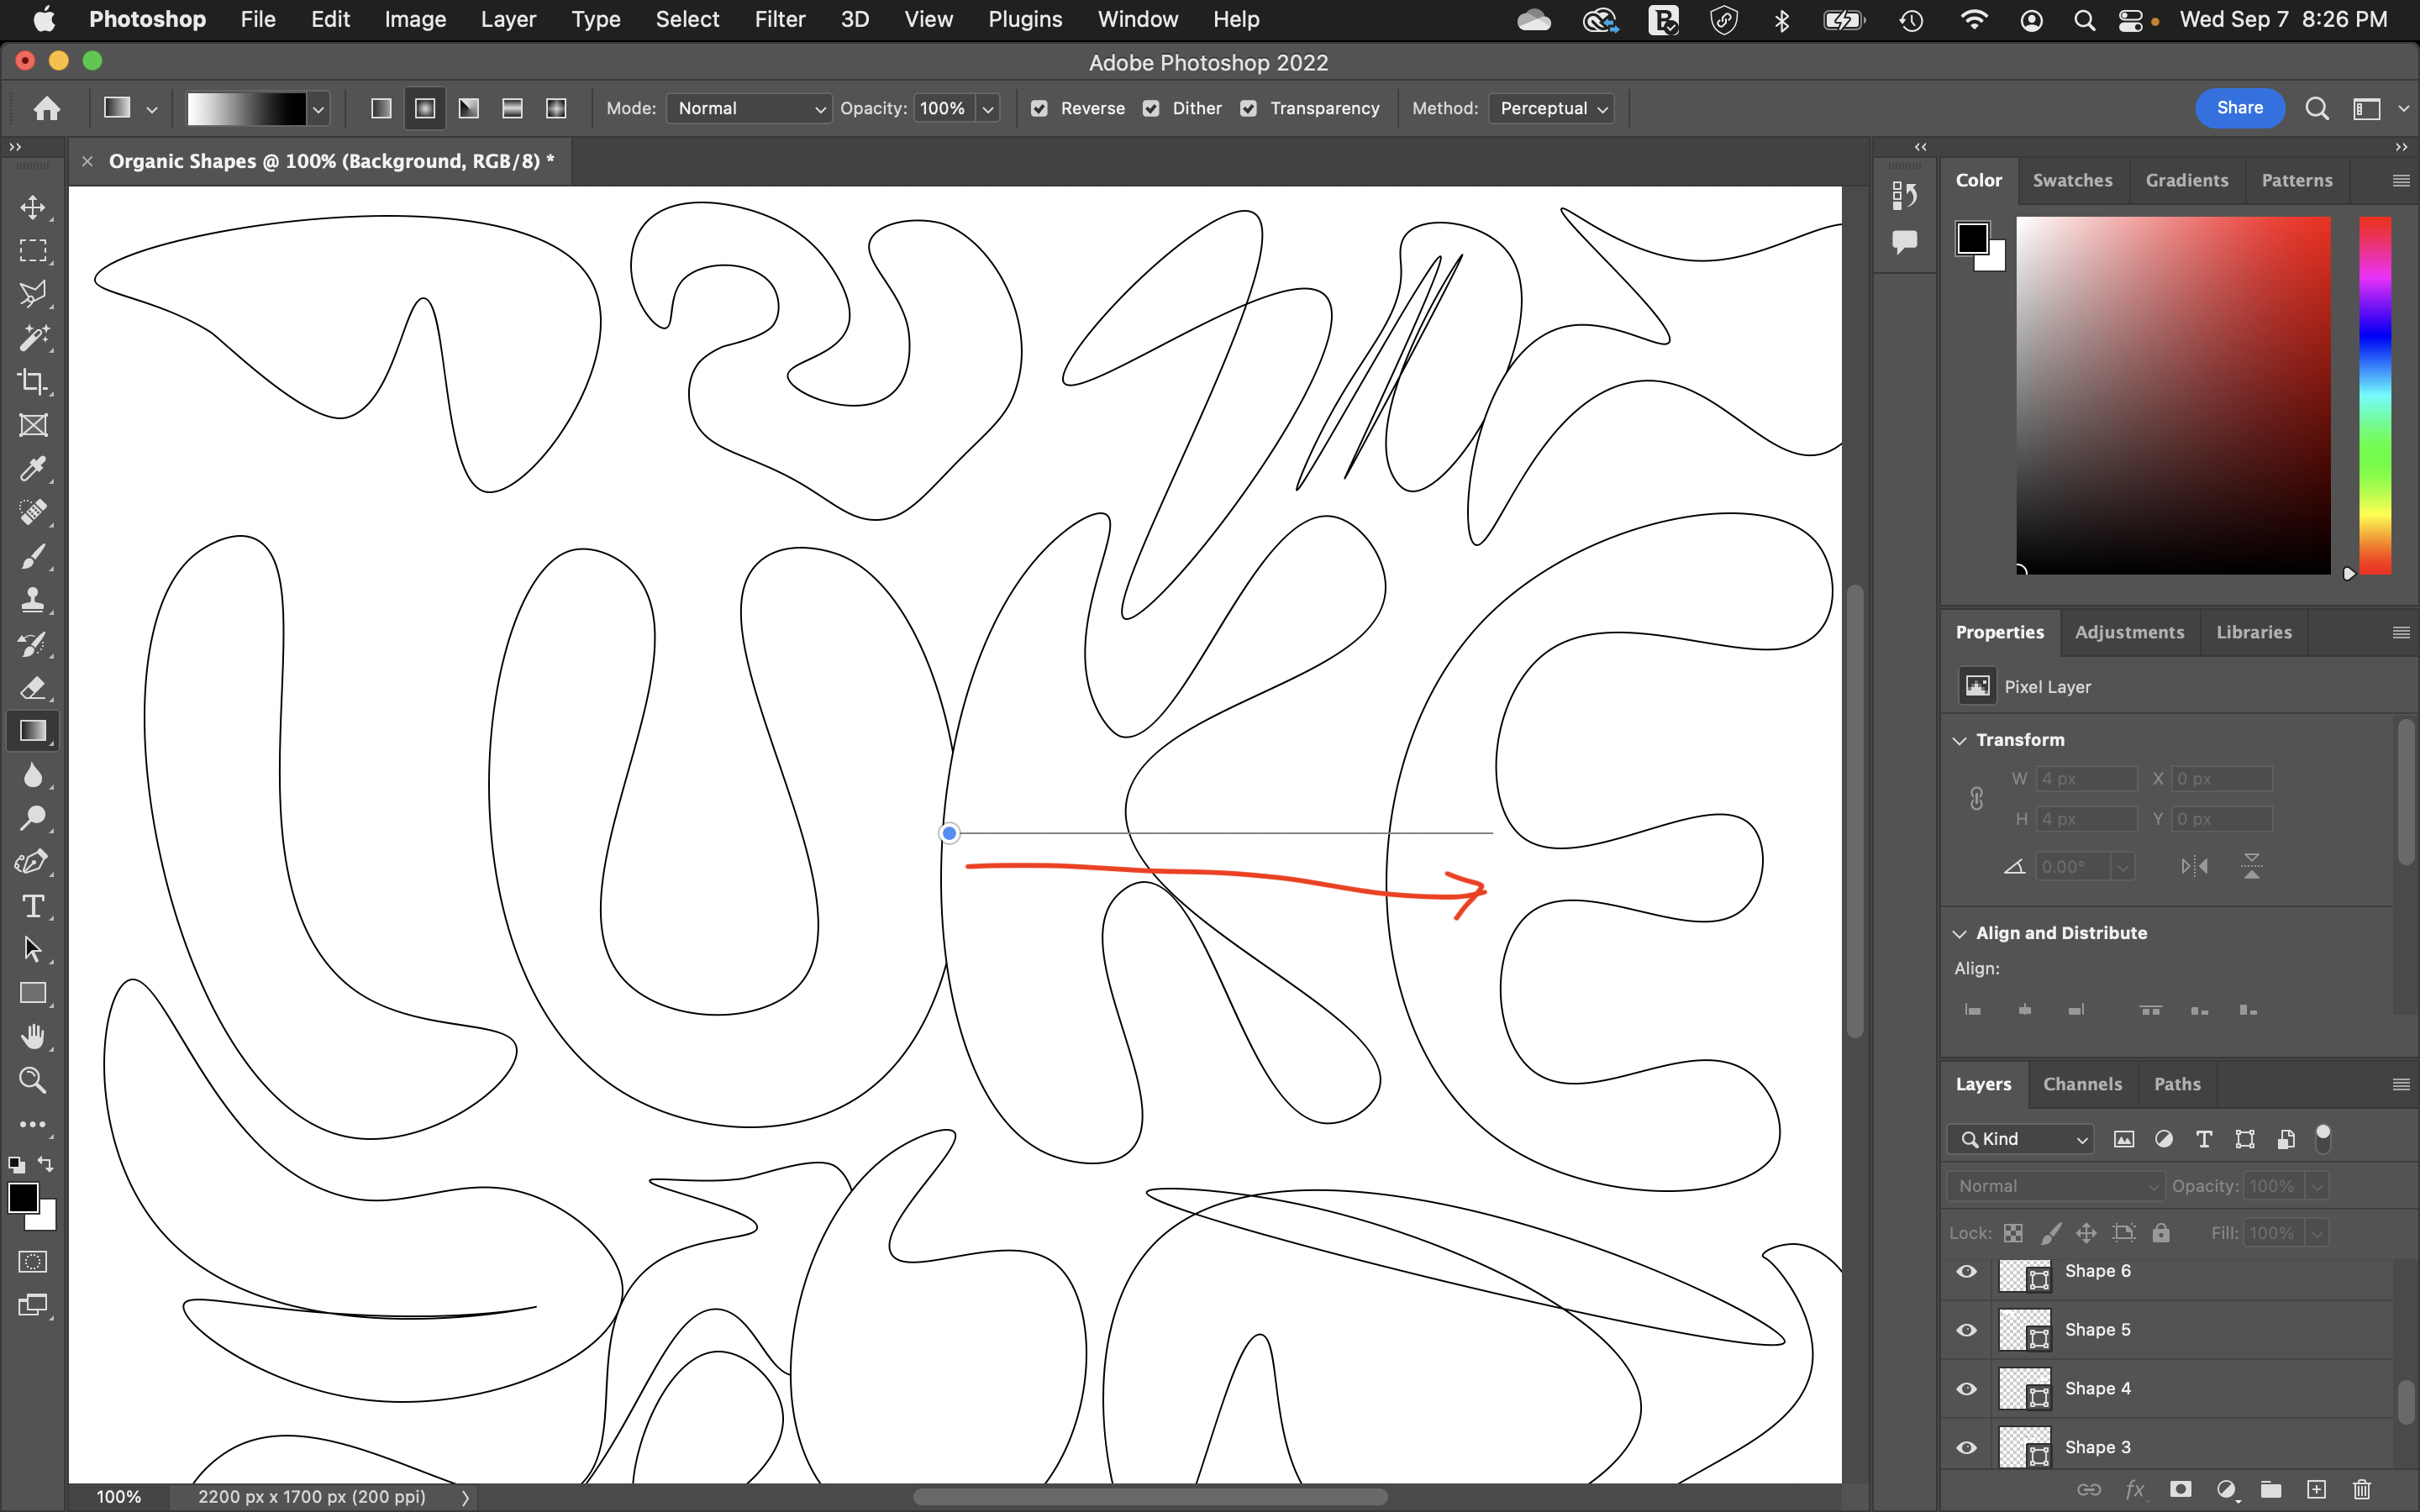
When you let go the background will fill with a circular gradient.
Final project sample:
