Goal
Use Photoshop to create a graveyard, including a textured, carved tombstone created completely in Photoshop.
Instructions
Setting Up
Open Photoshop.
Press command-N (on a windows machine, Ctrl-N) to create a new file. Name it Graveyard. Set the size to 7.5 inches by 10 inches, and the resolution to 150 Pixels/Inch.

Making the Tombstone
There are many possible tombstone shapes. Ours will have a rounded top. We’ll start with a couple of vector shapes – an ellipse and a rectangle.
On the tool menu, select the ellipse shape tool. If you see a different shape on the tool menu, press and hold it until you see the shape menu, and select the ellipse.

On the options menu, set the mode to Shape, the fill color to a light gray, and the stroke to nothing (it will show as white with a diagonal red line). Don’t worry about the other settings.

Click and drag to draw an ellipse the size of the top of your tombstone on your image. Here’s mine. Notice the four black squares (handles):

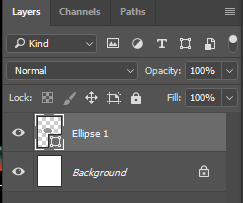
Your tombstone top will appear in the layer window as Ellipse 1.
On the tool menu, switch to the rectangle tool.

Click and drag on your image to draw a tall rectangle that’s as wide as your ellipse. The easiest way is to start at one of the handles on the ellipse and down and across to make your shape.

Now we need to merge the two shapes, and convert them from a vector shape to a raster image.
On the layer menu, the rectangle layer will be selected. Select the Ellipse 1 layer as well by holding down command (Windows users hold Ctrl) and clicking the Ellipse 1 layer.

Press command-e (windows users, Ctrl-e) to merge the two shape layers. The two layers will become a single layer names Rectangle 1. Double click the name of the layer, and rename it Tombstone.

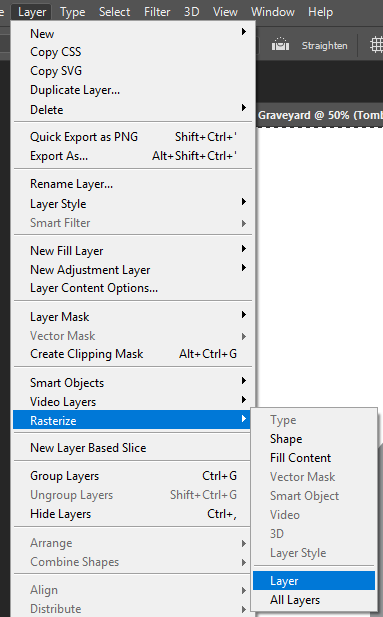
From the main menu at the top of the screen, choose Layer>Rasterize>Layer.
Now let’s make it look like stone.
On the main menu, select Filter > Noise > Add Noise.
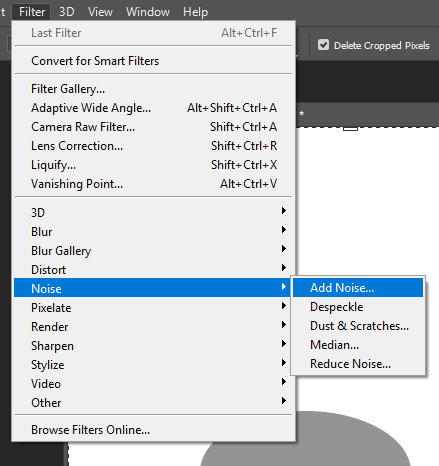
Set the noise level somewhere near 100% – the exact number isn’t important – the distribution to Gaussian, and check the “Monochromatic” box. Select OK to apply the filter.

On the main menu, select Filter > Blur > Gaussian Blur.
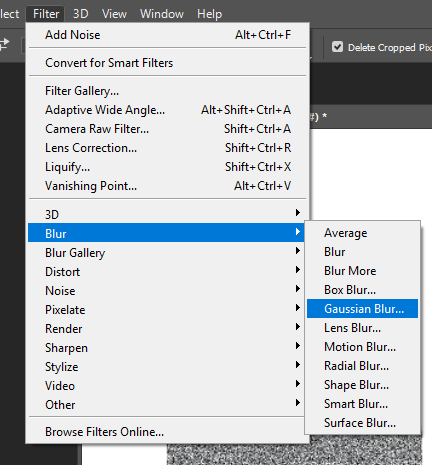
Set the radius to 1 pixel, and select OK.
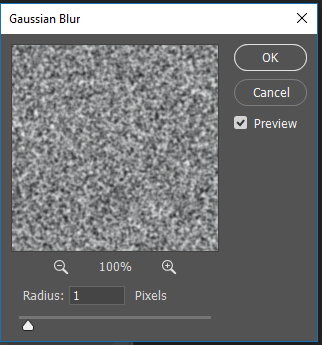
To add a 3D look, we’re going to duplicate the tombstone layer.
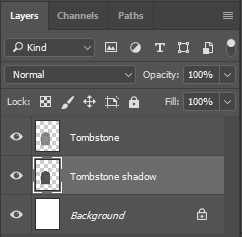
Make a duplicate of the tombstone layer. There are many ways to do this but the fastest way is with the keyboard. Make sure the tombstone layer is selected and press command-J (Windows users: Ctrl-J) to jump a copy of the tombstone to a new layer. Your layer menu will look like this:

Change the name of “Tombstone copy” to “Tombstone shadow.”

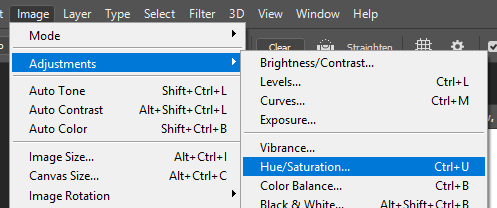
From the main menu, select Image > Adjustments > Hue/Saturation.
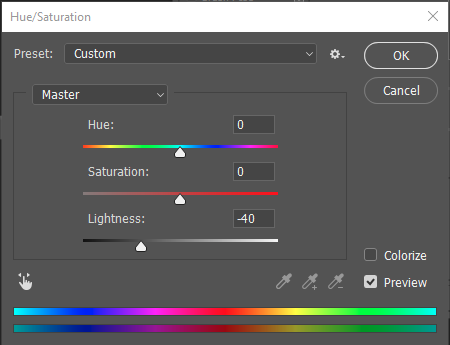
Set the lightness to -40 and select OK.
On the layer menu, drag the Tombstone shadow layer under the Tombstone layer.
From the Tools menu, select the Move tool (usually the very first tool). ![]()
Use the arrow keys on your keyboard to move the shadow layer up and to the right until it looks like the edge of your tombstone. The bottom right corner will look weird, but we’re going to hide it later.

Adding the Text
On the layer menu, select the Tombstone layer so your text will be the top layer.
Select the Text tool (the T on the tool menu). ![]()
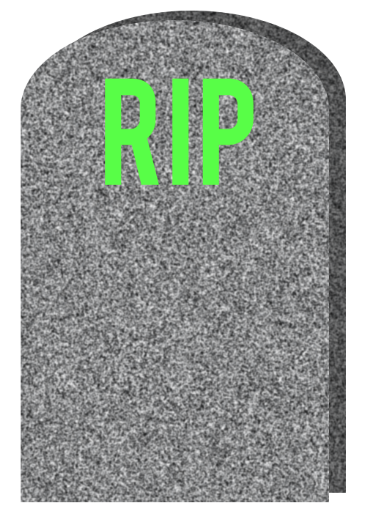
Pick a bright color and a thick font, and add your text. Adjust the text so it’s the right size and in the correct position.
On the options menu, change the text color to a light gray. Your words will be harder to see.
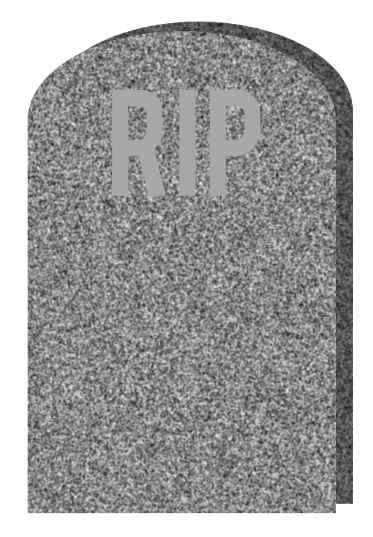
On the layer menu, change the mode of the text layer from Normal to Multiply.

Your image will look like this:

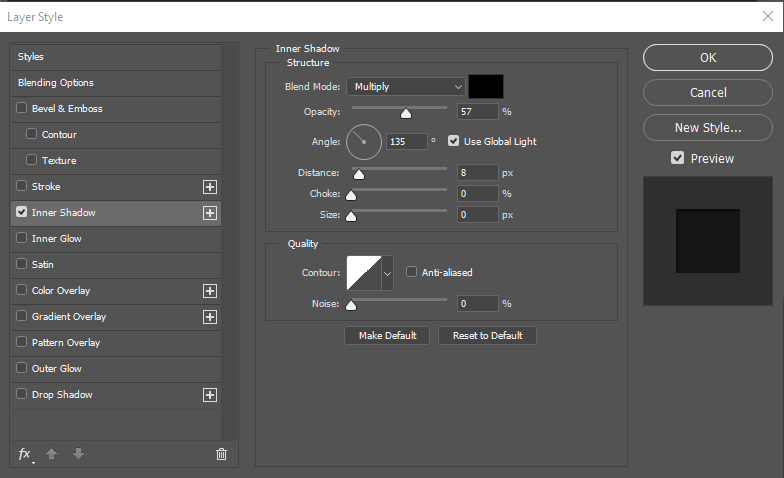
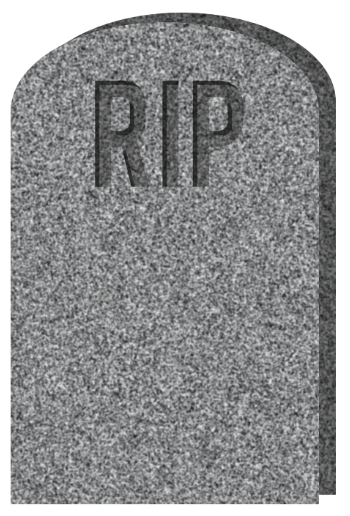
Add an inner shadow to make the text look carved into the stone. On the layer menu, double click the right side of the text layer to open the layer styles menu. Adjust the opacity, angle, distance, choke, and size until you get a shadow you like. Here are the settings I used:
And here is the result:
Follow the same steps to add the rest of your text.
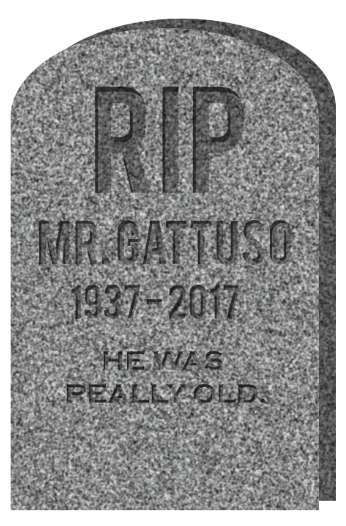
Now it’s time to fix that corner! The easiest way to simply cover it up. With a new layer on top of the others, like this:
Then make another layer below the tombstone for the ground behind it.

Finishing touches
Fill in the background layer with your sky colors. You can make a moon using two circles.

You can add some grass with the brush tool. You’ll have to add the legacy brushes to make it work.
Switch to the brush tool. Select the down arrow next to the brush at the top of the screen. Select the gear on the top right, then Legacy Brushes at the bottom of the list.
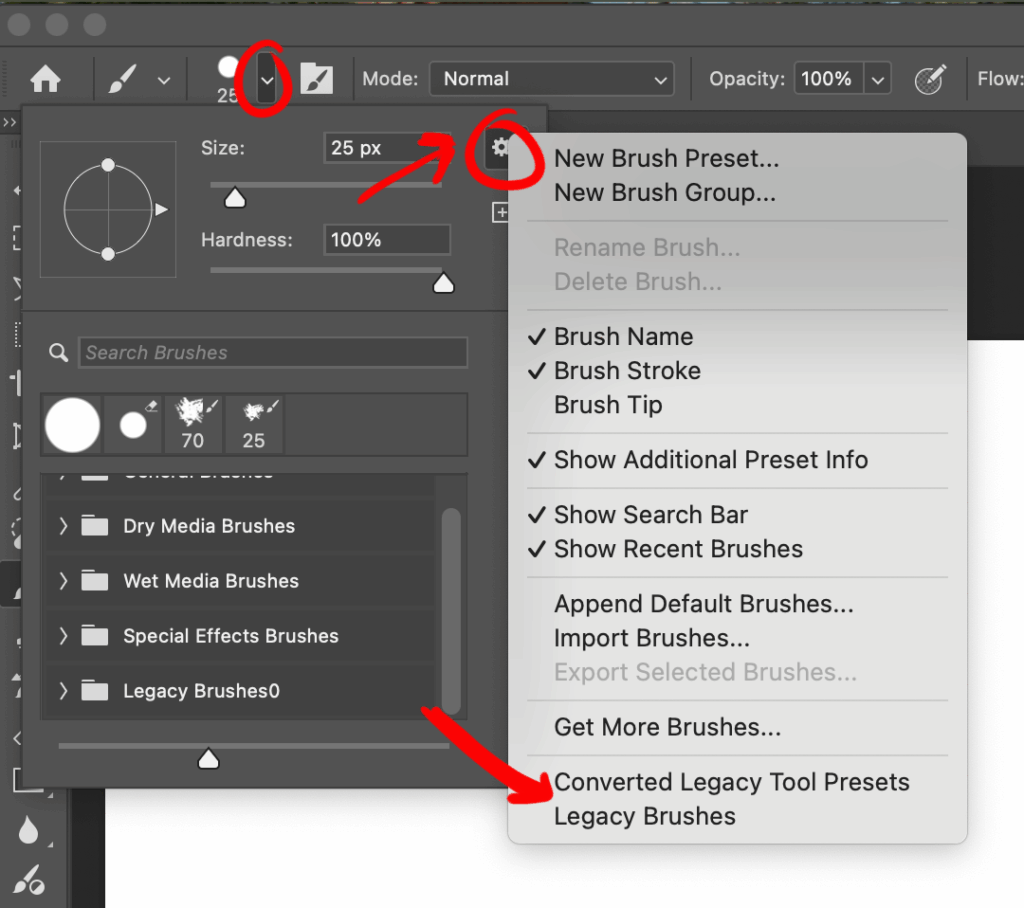
This box will appear:
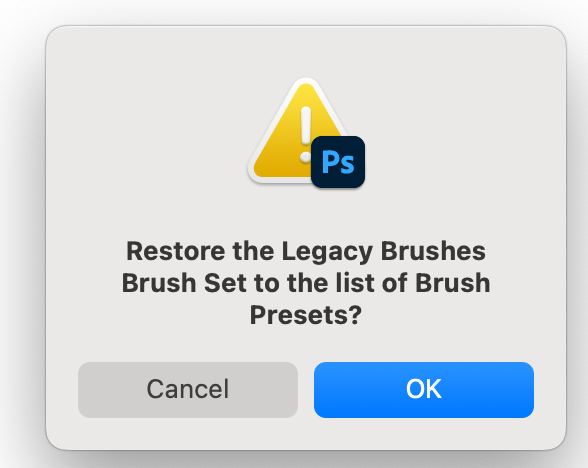
Select OK to install the brushes.
Use the search to look for grass and select the brush called Dune Grass.
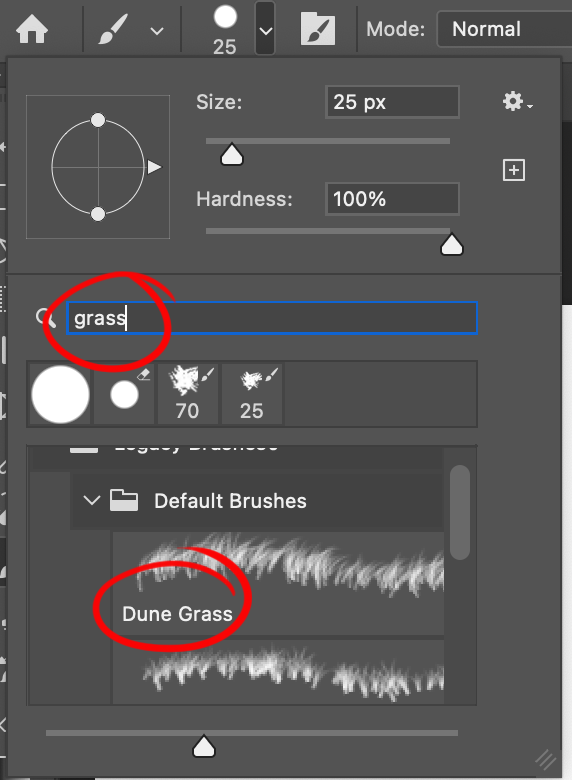
If you choose that and set your foreground and background colors to grass colors, Photoshop will automatically make grass clumps with random colors and angles.

I also added some fog and clouds. The cloud layer is behind the tombstone, and the fog is in front. Use a large, low opacity brush so there are no strong edges.
Final product:

Project file: Graveyard Photoshop file
