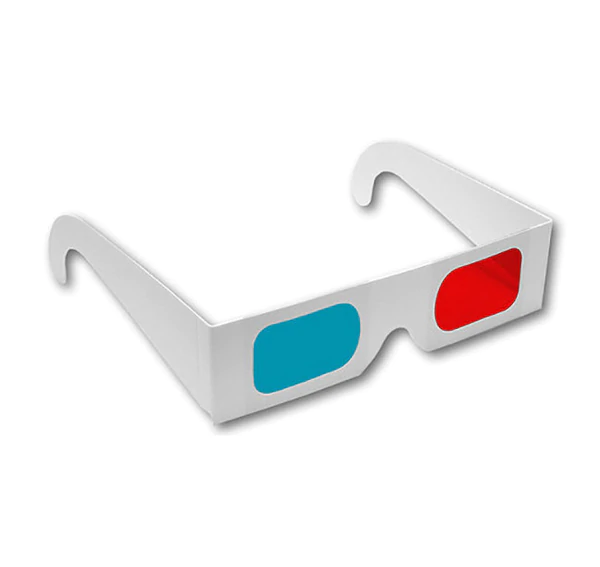
This project will show you how to make a 3D image that can be viewed with standard red/cyan 3D glasses. It works best with grayscale (black and white) images.
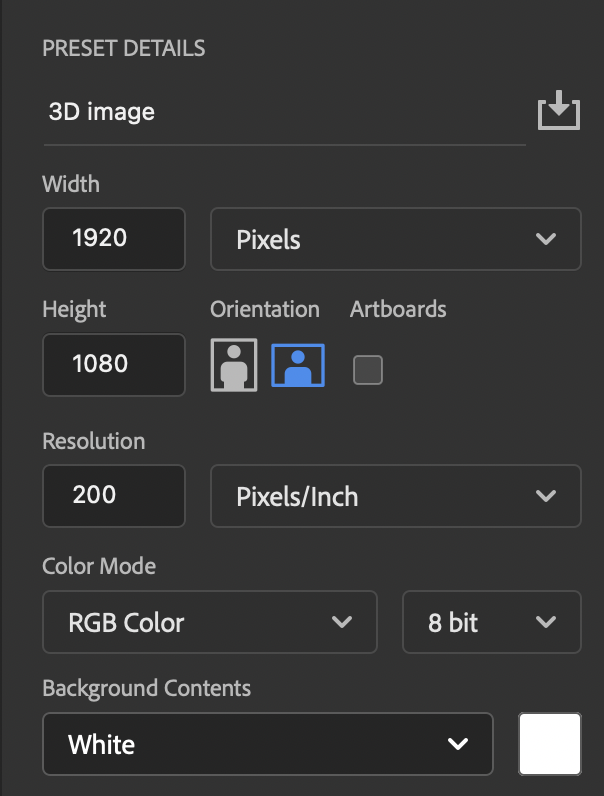
Create a new blank document. These are the settings I used, but your document may be a different size.
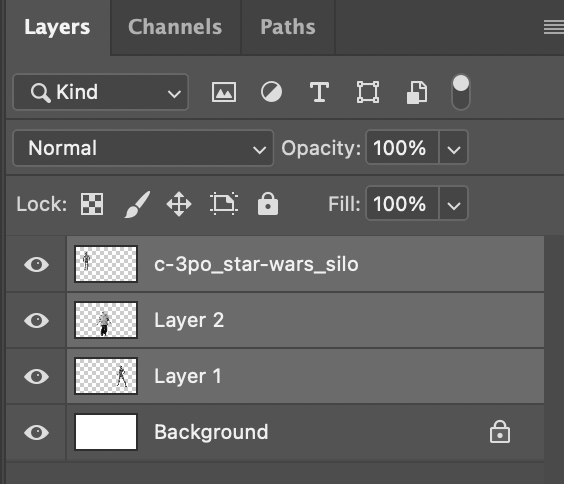
Open an image that you want to add. use the selection tools to select just the object.

Select Image/Adjustments/Hue & Saturation and turn the saturation all the way down.

Copy the image to your 3D image, and place it where you want it in the picture.
Repeat the steps above for all other figures/shapes you want in your image.

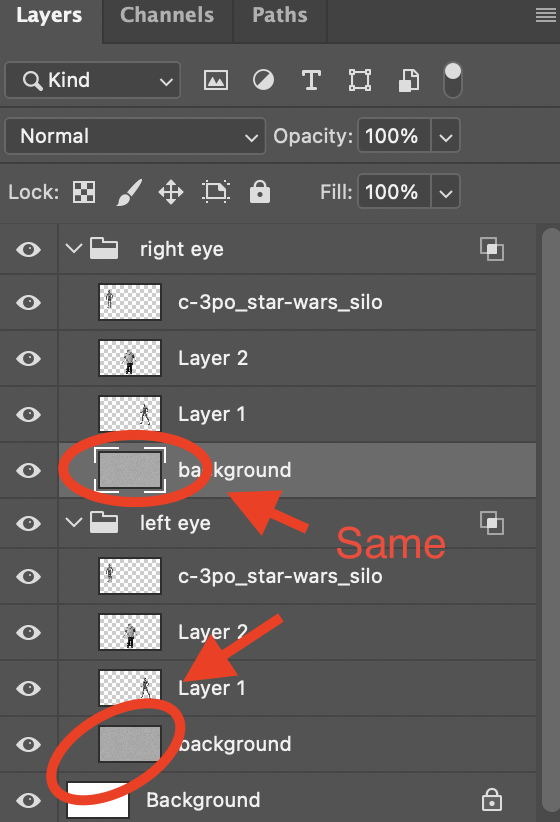
On the layers palette, select all of your objects.
Select the “create a new group” icon at the bottom of the layers palette (it looks like a folder). Your objects will be placed in a group named “Group 1.” Rename the group to “left eye.”
Duplicate the group – you can right click it and select “duplicate group” or press command-J (ctrl-J on a Windows machine).
Rename the new group “right eye.”
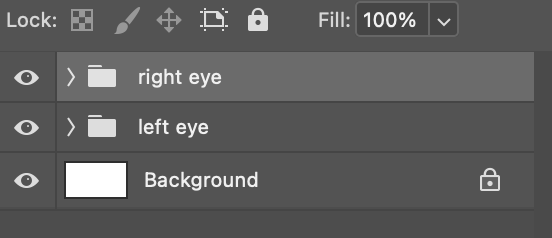
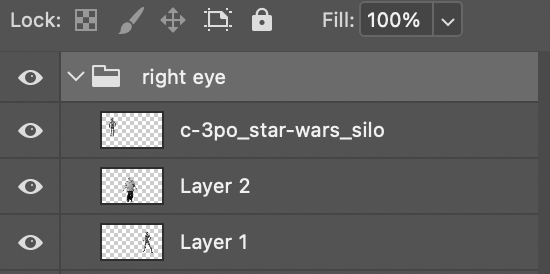
Select the arrow on the right eye group to see the contents.
Select the move tool (usually the very first tool in the tool bar. It looks like four arrows.
Select each image individually and move them sideways with the arrow keys. Moving to the left will make the image appear closer.

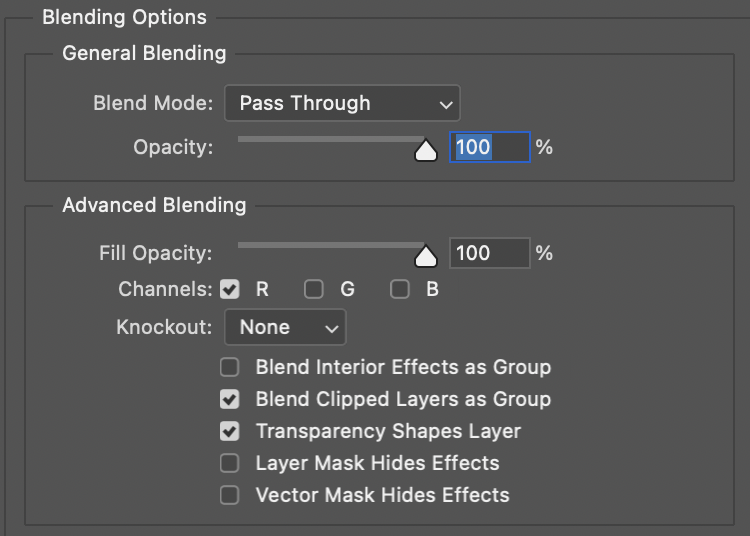
Double click the right eye group. Under Advanced Blending options, turn of the red channel by deselecting the R, then select OK.
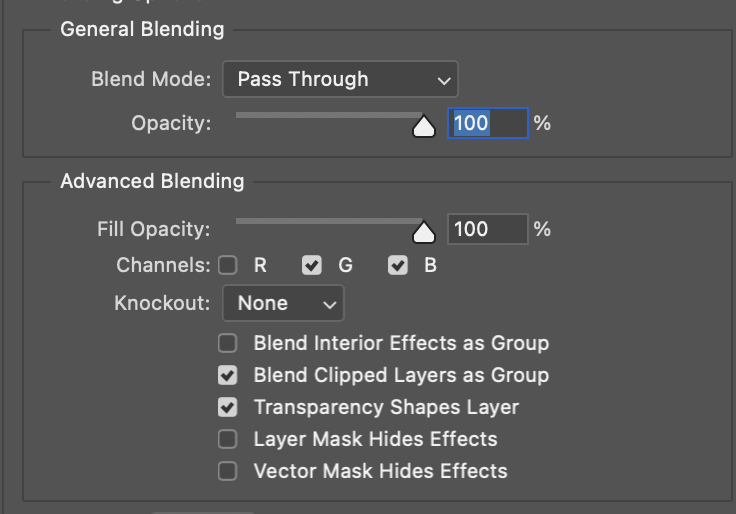
Double click the left eye group and turn off the green and blue channels.
You’re done!
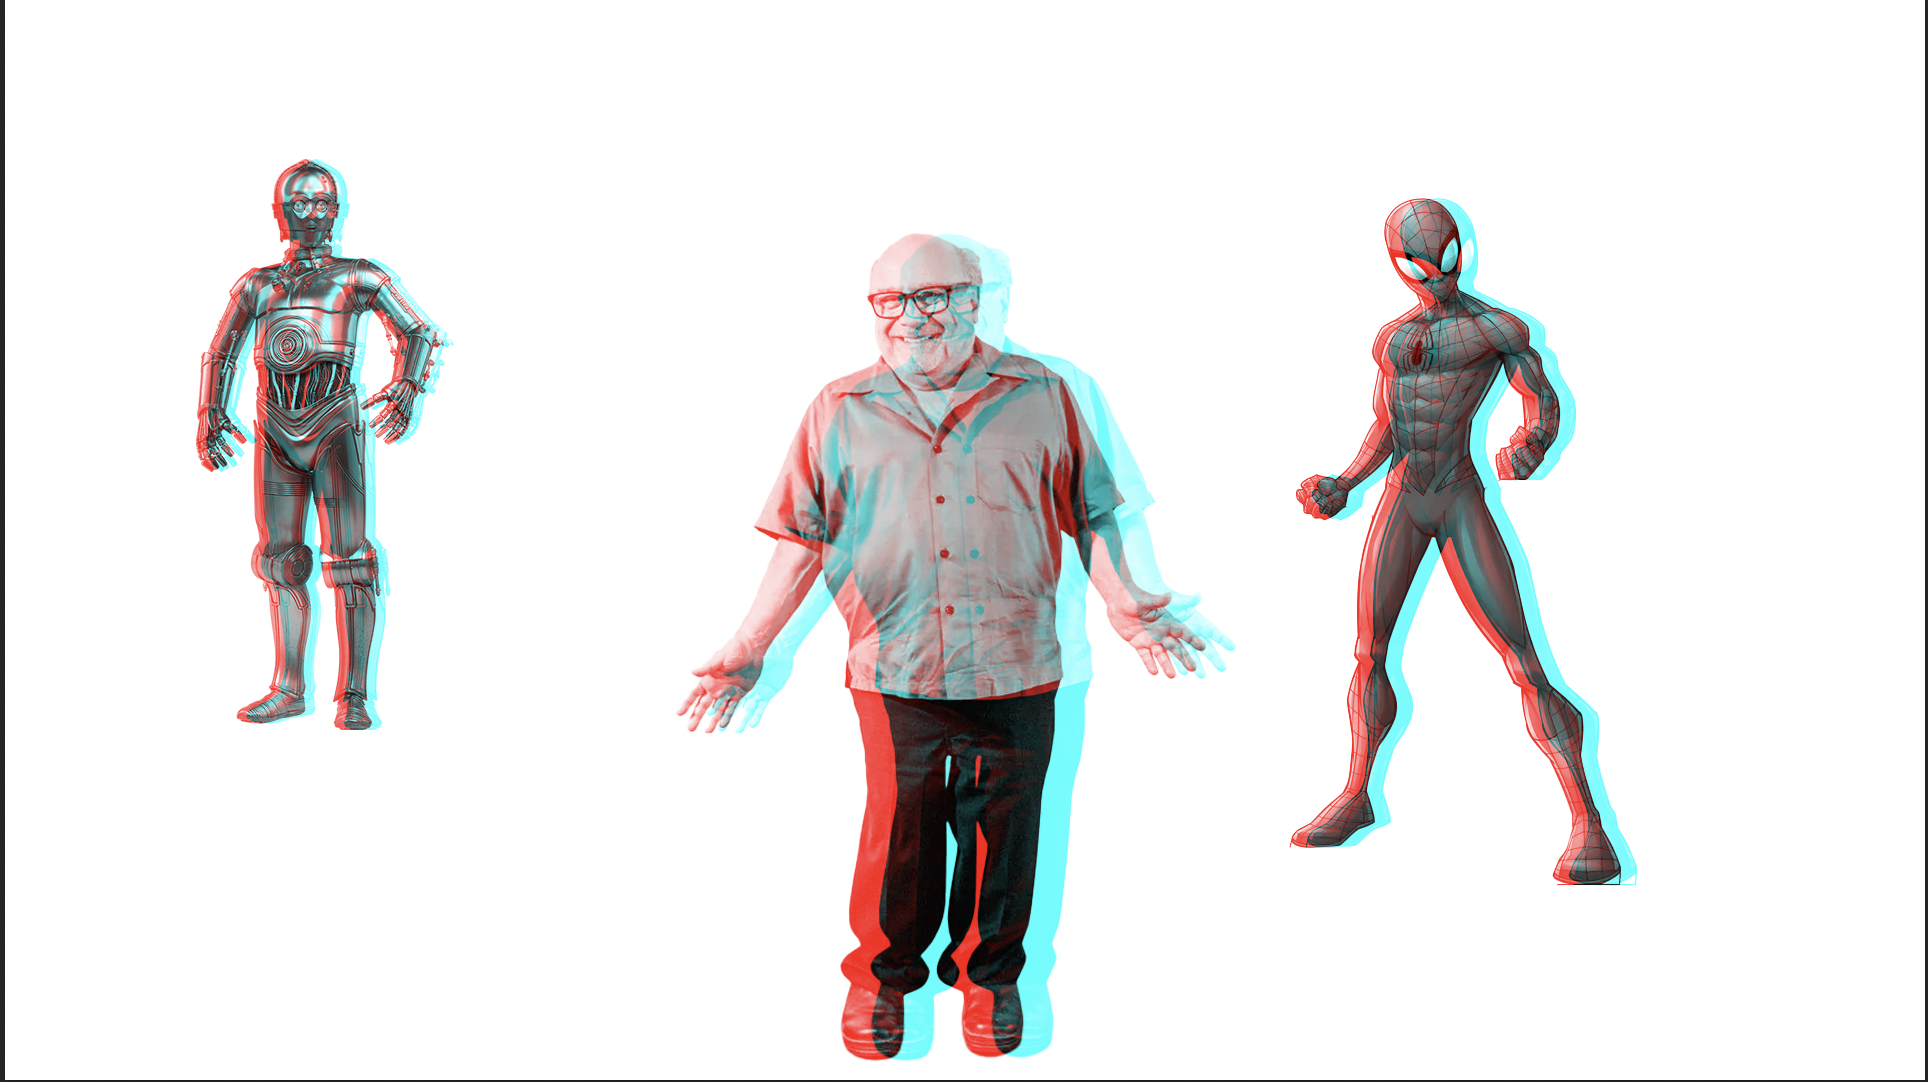
Sample finished image:
The effect works better if you add a lightly textured background.

To add the background, create a layer below your objects in the right eye group, then copy that later and put the copy below the images in the left eye group.