
Open Photoshop. Create a new file, 7.5 inches wide, 10 inches tall, 200 pixels per inch, with a white background.

Open your main image in another window. I’m using this picture of Spider-Man.

If you need to, cut out your main figure. This Spider-Man is already on a transparent background, so it’s not necessary.
Switch to the move tool. Drag the center image onto your blank document.


Use the transform tool (command-t on a Mac, Ctrl-t on Windows) to resize the image.

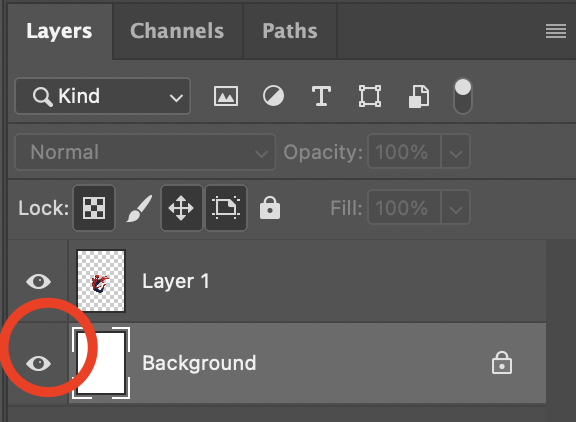
On the layers palette, select the background layer, then hide it. You will see your main image on a checkerboard backgroud.

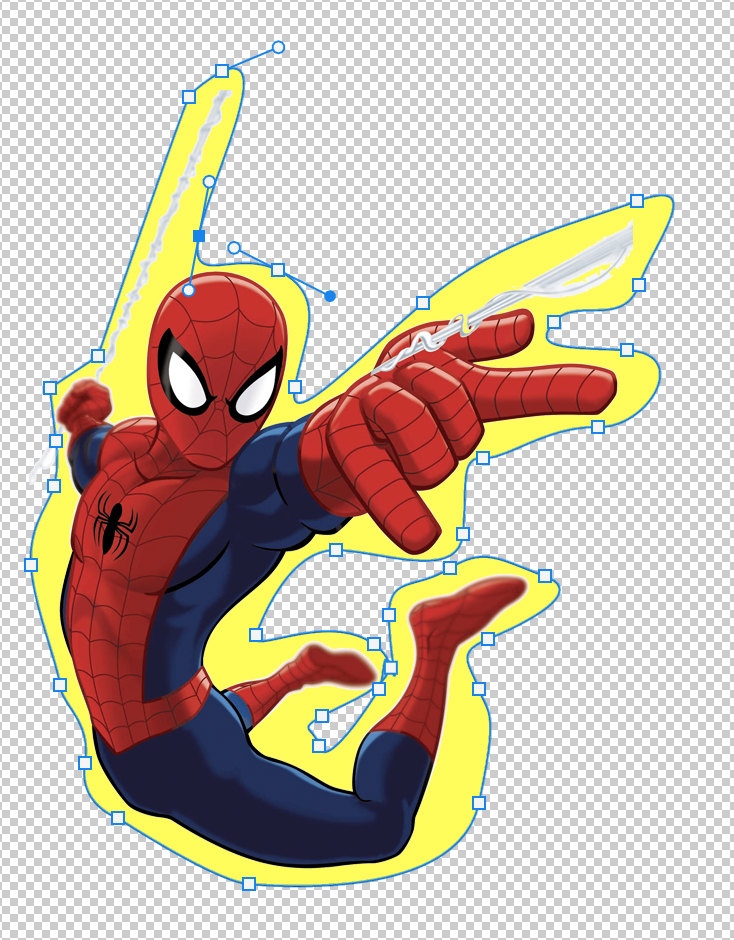
Select the pen tool. Change the draw mode to “Shape,” and pick a color. I chose yellow.

The pen tool works differently from the brush tool. To draw shapes with the pen tool, click points to define the edges of a shape. To make cures, click and hold, then drag to pull out adjustment handles. This short video will help you build your pen tool skills.
Create a shape around your subject. Photoshop will automatically create a new layer for your shape.
You might decide to match your subject’s outline more closely than the example.
When your shape is complete, select the background layer, change the fill color, and create a new shape that surrounds the first one.

Notice that as the layers build up the shape becomes more simplified.
Repeat the steps until the document is filled. Your final shapes will go off the edge of your image.

You can easily change the color of any layer. Switch to the path selection tool or direct selection tool (on the standard photoshop tool palette, it’s under the text tool). Select the layer you want to adjust, and change the fill color at the top of the window.