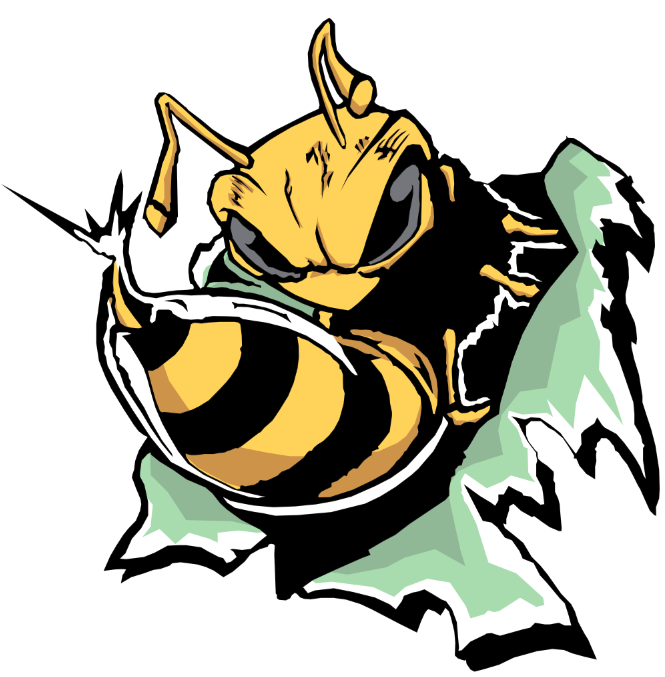
Goal: Create a new image based on a drawing.
Sometimes you have an image that’s not quite right. Maybe it’s too small. Maybe the colors aren’t right. Maybe you want to change part of it . This is a method you can use to get a cleaner image.
Select an image
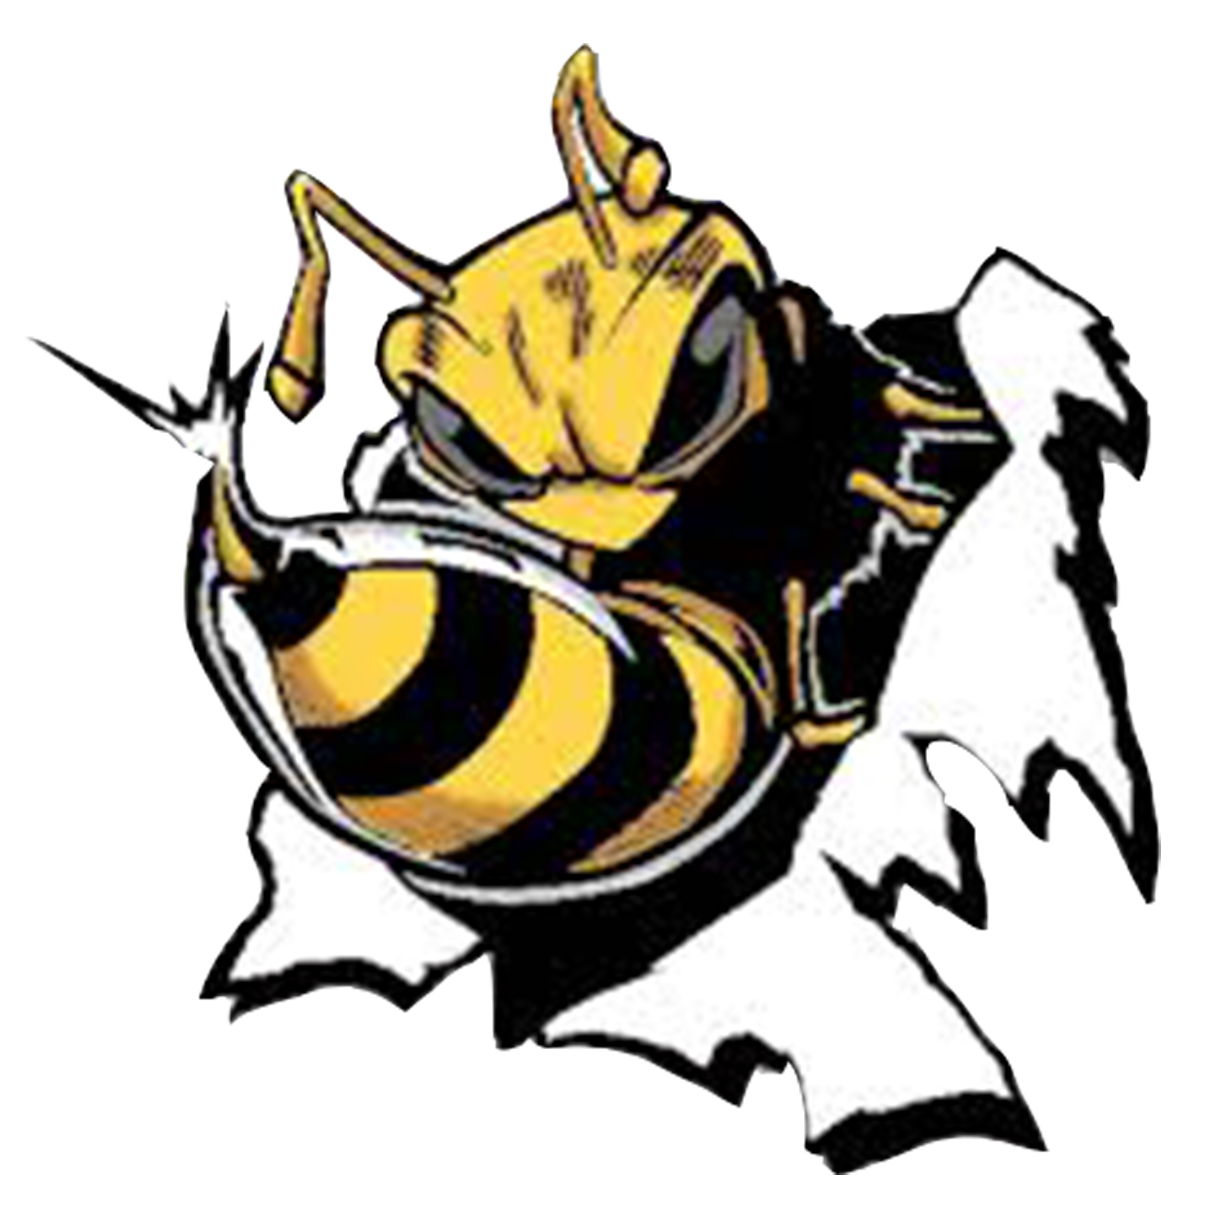
This is a yellowjacket we wanted to use on our yearbook cover. It’s too small and fuzzy to use for print:
Create a new blank image in Photoshop
Go large. If you make the file larger than you think you’ll need, it will look sharp if you size it down later. If you make it too small, it will be fuzzy if you size it up. For this, the document will be 4 inches by 4 inches, 300 pixels per inch. That’s almost twice as big as it needs to be on the final cover.
Add the image to the new document as a new layer, and resize it as large as it will fit.
Drag the image you want to copy onto your new document. It will be added as a smart layer (with diagonal lines to show you it can’t be edited. Make the image as large as you can make it fit, then press return/enter.

Change the opacity of the layer to 66%.
Making the opacity lower makes it possible to see where you’ve added blacks.
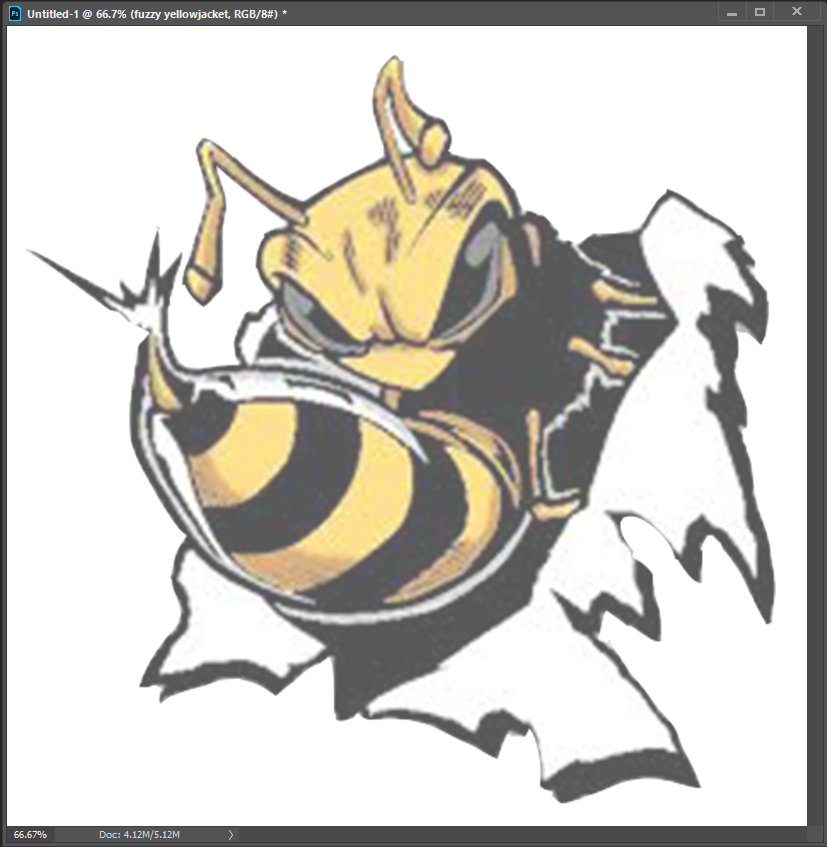
Make a new layer called blacks. trace the black areas of the image.
There are a lot of ways to fill in areas with blacks or colors. One of my favorite was is to use the polygonal lasso tool to trace the shapes, then fill with the color. This makes very sharp edges.
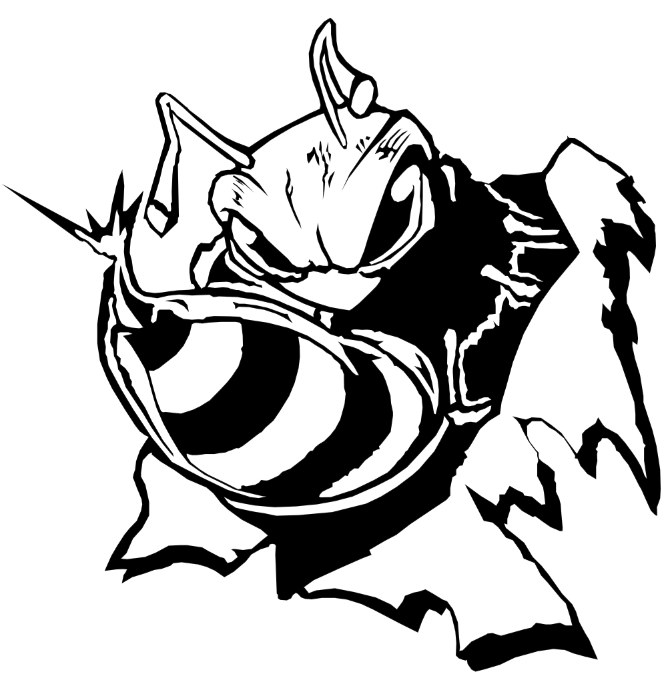
Hide the Blacks layer.
Turn the opacity back up on the original layer.
You need the opacity at 100% to sample the original colors correctly.
Make a new layer between the blacks and the original image. Name it colors.
Putting the colors under the blacks means you don’t have to be as careful about keeping the colors exactly inside the lines.
For more complex images, use more than one color layer. That way you can change/remove colors without having to redraw everything. This image was simple enough that the colors work on a single layer.
Add your colors.
You can add color areas the same way you added the blacks. Use the eyedropper tool to sample colors.
Here’s the color layer by itself. Notice that some of the colors are under where they will be covered by the blacks. There are also some added greens to show shadows on the “ripped paper.”
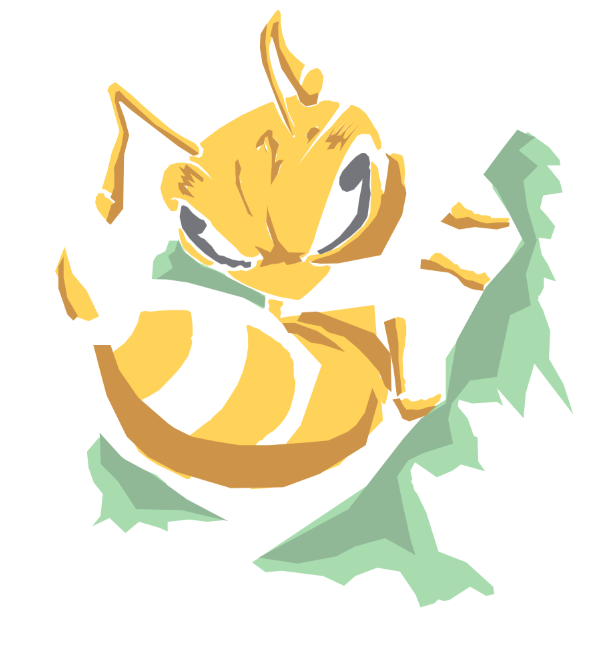
Turn off the original layer, and turn on the blacks layer.
Done!
