
Let’s make a rocket fly!
We’re going to make this:
Get a rocket
You can find a rocket online, or make your own. Make sure your rocket is on a transparent background, or you will see a rectangle around your rocket. Your rocket should be at least 300 pixels tall. Larger will look better. I’m going to use this rocket I found by searching for “rocket transparent”:

Create a new project in Premiere Pro
Open Premiere Pro and select the New Project button in the upper left corner. Give your project a descriptive name, and choose a location where you can find it. You can leave the other settings on their defaults.

Premiere Pro use workspaces, different layouts to help you get to the tools you need for creating a video. They’re listed in a menu at the top of the screen:

For this project, we’re going to use the Editing workspace. Select it from the menu. If you haven’t changed it, your workspace will be divided into four sections.
Add your rocket to the project
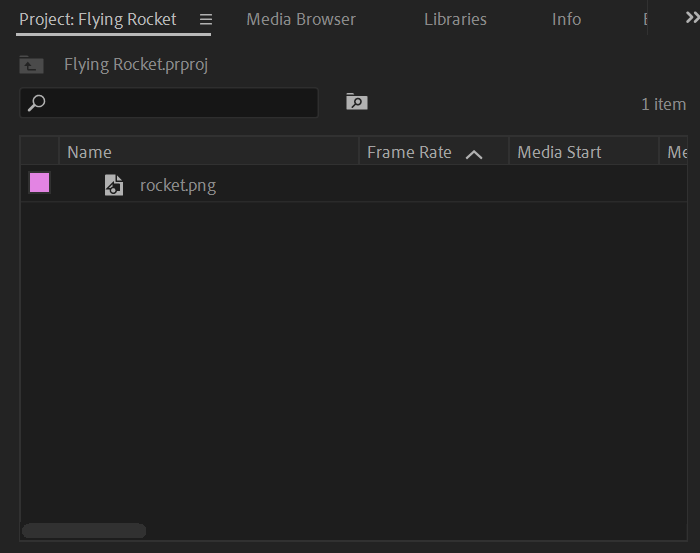
The bottom left corner is the media panel. It shows all of the movies, sounds, and images you have added to the project. When you start a new project, you will see the message “Import media to start.”
There are lots of ways to import media. If you can see the folder with your media at the same time, you can drag your rocket directly into the media panel. If you can’t see the folder, select File from the menu at the top of the screen, then select Import from the drop down menu. Find your rocket, select it, and select open to add it to your project.
Make the sky
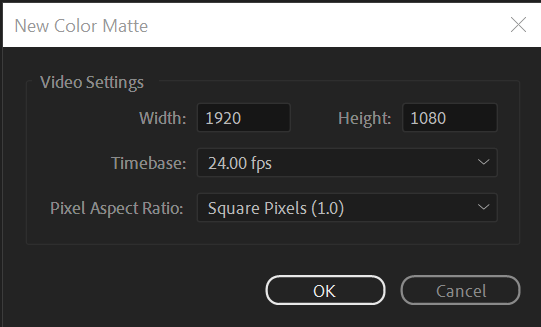
Now we have a rocket, but we don’t have anywhere to fly it! Let’s make some sky. Select File again, then New, then Color Matte.
Set the width to 1920 pixels, the height to 1080 pixels, the timebase to 24.00 fps, and the pixel aspect ratio to square pixels. Select OK.
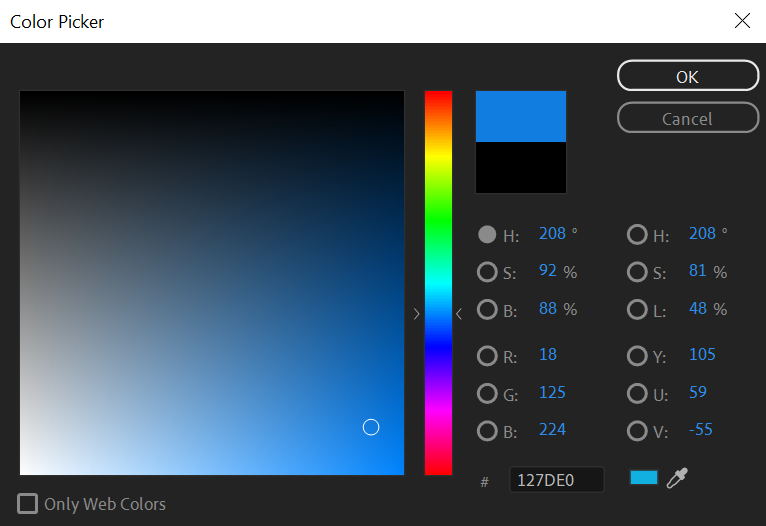
Choose a color for the matte, then select OK. I chose a blue, but any color will work.
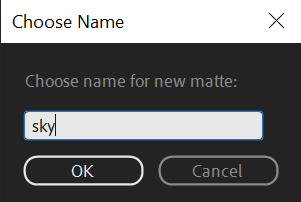
Give your matte a descriptive name.
Add the parts to the timeline
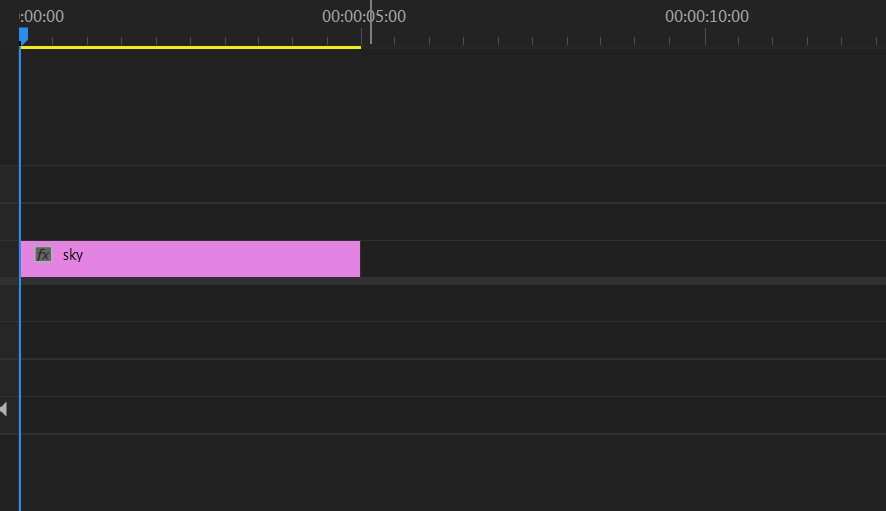
The matte will be added to your media panel. Drag the matte from the media panel to the timeline panel on the bottom right.

When you add the matte to the timeline panel, a few things will happen. A new sequence with the same name as the matte will appear in the media panel. The timeline panel will show a video timeline, and the color matte will be added to the V1 video layer. The program panel on the top right will now show your sky.


Depending on your computer and screen layout, the visible timeline could be anywhere from one minute to five minutes. That’s way more than we need. Drag the handle at the bottom of the screen to zoom in until you only see about 15 seconds. You don’t need to be exact.


Premiere Pro makes any still image you add to the timeline play for five seconds. You can extend the play length by hovering over the edge of the image in the timeline and dragging it. Make your matte stay on screen for ten seconds.

Drag your rocket from the media panel to the V2 layer on the timeline, and stretch the play length to match the background. Your rocket will appear on top of the sky in the program panel. My rocket fits on the video, but yours might be larger or smaller. That’s okay. We’re going to move it.


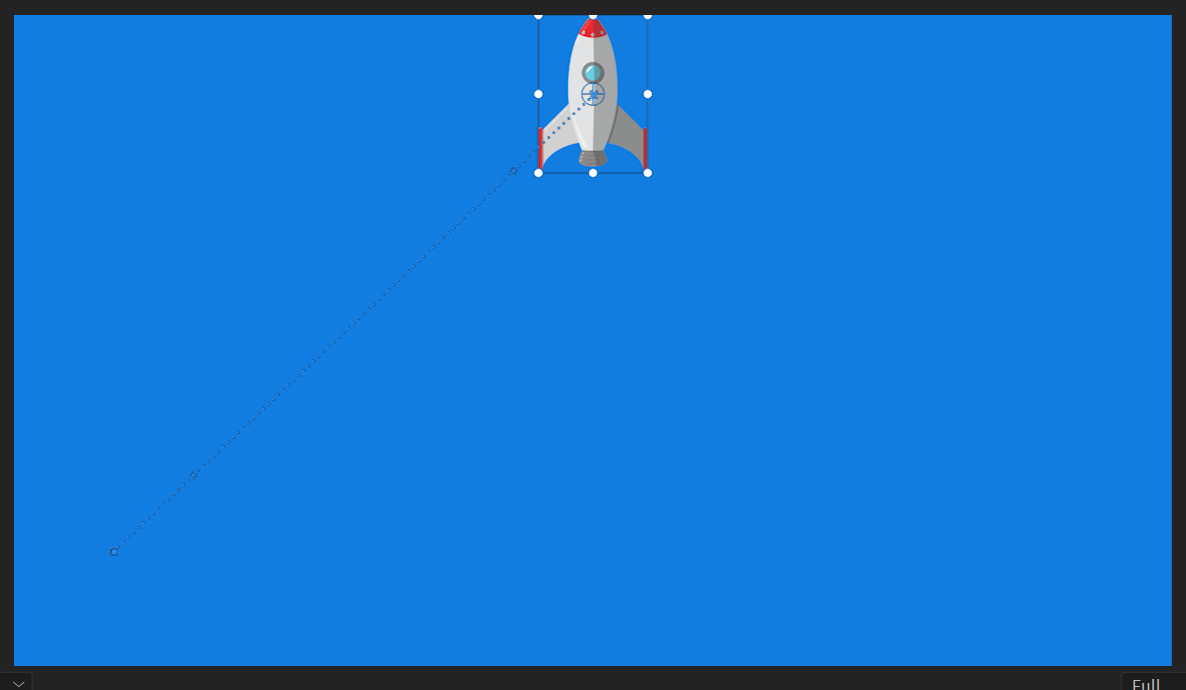
Place the rocket at the launch point
Our rocket is going to wait at the bottom left corner of the screen for one second, fly to the center top of the screen, and (crash) land at the bottom right.
Double click the rocket to make the transform box appear around it.
When the transform box is around an object, you can drag it to a new position, and resize it by clicking and dragging on one of the handles on the box. Change your rocket’s size and position so it fits on the bottom left of the video.

To set up when, how, and where our rocket moves we have to add markers called keyframes to the image.
On the timeline, drag the playhead (the blue shield shape) to the one second mark on the timeline.

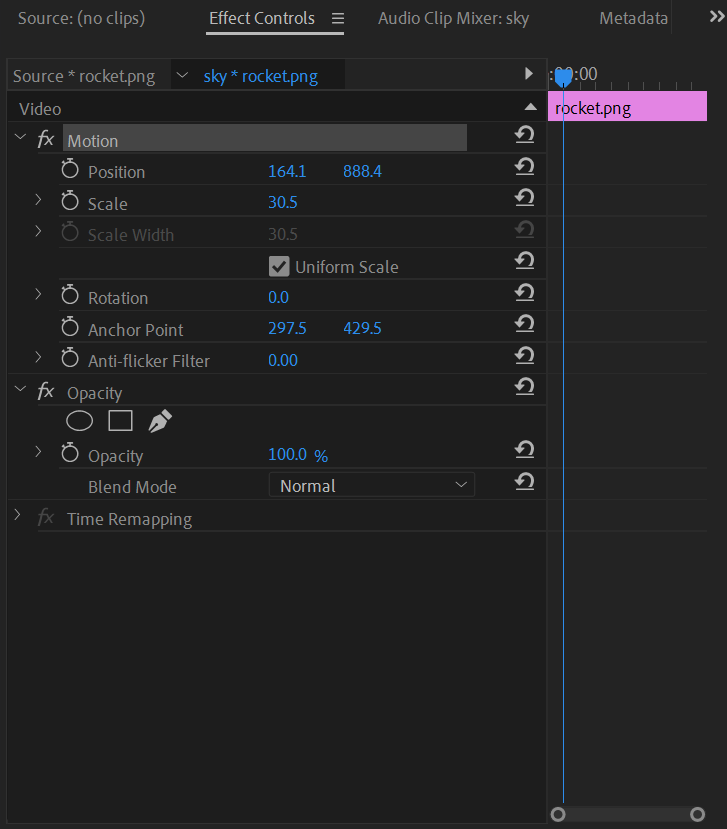
The Effects Panel is in the upper left corner. If you still have the rocket selected in the timeline, the effects panel will show you a lot of information about the size and position of the rocket. Your numbers will probably be different from those in the example.
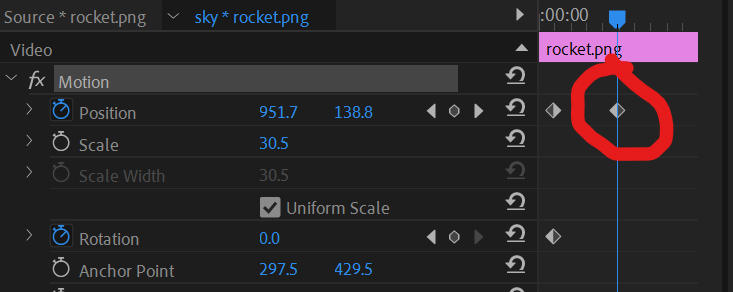
Set keyframes
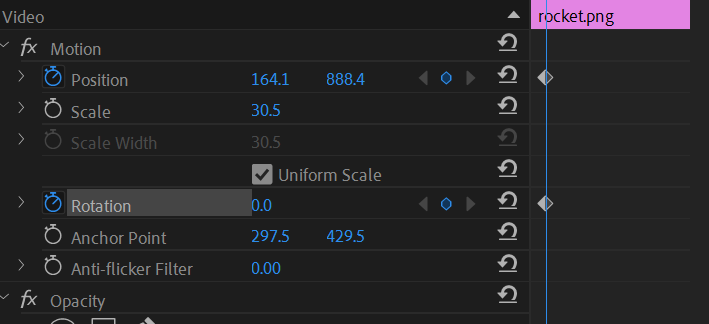
Next to each setting is a picture of a stopwatch. The watches are all white with blank faces. Click the watches next to Position and rotation. They will turn blue and watch hands will appear. This tells you that they are now recording keyframes of the position and rotation. You’ll also see diamonds appear on the small timeline next to the position information. Those are the keyframes.
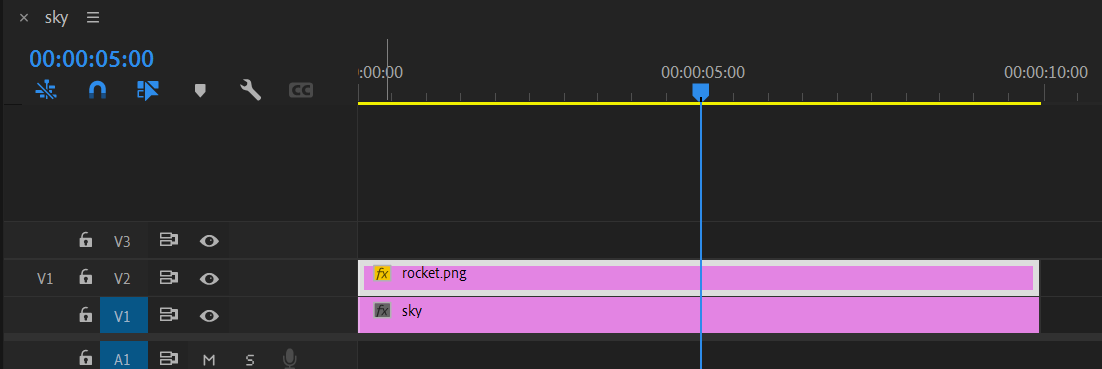
On the timeline panel, move the playhead to the five second mark.
Double click the rocket in the program panel and drag it to the top center of the screen
You don’t need to click the stopwatch again to add a new keyframe. It will now add keyframes automatically.
If you move the playhead back to the start of the timeline and press the spacebar you can see a preview of your animation so far. Your rocket goes up!

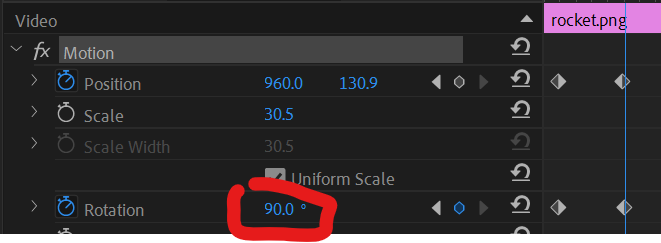
Follow the flight path
Now we need to make it turn. Move the playhead to the five second mark again, and set the rotation to 90 degrees.
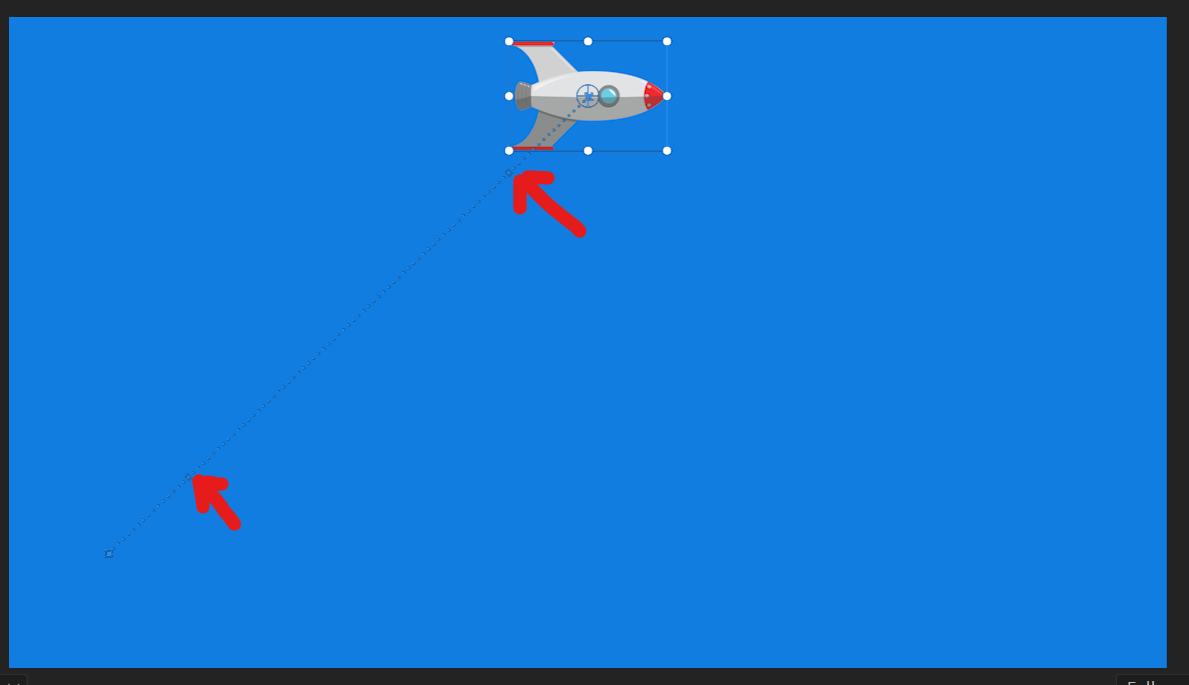
Now the rocket turns, but it looks like it’s floating.

We need to adjust the flight path of the rocket. right now, it’s straight. to add a curve, we can use the handles on the path. If you don’t see the path in the program panel preview, double click the rocket. Drag the handles out to make a nice curved path for our rocket.


“Landing”
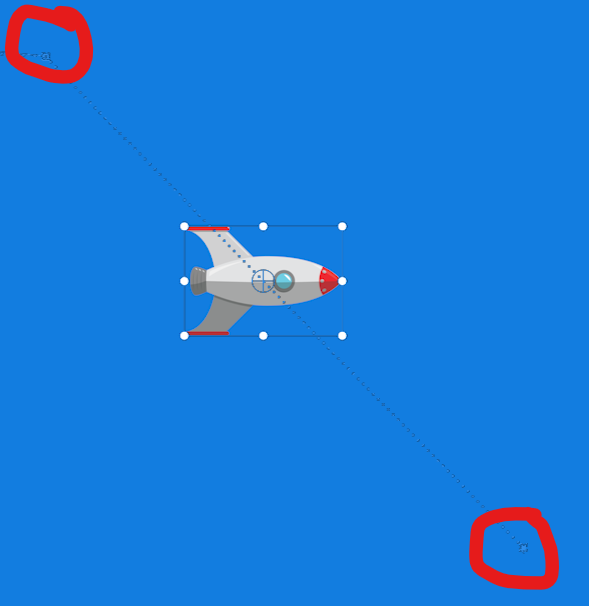
Now it’s time to crash our rocket. Move the playhead to the nine second mark, and follow the same steps to position your rocket upside down in the bottom right corner, and set the rotation to 180. But there’s a problem!

This part of the path doesn’t have draggable handles, but that’s not a big deal. click and drag on the markers for the keyframes in the program panel and the handles will appear.
Render your movie
And you’re done with the hard part! All that’s left is to render the project as a movie. From the main menu, select File, then Export, then Media.

The Export Settings window will appear. There are a TON of settings, but you can ignore most of them. These are the important ones for us:
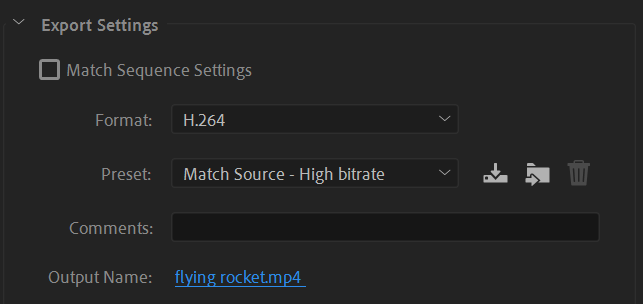
Change the format to H.264, and the output name to something descriptive. I used “flying rocket.” When you change the name, you should also make sure your movie is getting saved to a location where you can find it.
All that’s left is to press the export button at the bottom of the window, and you’re all done!