
Use the front panel you made in the Cereal Box I project and the full box template to complete the rest of the cereal box. Decorate the sides, top, and bottom of the template appropriately. The front and back should be different!
Completed cereal boxes will be printed and assembled!
Your box MUST have:
- Appropriate decorations on all sides
- A UPC code
- Nutritional Information (look online for examples, but make your own)
- An ingredient list
- A description of the cereal
Your box CAN have:
- Whole grain logo
- Games
- Prize inside
- Box tops for education
When you are done you’ll have a box that looks something like this:
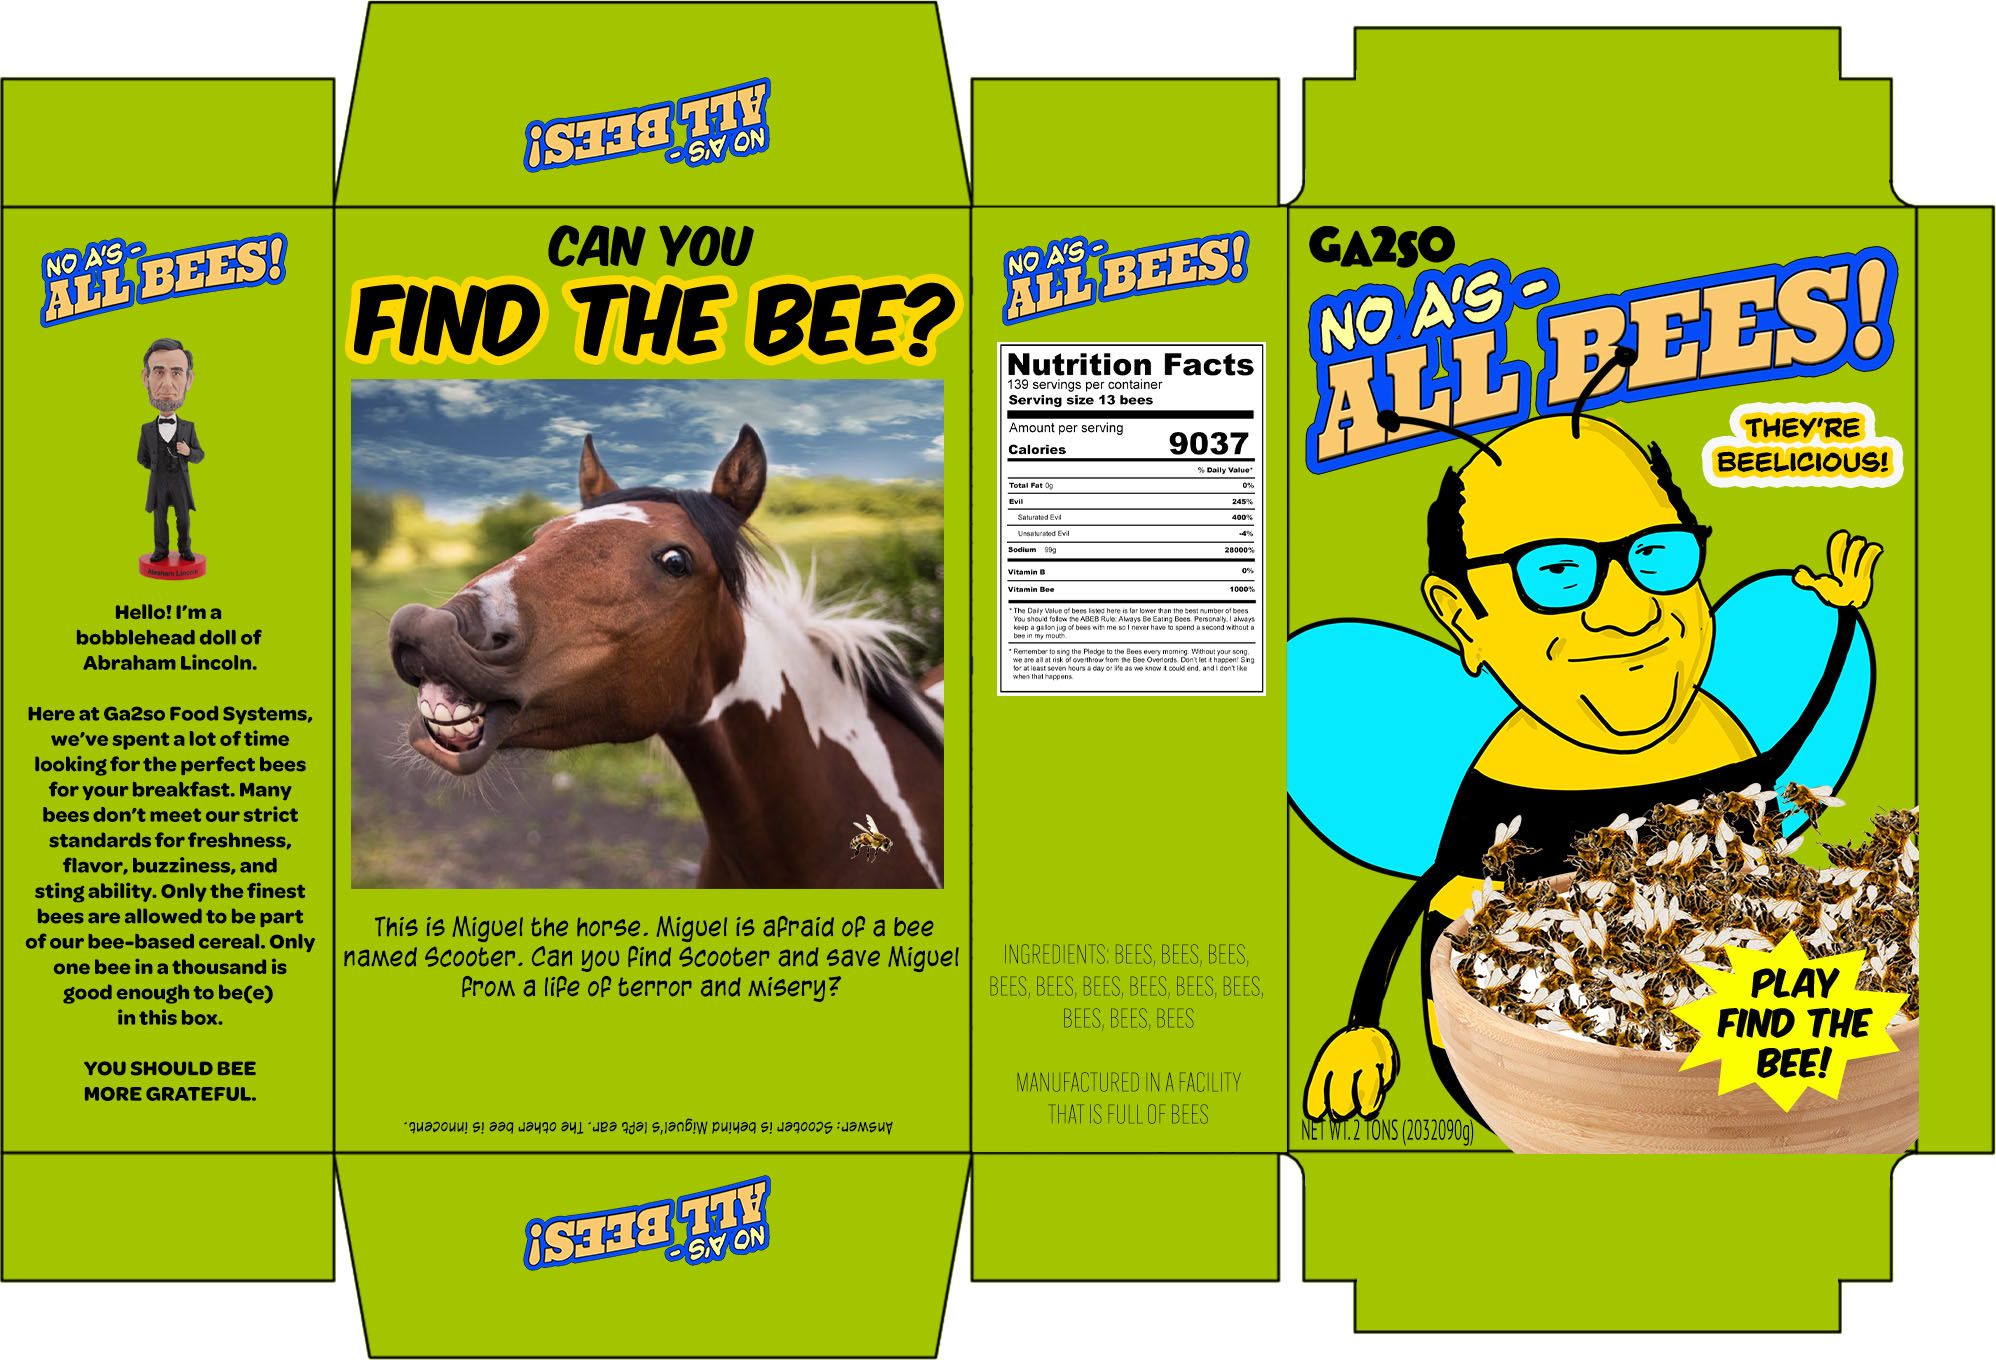
How to color the box background
Open the template.
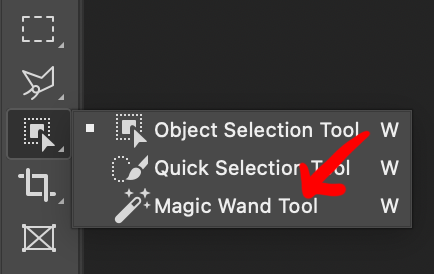
Go to the toolbar on the left side. Choose the magic wand. You might have to select and hold the quick selection button to make the wand appear.
In the tool settings at the top of the screen, make sure “sample all layers” is selected.

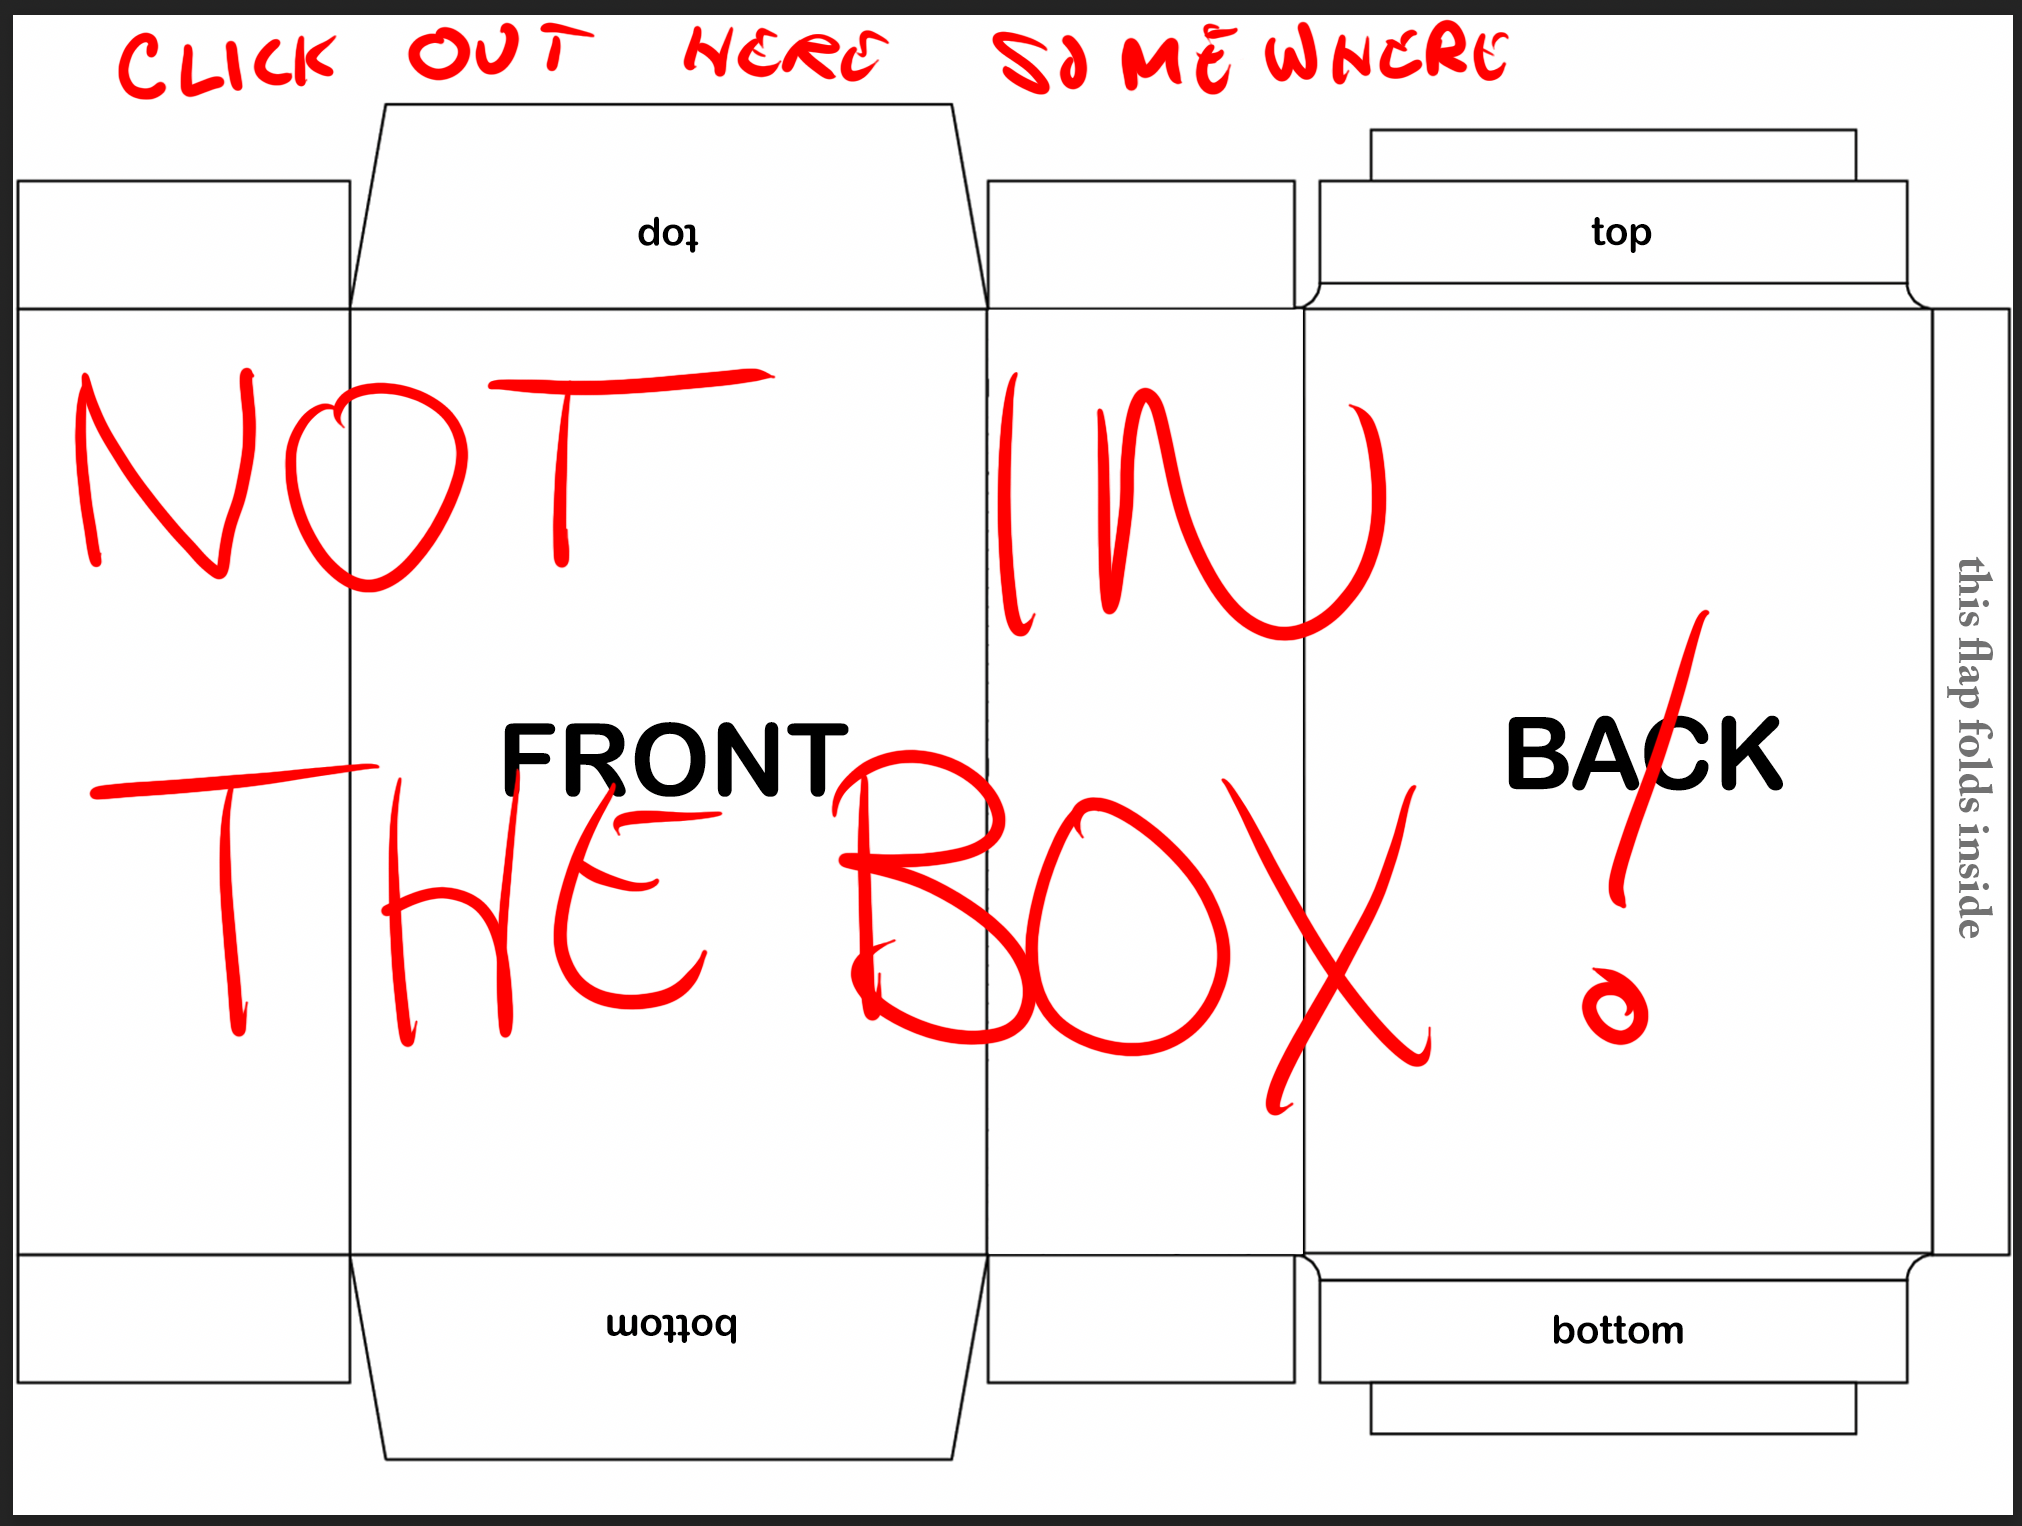
Select a point outside the box.
The marching ants will surround the box and the outside edge of the image.
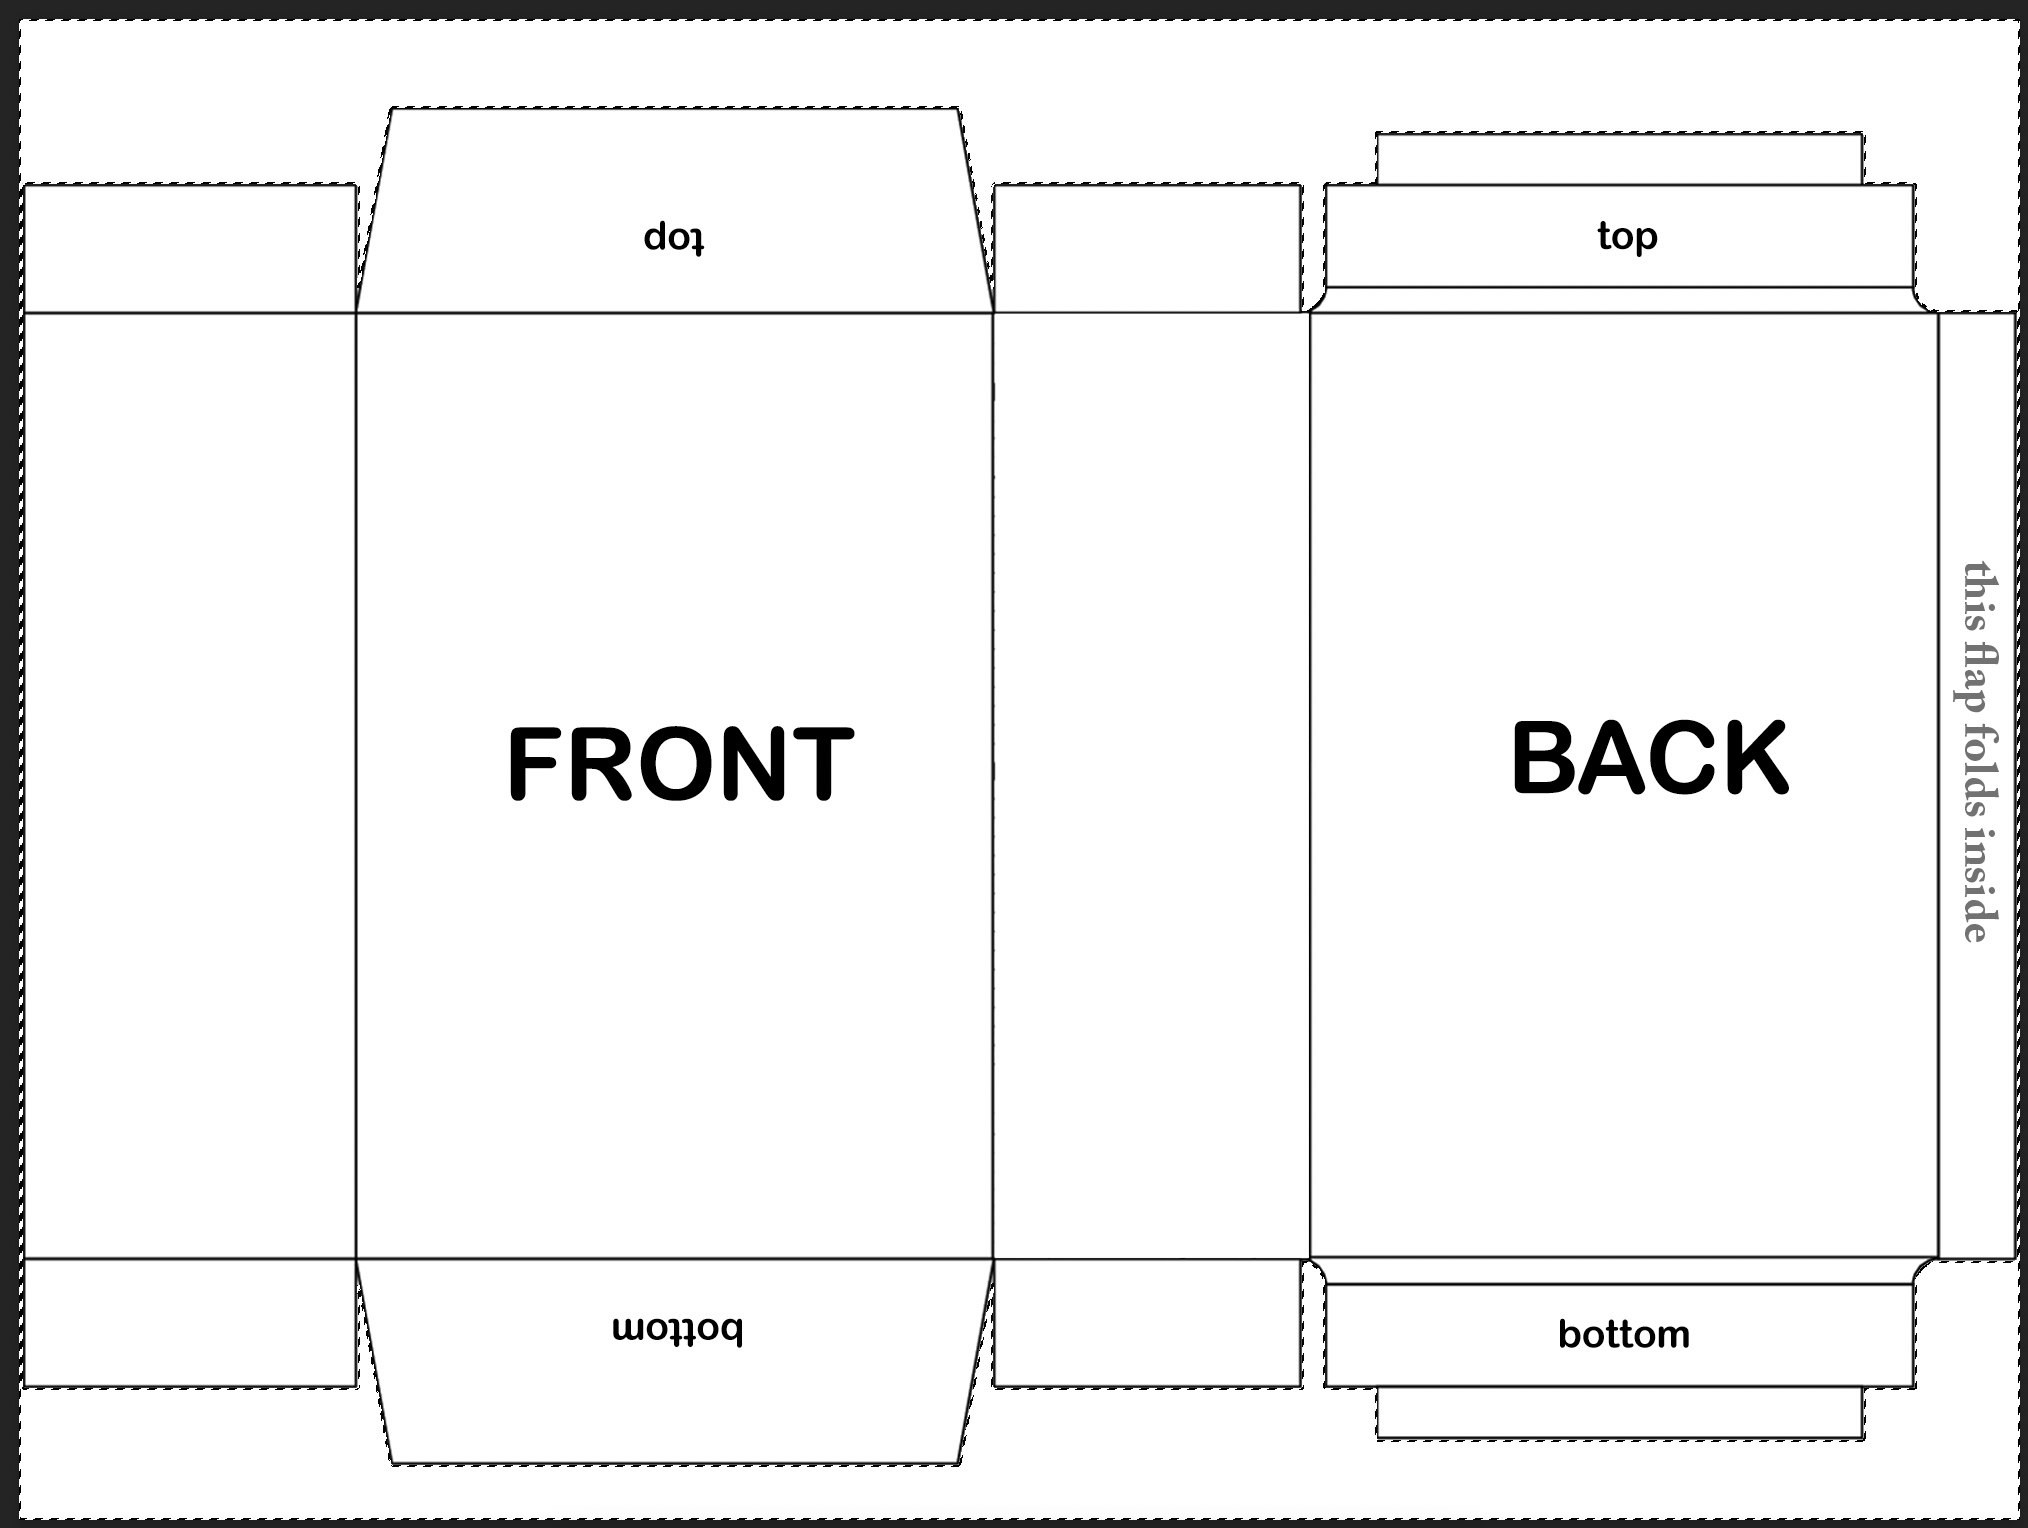
At the top of the screen, choose Select, then Inverse.
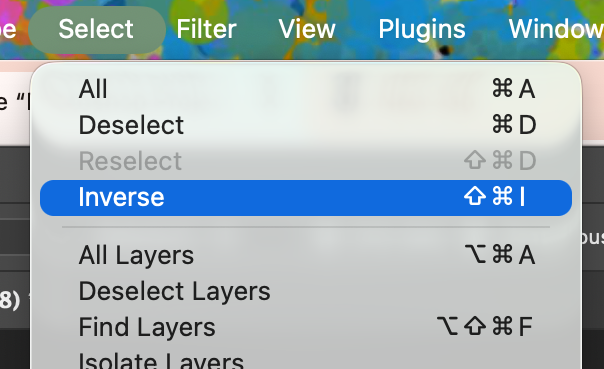
The ants will now only be around the box.
At the bottom of the layer palette select the new fill or adjustment layer icon, then select solid color.
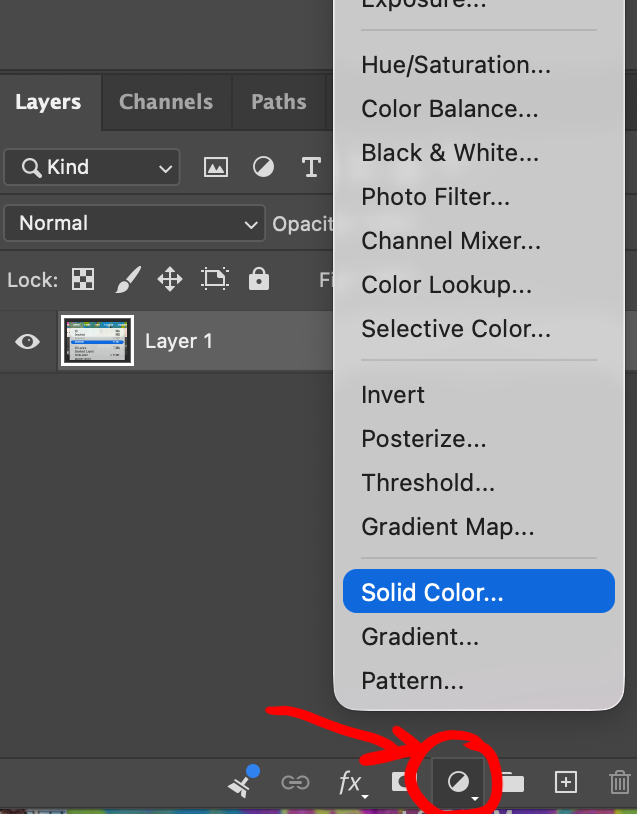
Use the color picker to choose your box color. You won’t be able to see the template lines while you pick.
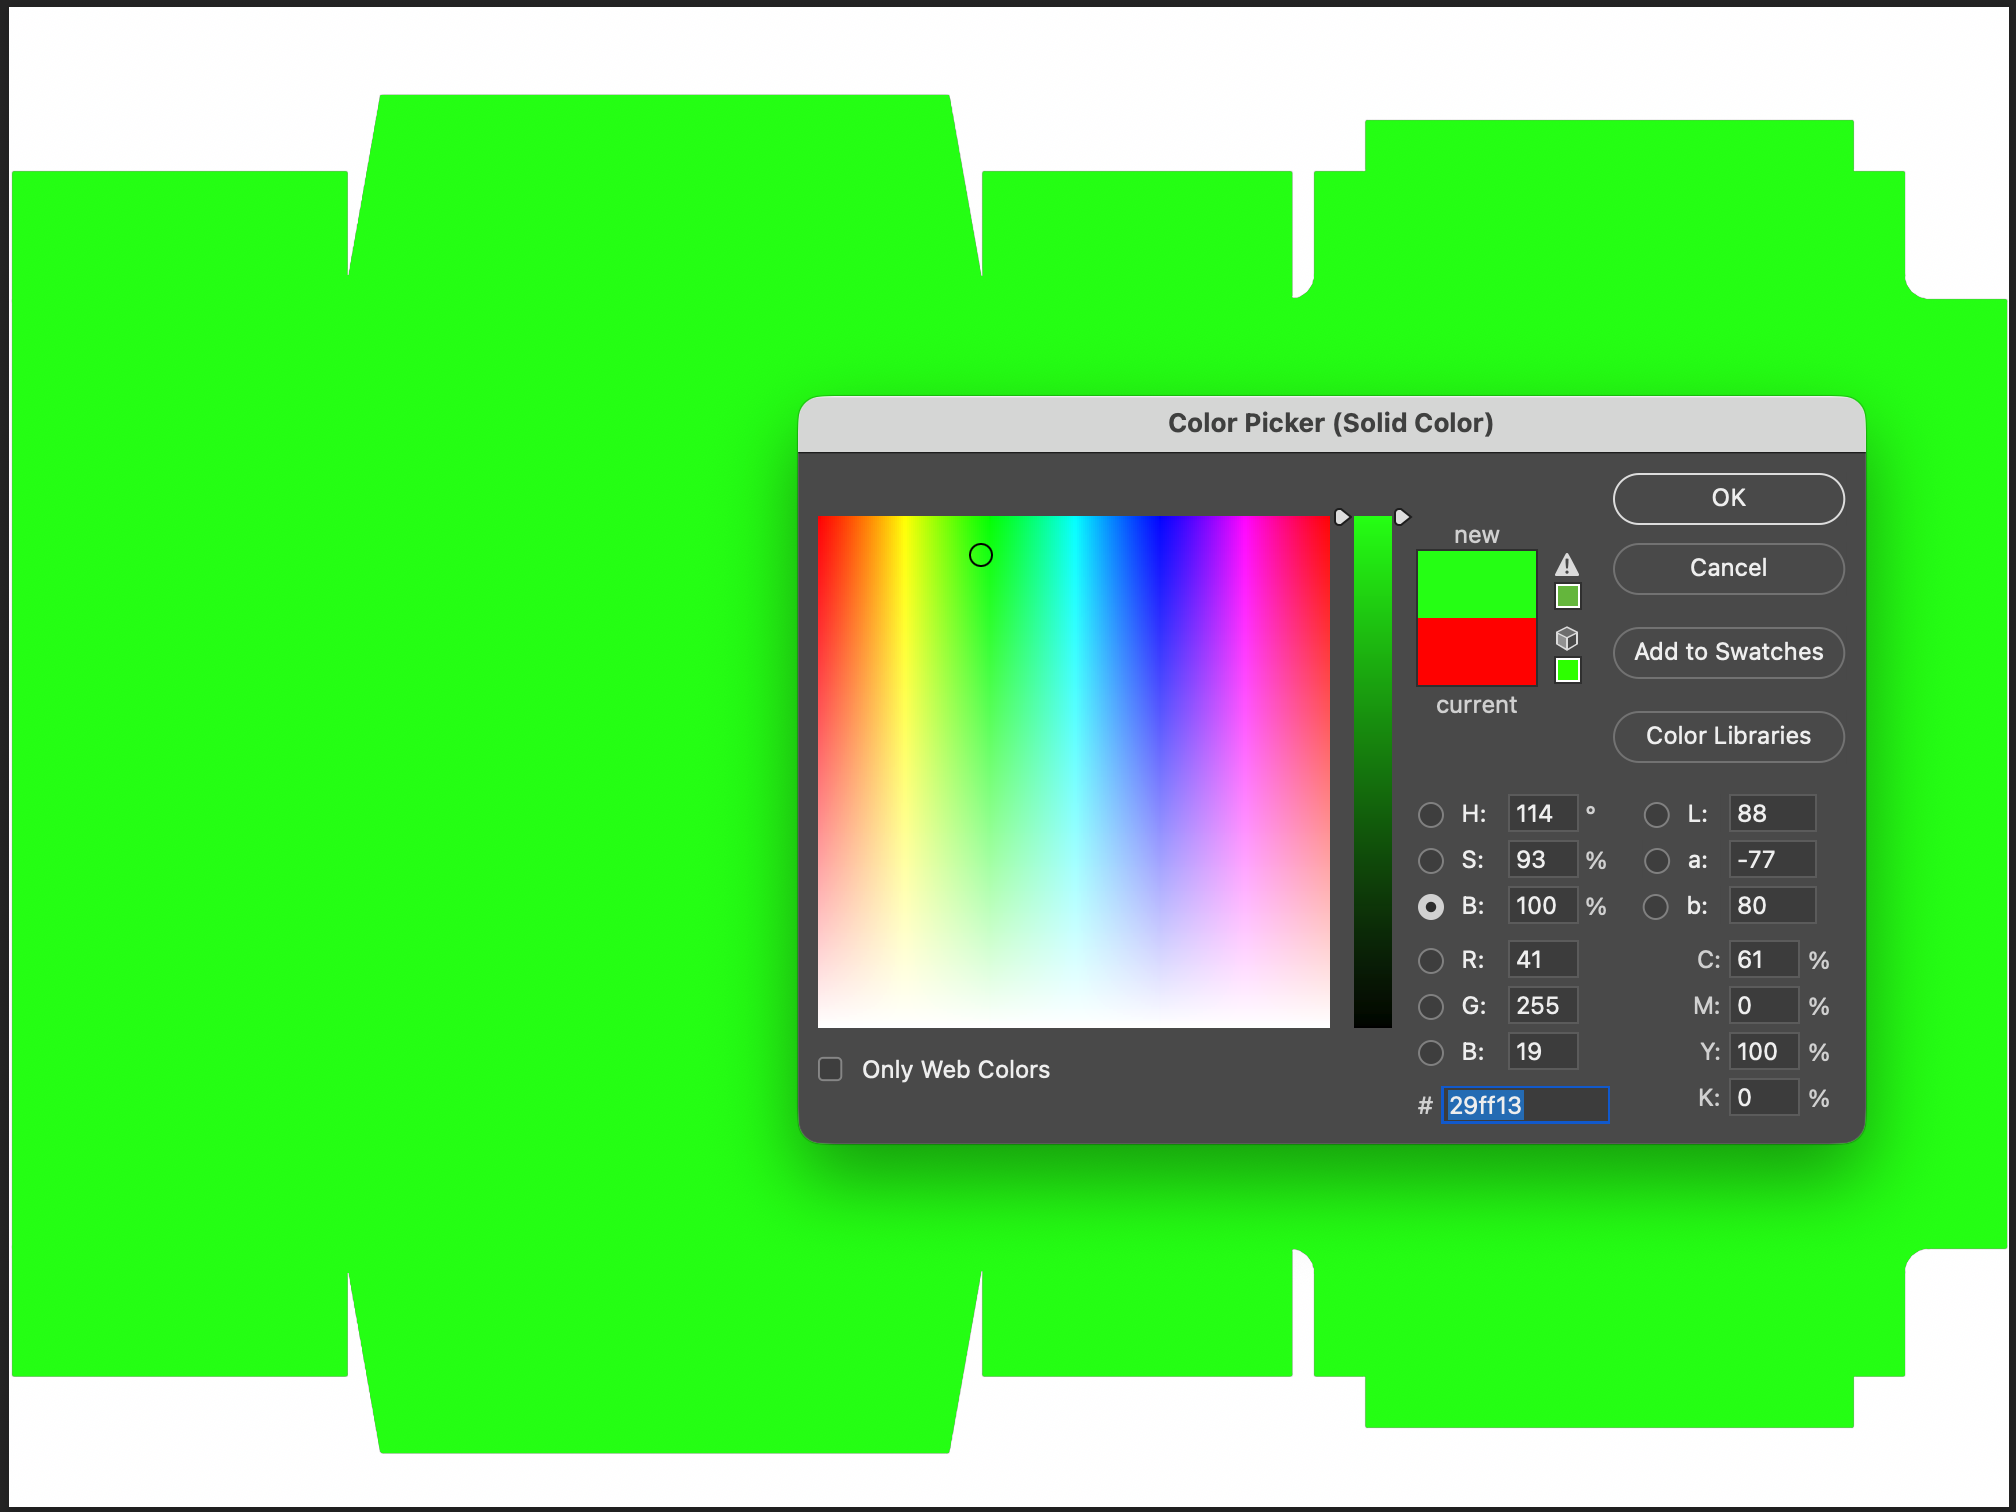
Template: cereal_box_template big
On the layer palette, change the blend mode from Normal to Multiply.
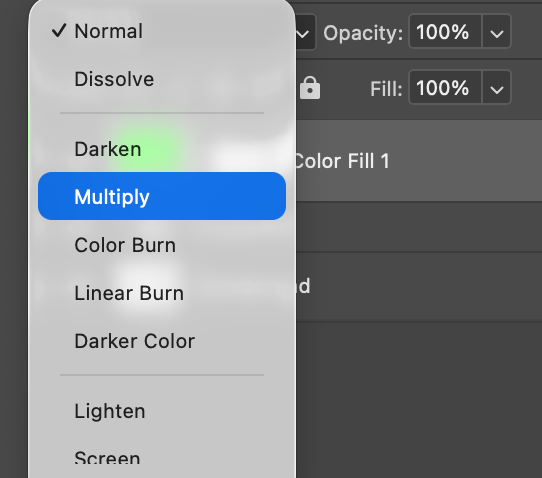
Done! Make sure you put all of your box images above the color fill!