
Flying through Space
Photoshop Animation
GOAL: Create an animation of a rocket flying through space. The stars will move and the ship will travel up and down. TO do this, you will create a repeating starfield, and use the tween tool to create the animation.
Instructions
Create a new file, 800 x 800 pixels. Name it square starfield.psd . Create a simple starfield on the background layer. Like this:

Create a new file, 1600 pixels x 800 pixels. Name it wide starfield.psd . Copy the square starfield onto the wide starfield twice. Place the two layers so they completely cover the image.

Flatten the image (on the top menu, Layer > Flatten Image).
Create a new file, 800 pixels x 800 pixels. Name it Your Name Animated Rocket.psd .
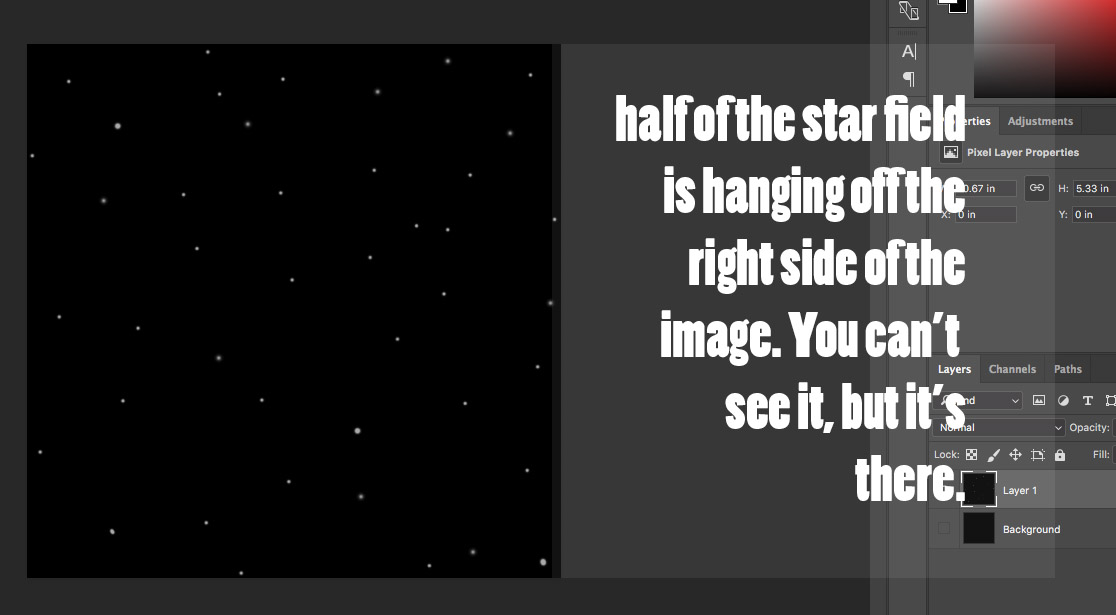
Copy the wide starfield as a new layer onto the animated rocket document. Move the starfield so the left edge lines up with the left edge of the file.
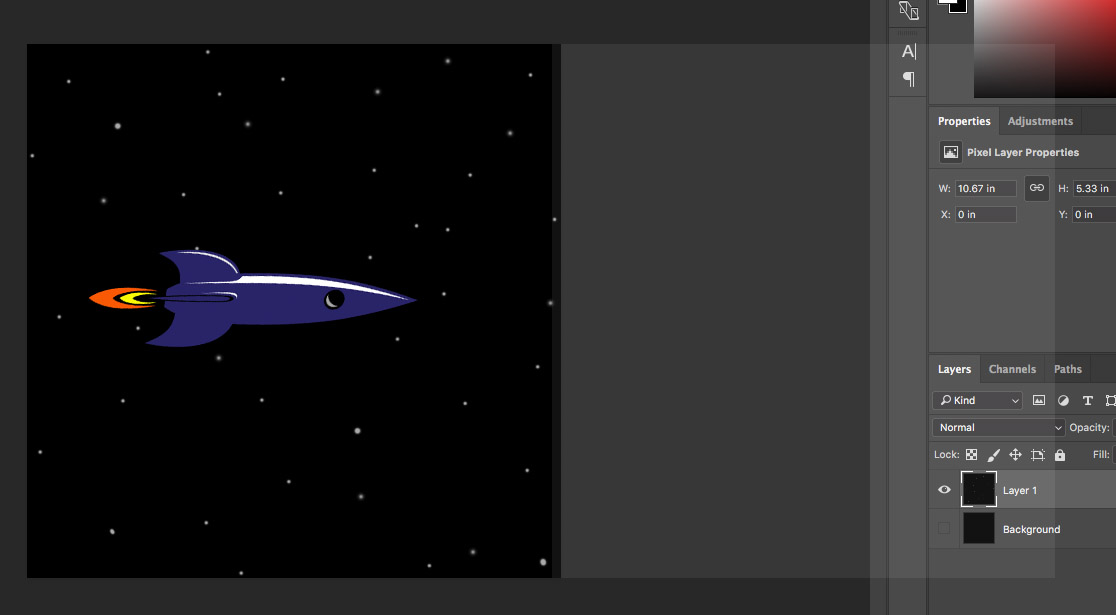
Create or find a rocket. I found this one:

If the rocket isn’t already on a transparent background, cut it out.
Copy the rocket to a new layer on the animated rocket file. If needed, transform the rocket so it fits and rotate it so the nose points to the right.
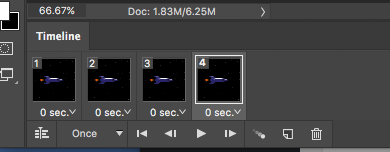
Open the timeline window (if it isn’t already open). Choose Create Frame Animation (a big button in the center of the timeline. The frame timeline will appear.
Select duplicate frame ( the icon with a folded corner under the timeline) three times. You will have four frames.
In frame 2, move the wide starfield about a third of the way to the left. Move the rocket toward the top of the frame.
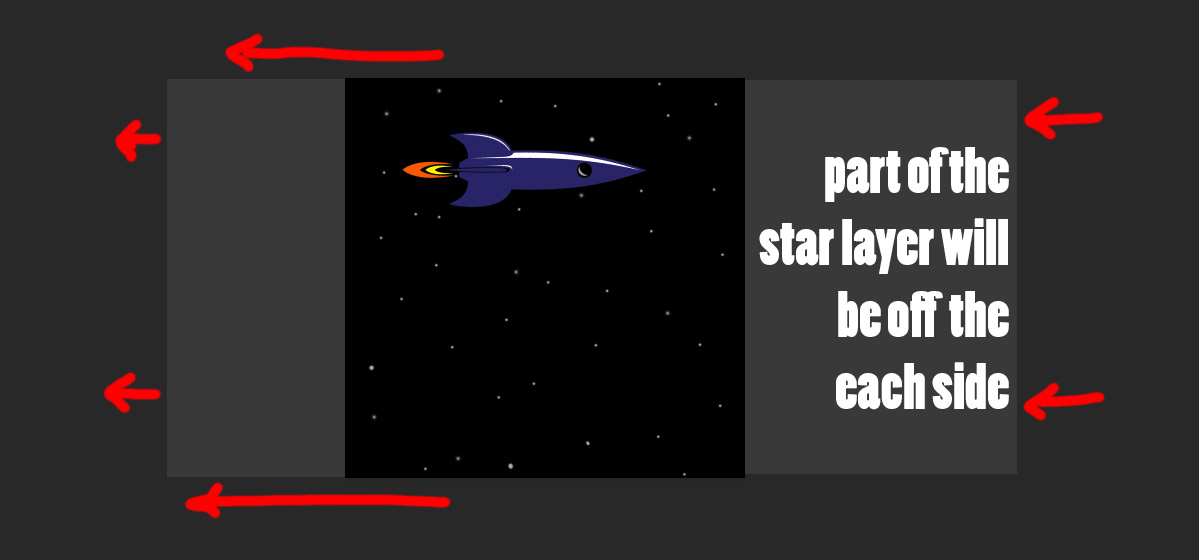
In frame 3, move the starfield roughly two thirds of the way to the left. Move the rocket toward the bottom of the frame.
In frame 4, move the starfield all the way so the right side lines up with the right edge of the frame. Don’t move the rocket.
Tween between each pair of frames.
Select frame 4.
Select the tween button (at the bottom of the timeline).
![]()
Use these setting to generate the in-between frames.

Eight frames will appear after frame 3. Frame 4 will move to frame 12.

Select frame 3, and repeat the tweening steps above.
Select frame 2 and do the same thing.
You should now have 28 frames.
Delete the last frame by selecting it, then selecting the trash can at the bottom of the timeline.
![]()
Change looping from “Once” to “Forever.”
Press the play button on the timeline to watch your rocket fly!
Export as a GIF
If you want to see your animation outside of Photoshop, you’ll need to export the file into a format that other applications can understand. One common form is a GIF.
Choose File>Export>Save for web (legacy):

There are many settings here to help you find the best way to save your file. You can always play around with them to see how they change the size and look of your project. For now, use these settings:

Finished product:
