
Create a new document with these settings:

Draw the horizon line
Select the brush tool.
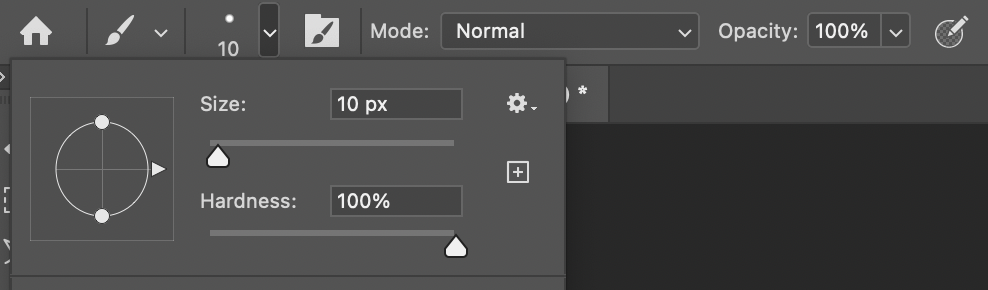
At the top of the screen, set the brush settings:

Hold down shift.
Move your mouse cursor to one side of your image.
Hold down the mouse button and drag horizontally to the opposite side of your image.

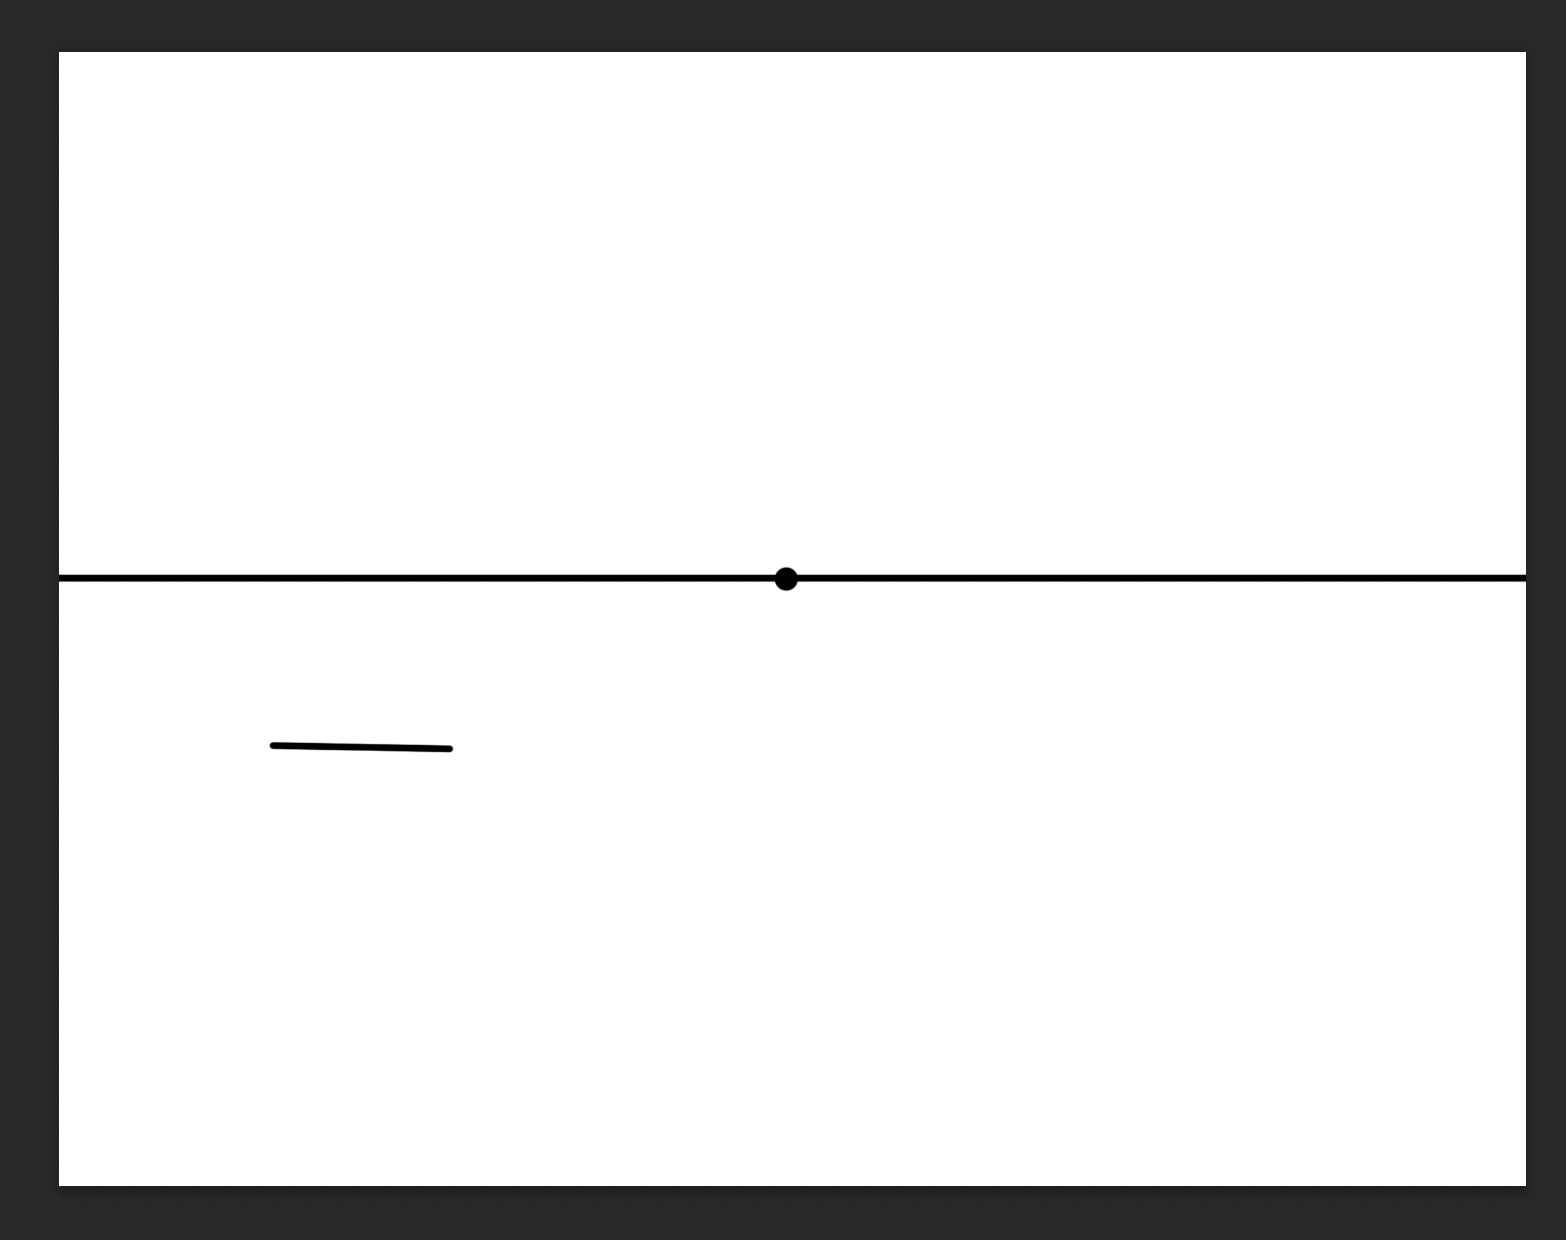
Draw the Vanishing Point
Make your brush size larger.
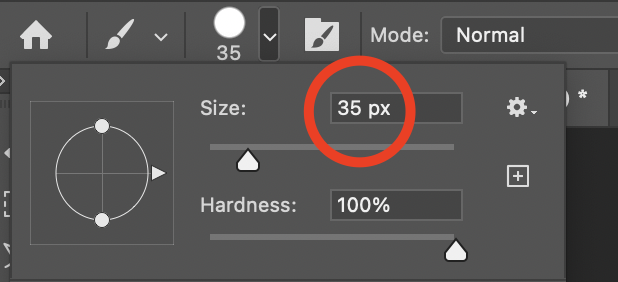
Click once on the center of the horizon line to create the vanishing point.

Draw the flat face of an object
Make the brush size smaller again.
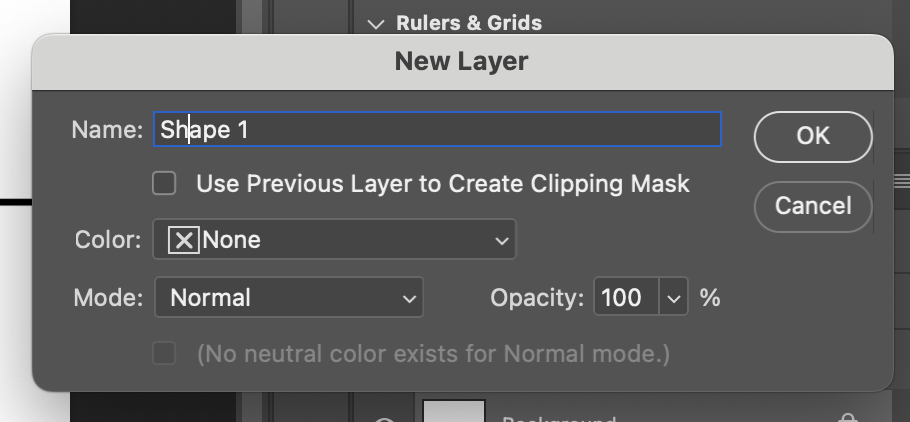
Create a new layer (on the menu at the top of the screen, layer/new/layer)

Name the layer “Shape 1”
Click once somewhere on the screen and a dot will appear.

DON’T HOLD DOWN THE MOUSE BUTTON and move your brush to where you want your line to end. Hold down shift and click once to draw a straight line.
Continue adding lines until you have a closed shape.

Connect the corners to the vanishing point
Use the same method to draw lines from every corner of the face to the vanishing point. You don’t need to draw the lines if they are hidden by the flat face.

Draw the parallel lines
Add the lines that are parallel to the flat face.

Erase the extra lines
Switch to the eraser tool.
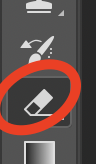
Erase the lines that are not part of the shape.

Make more!
Repeat the steps starting from “make a new layer” to make more shapes. Name the new layers Shape 2, Shape 3, and so on. Make AT LEAST six shapes.
