
Find or take a picture of your subject facing the camera.

Open the image in Photoshop.

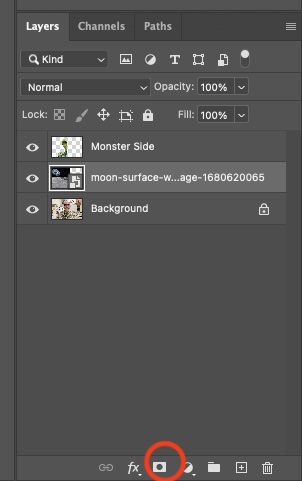
Make sure the Contextual Task Bar (the gray bar under the picture) is on. If it isn’t you can turn it on here:

On the task bar, choose “select subject.”

Your subject will be surrounded by the marching ants.

On the left side of the screen, select the polygonal lasso tool.
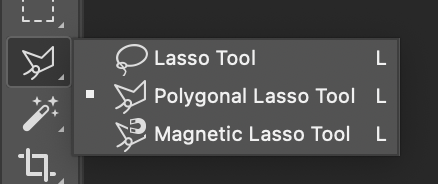
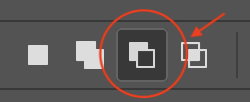
Set the tool to “subtract from selection.”
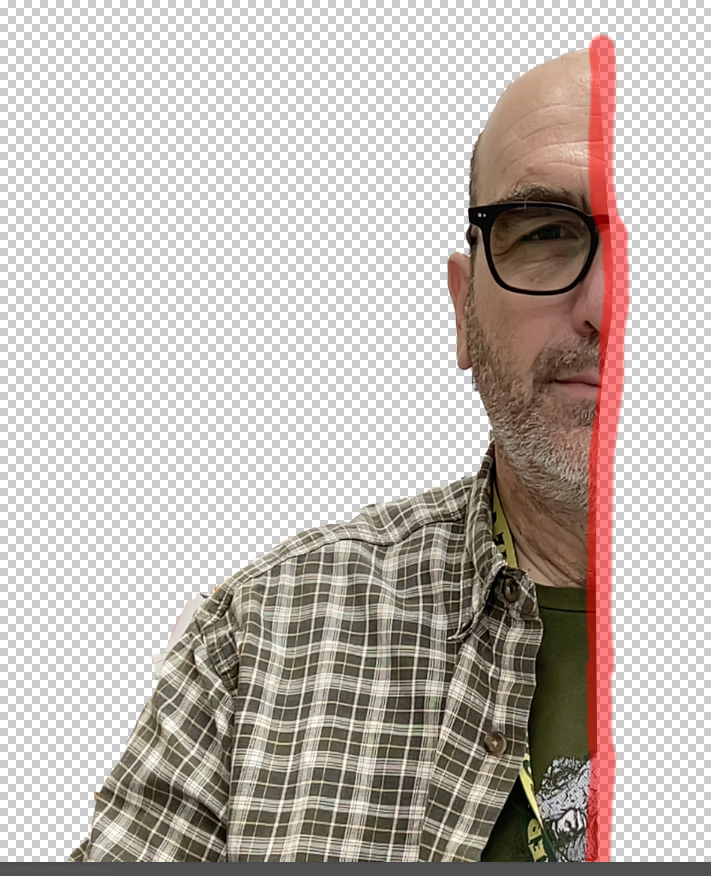
draw a shape around the side you want to stay unchanged. You’ll have to be careful on the side in the middle of the face, but you can made a large selection on the other side. Your line will be gray as you do this, but it’s shown here in red to make it easier to see.

When you close your selection, the marching ants will only be around one side of the subject.

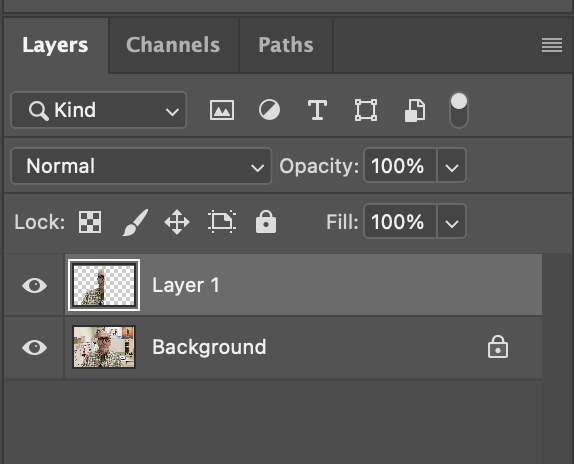
Press command-J to jump the selection to a new layer. Your layer panel will look like this:
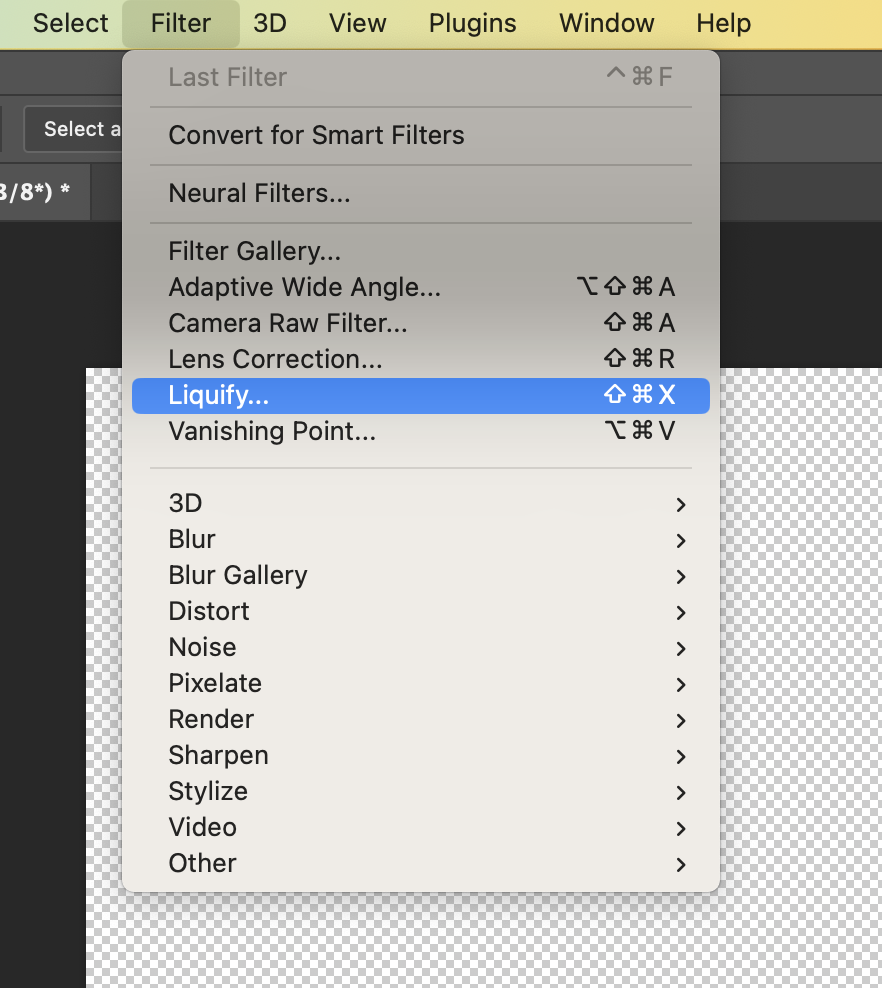
Make sure you are on the layer with half of the subject. From the top menu, select Filter/Liquify.
Your half subect will be loaded into the liquify filter.

Select the freeze mask tool.

Draw a thin line along the edge of the image. It doesn’t need to be perfectly straight.
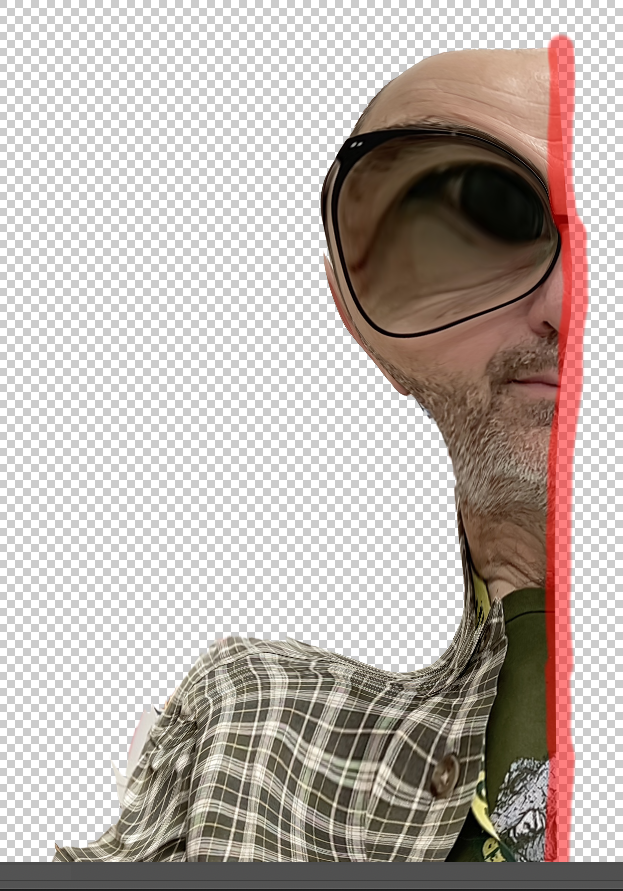
Use the other liquify tools to distort your monster side.
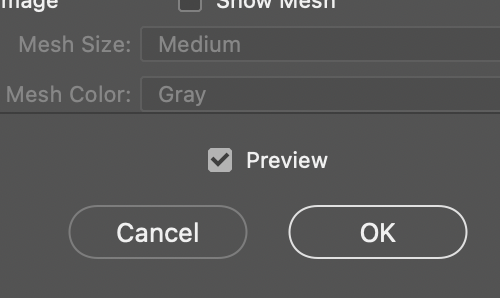
When you finish warping the layer, select the OK button to accept your changes.
Your monster layer will now be on top. You might see some of the original picture below it, but that’s fine.

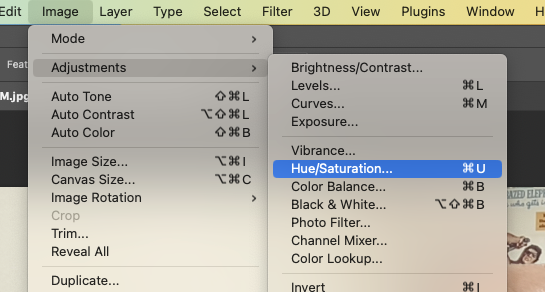
Go to Hue/Saturation.
Adjust the hue, saturation, and lightness however you like.

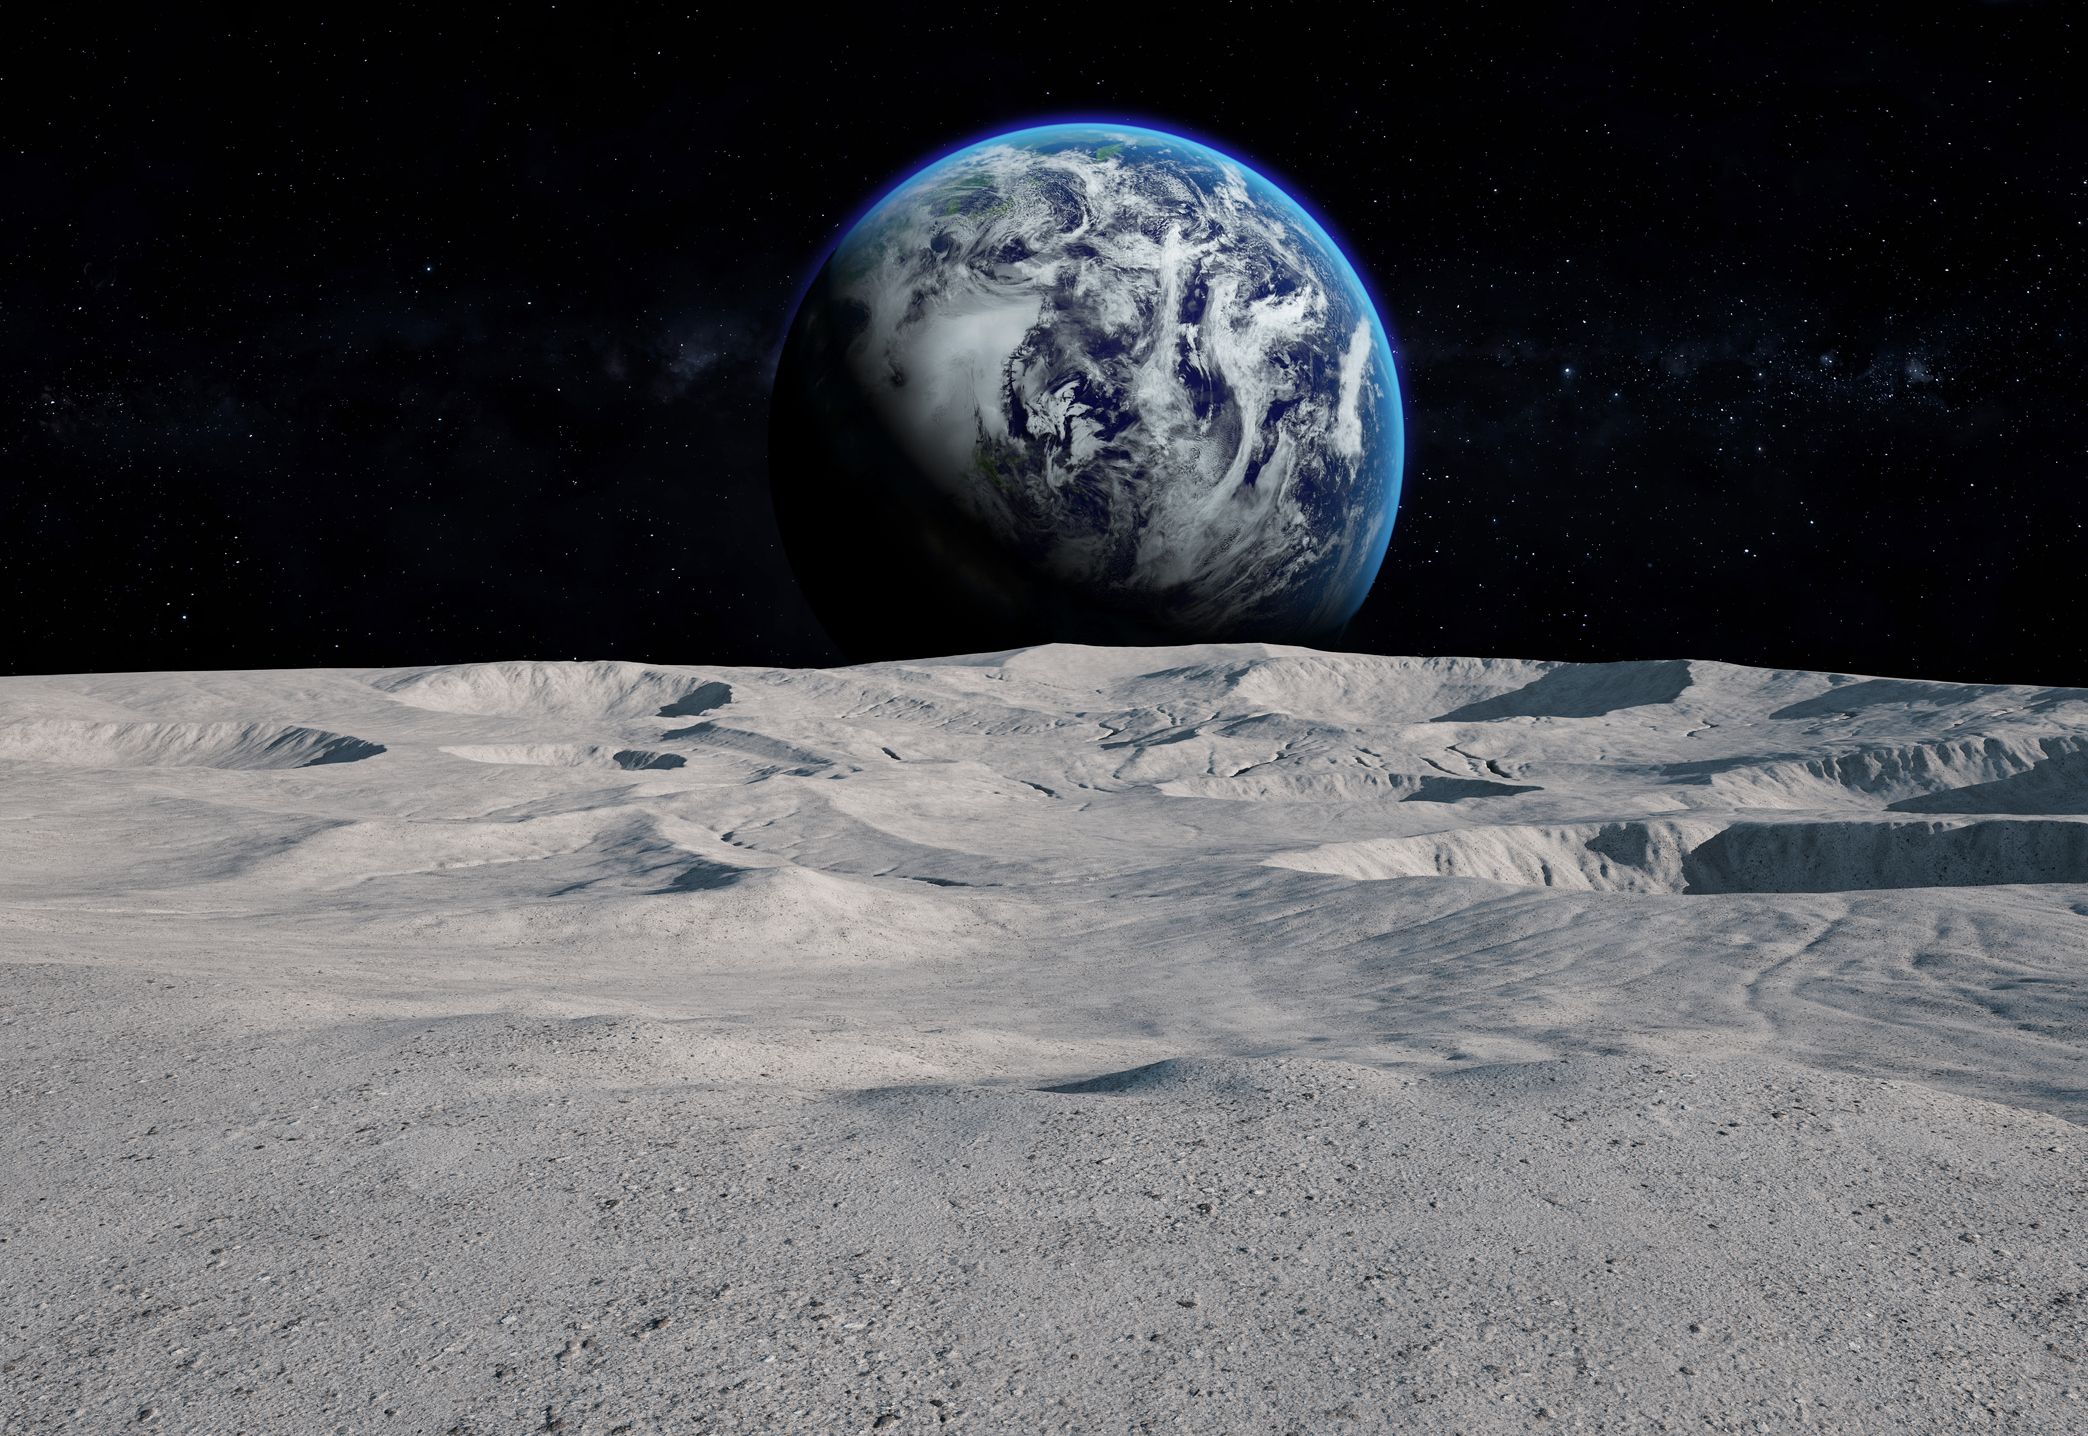
Find an image to use as your background. I’m using this.
Place your background on a layer between the original image and the monster face.

Use the transform tool to fit the image behind the monster. Don’t worry if you see part of it sticking out.

Use the mask tool to hide the part of the background that’s sticking out.
Finished project:

Photopea version: