
GOAL: Create a simple block or bubble style personal graffiti tag (also called a “throwie” or a “throw up”).
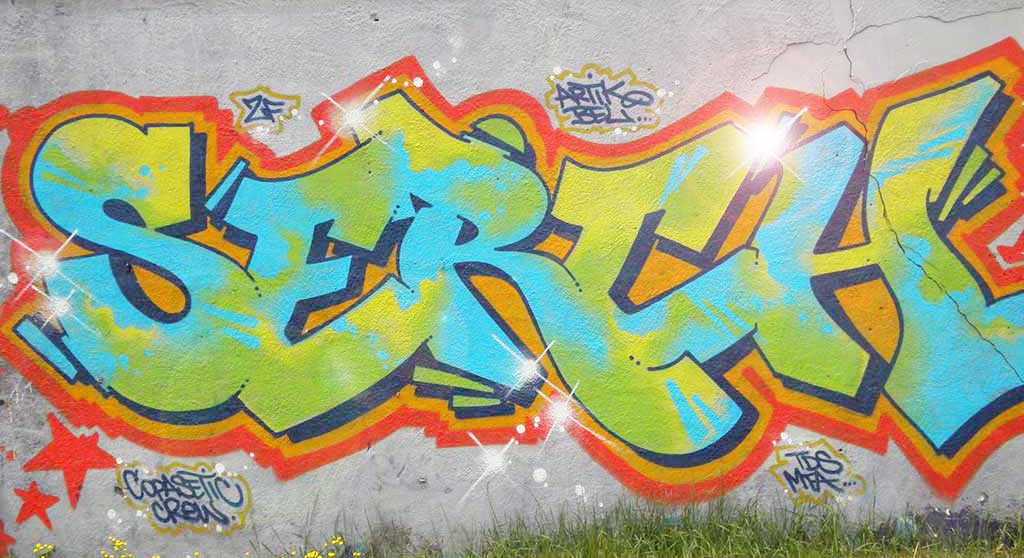
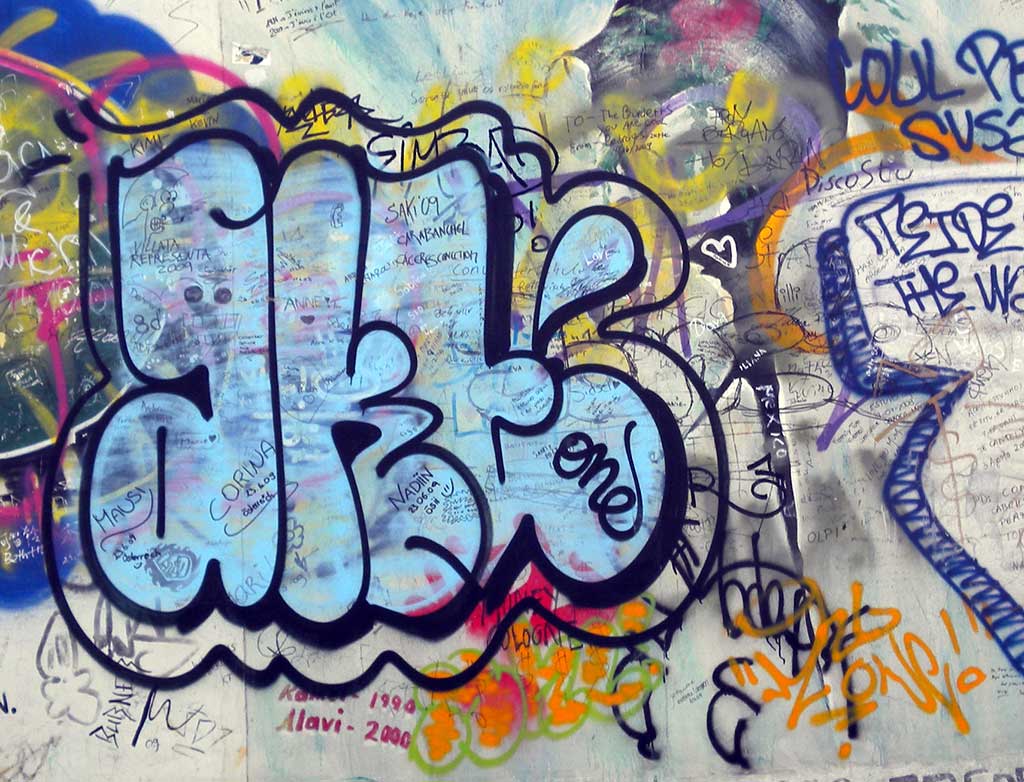
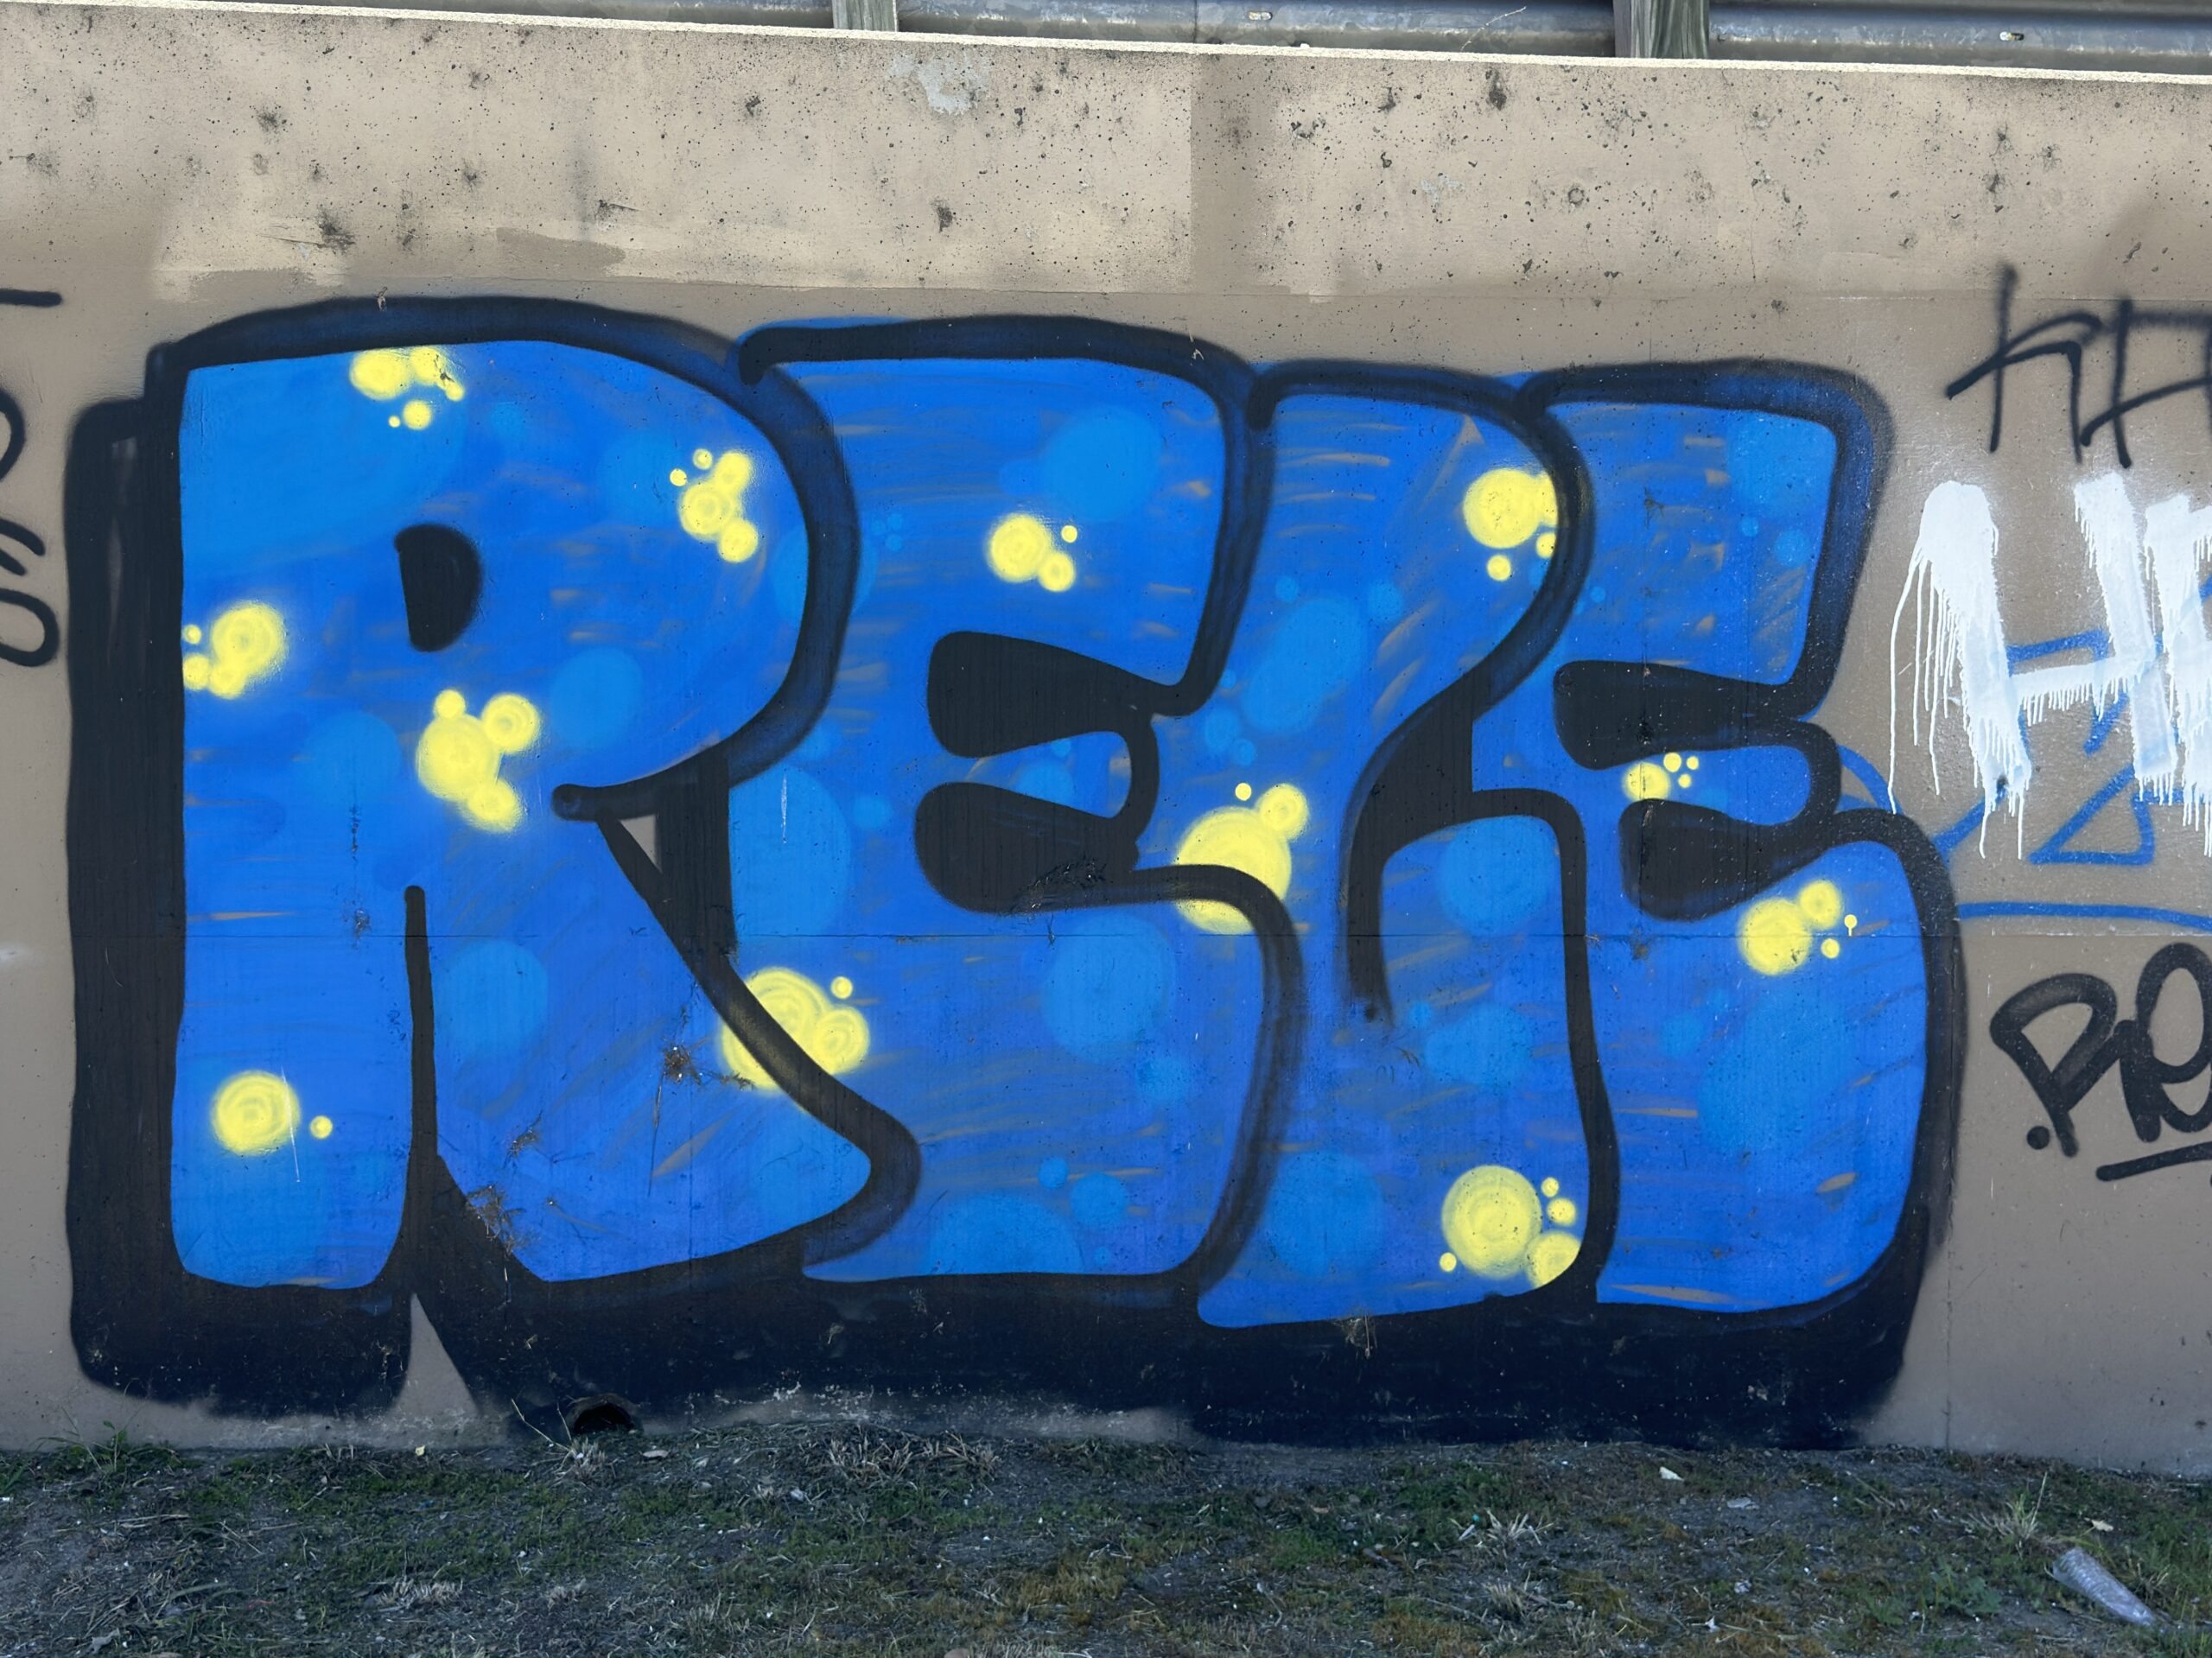
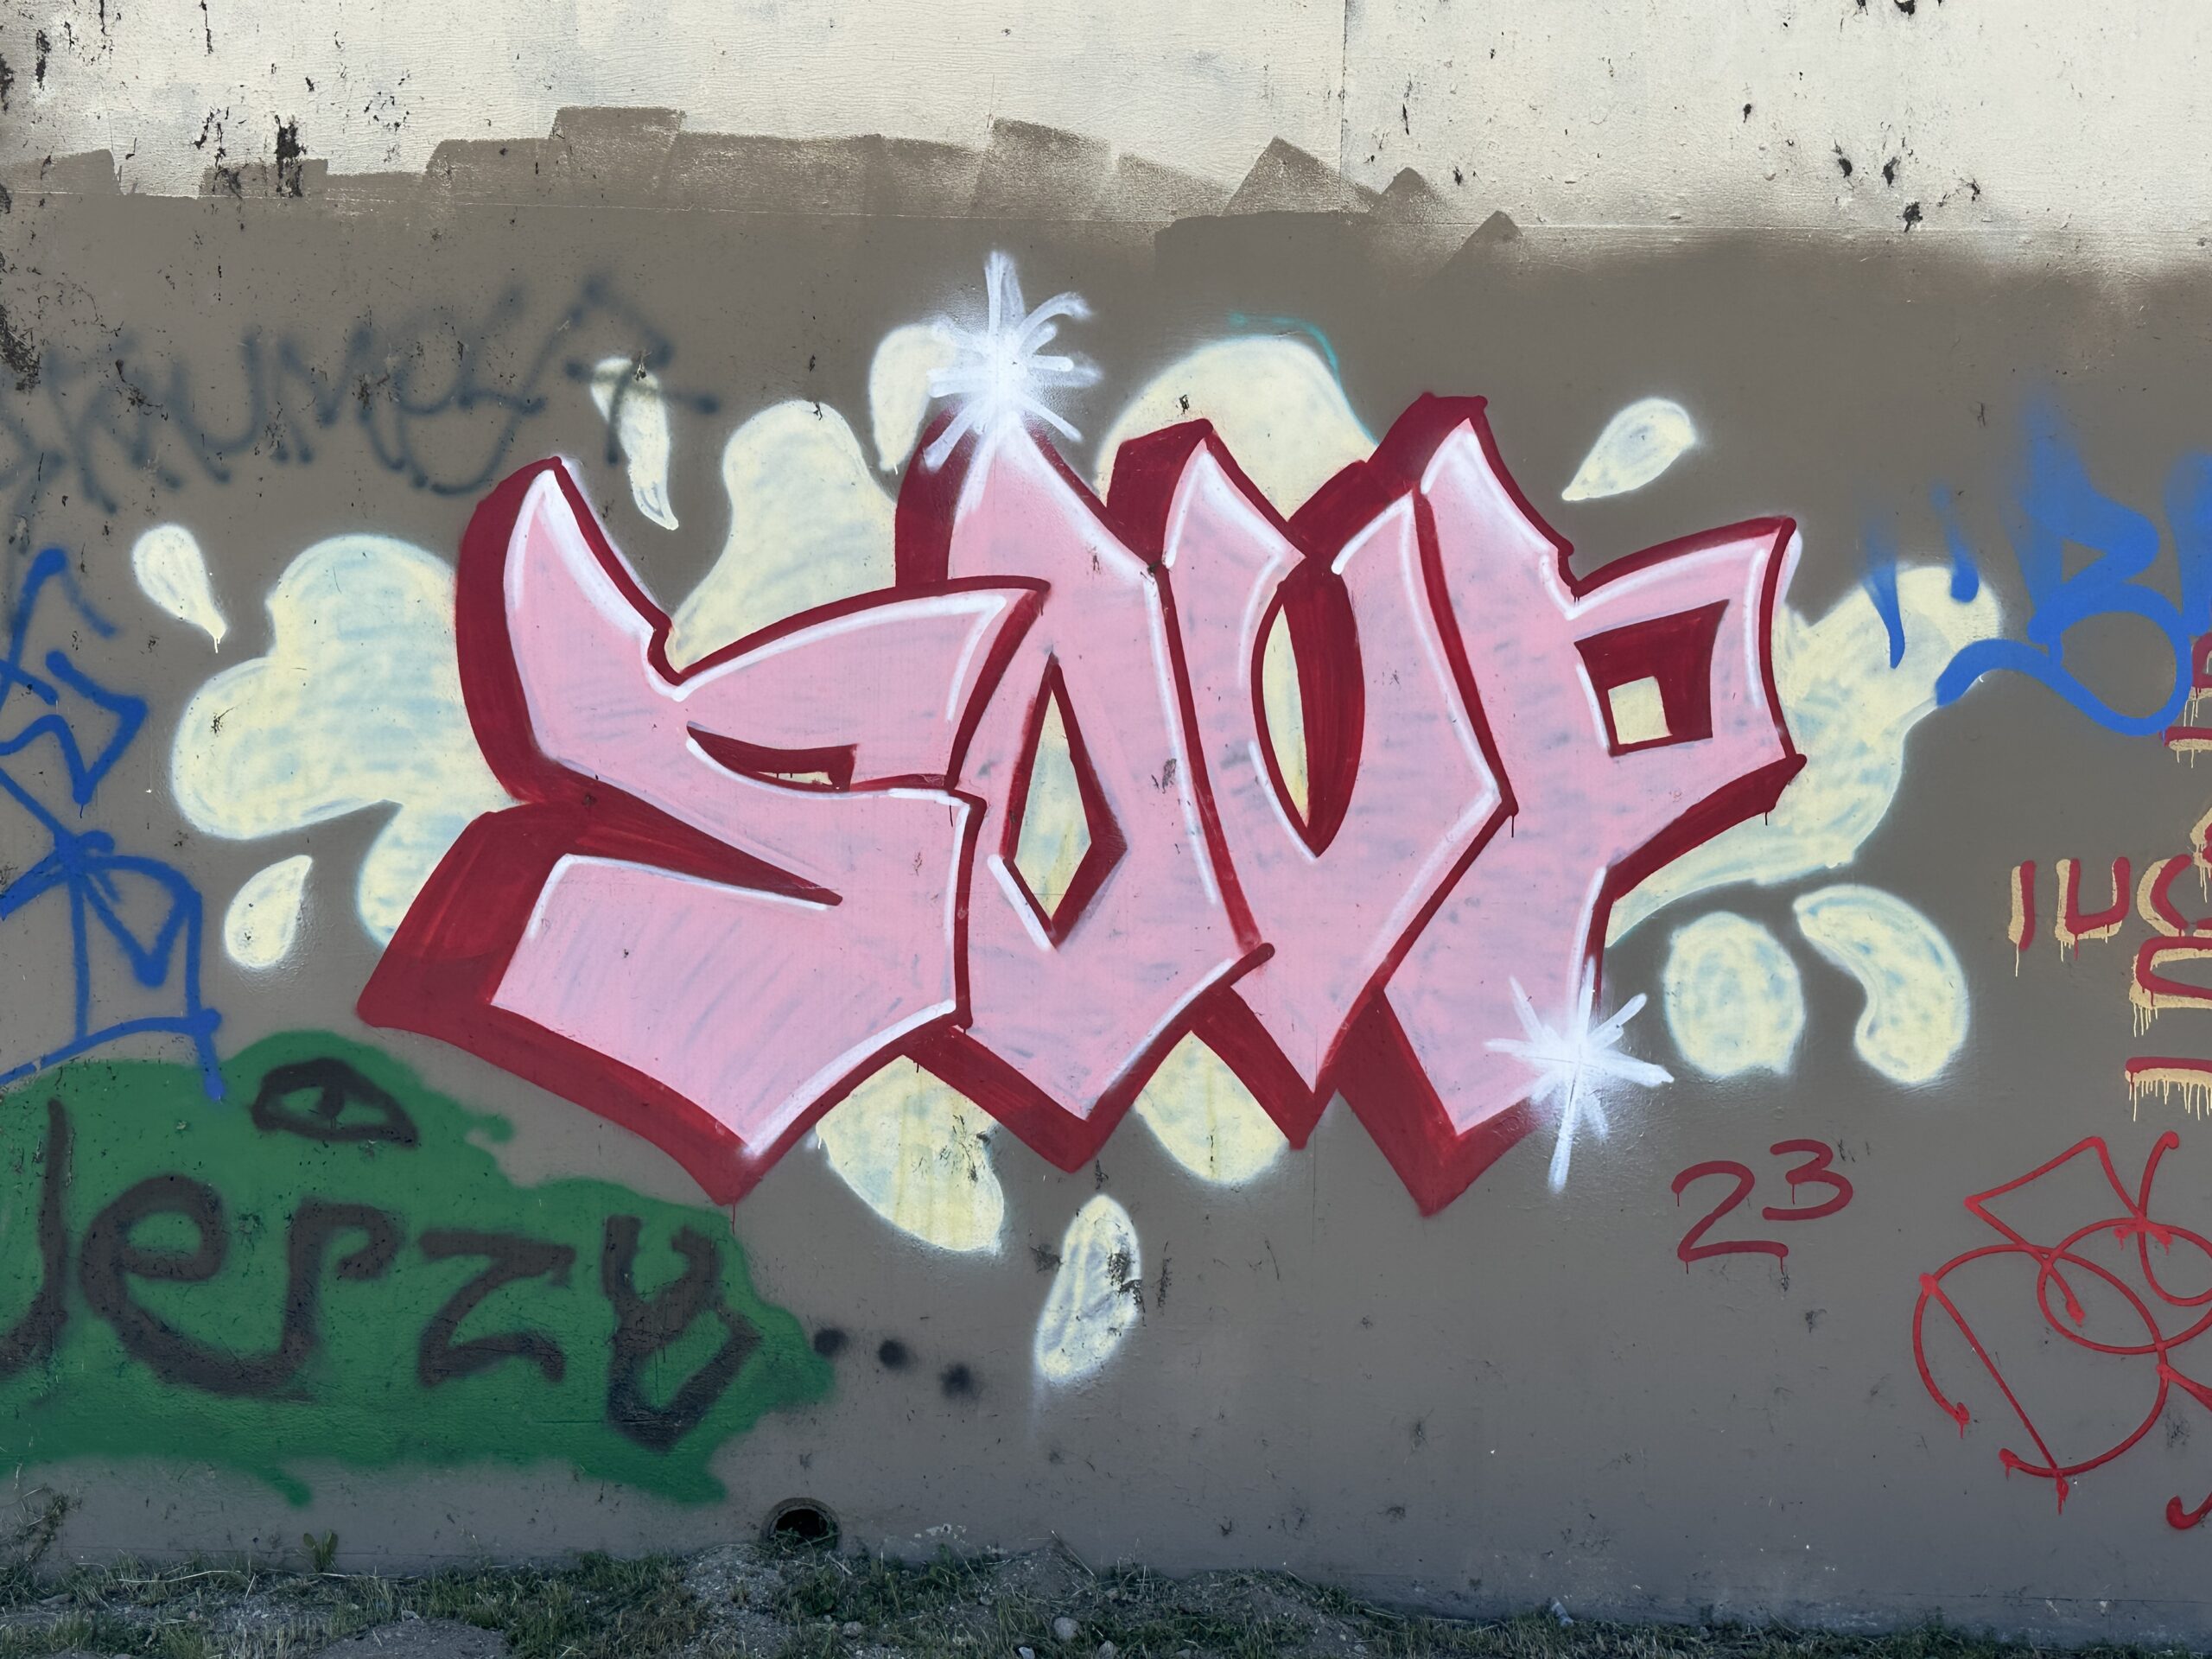
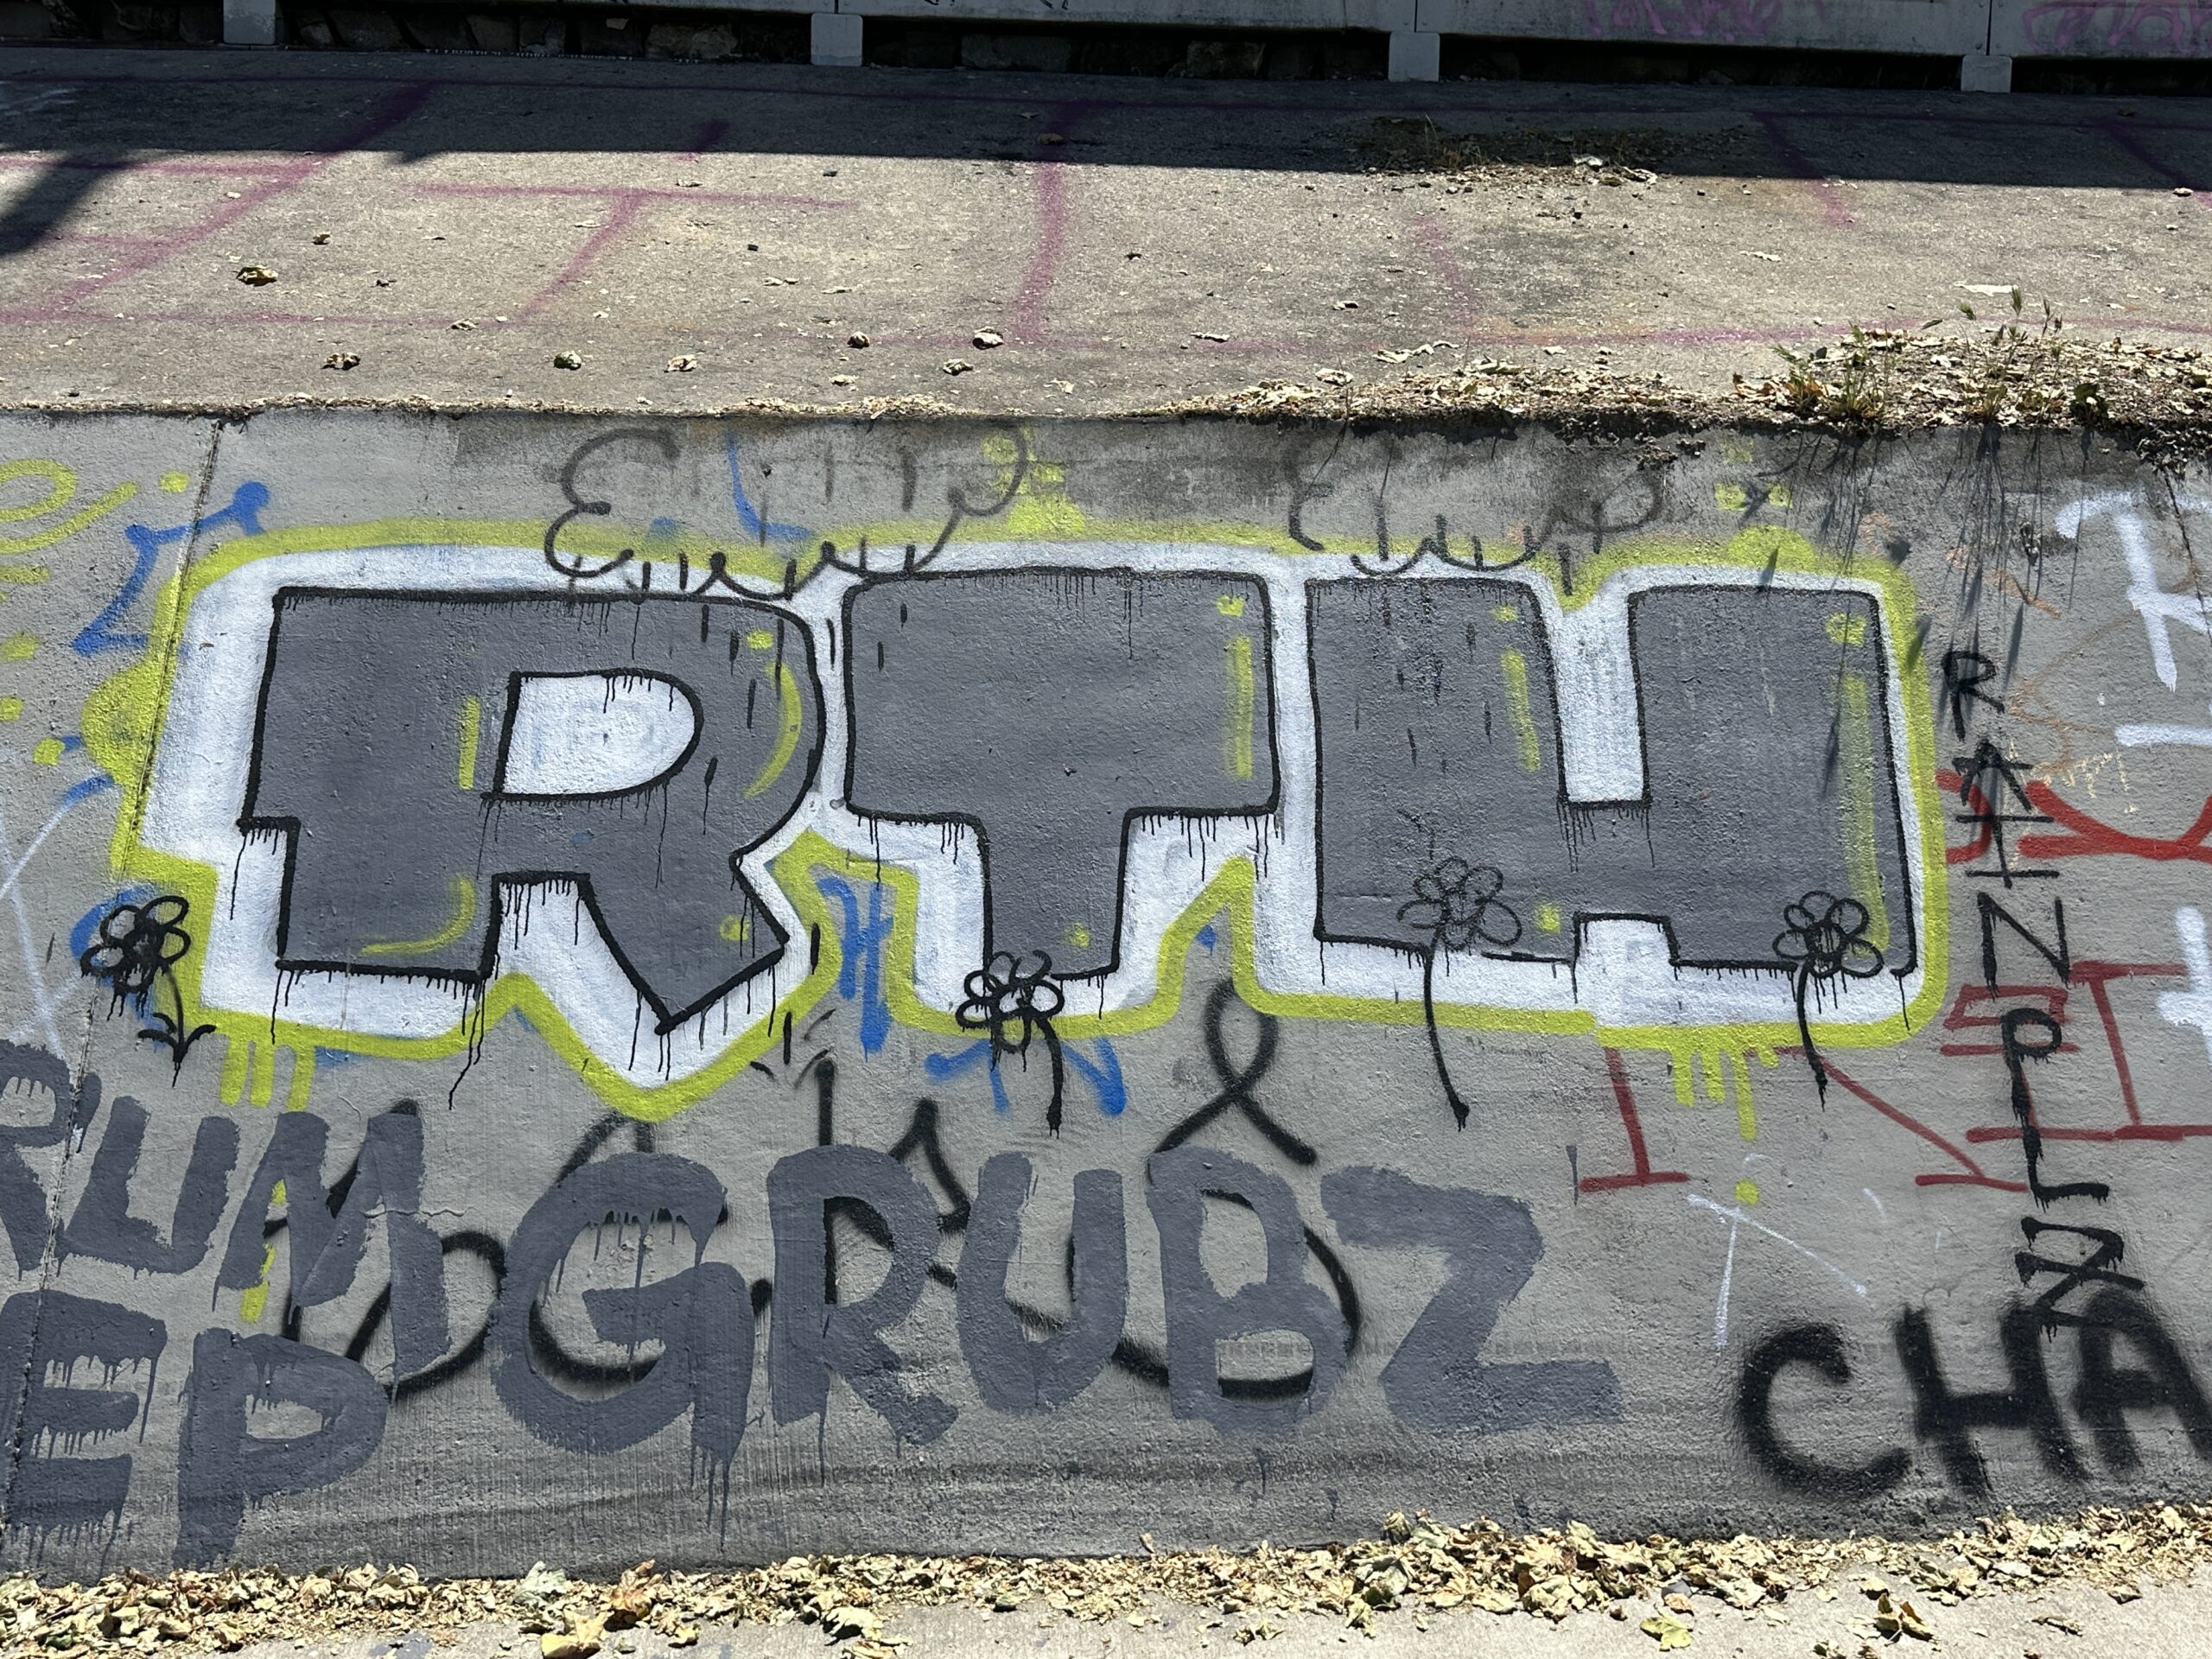
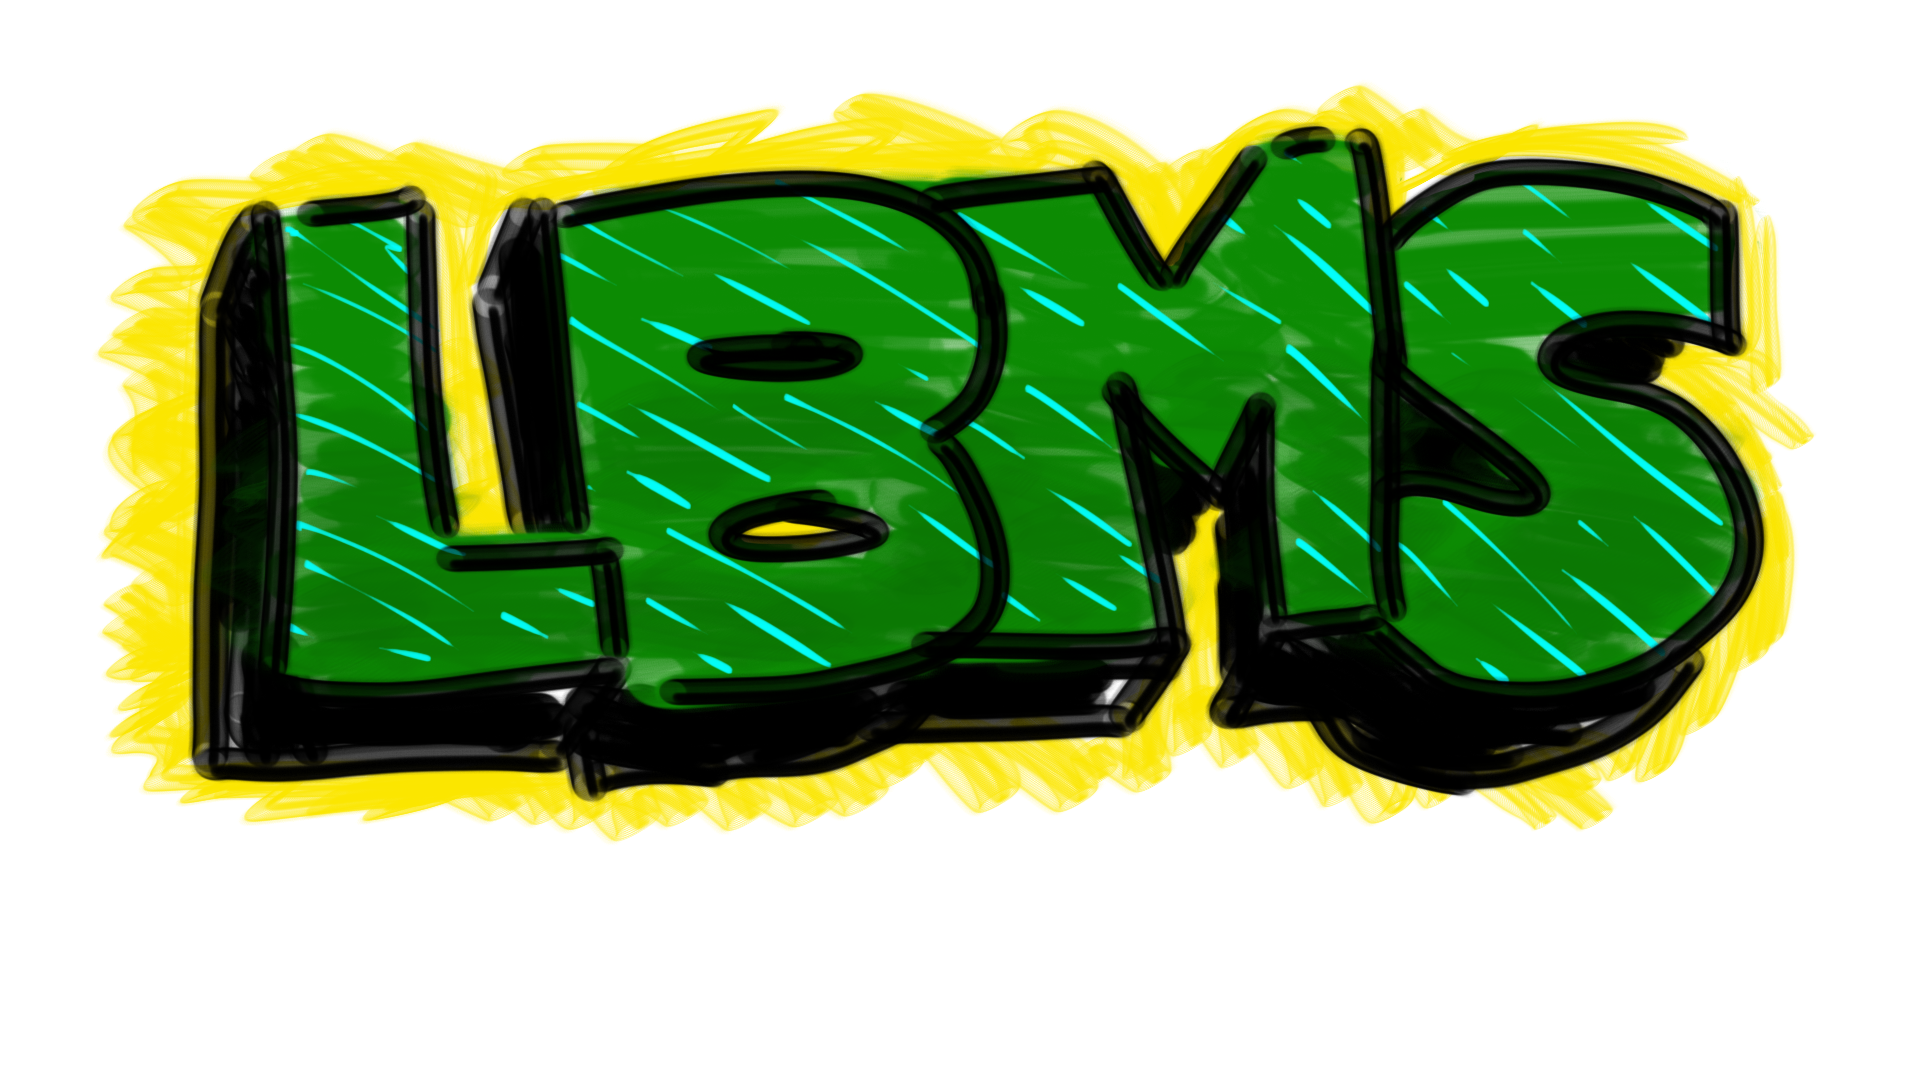
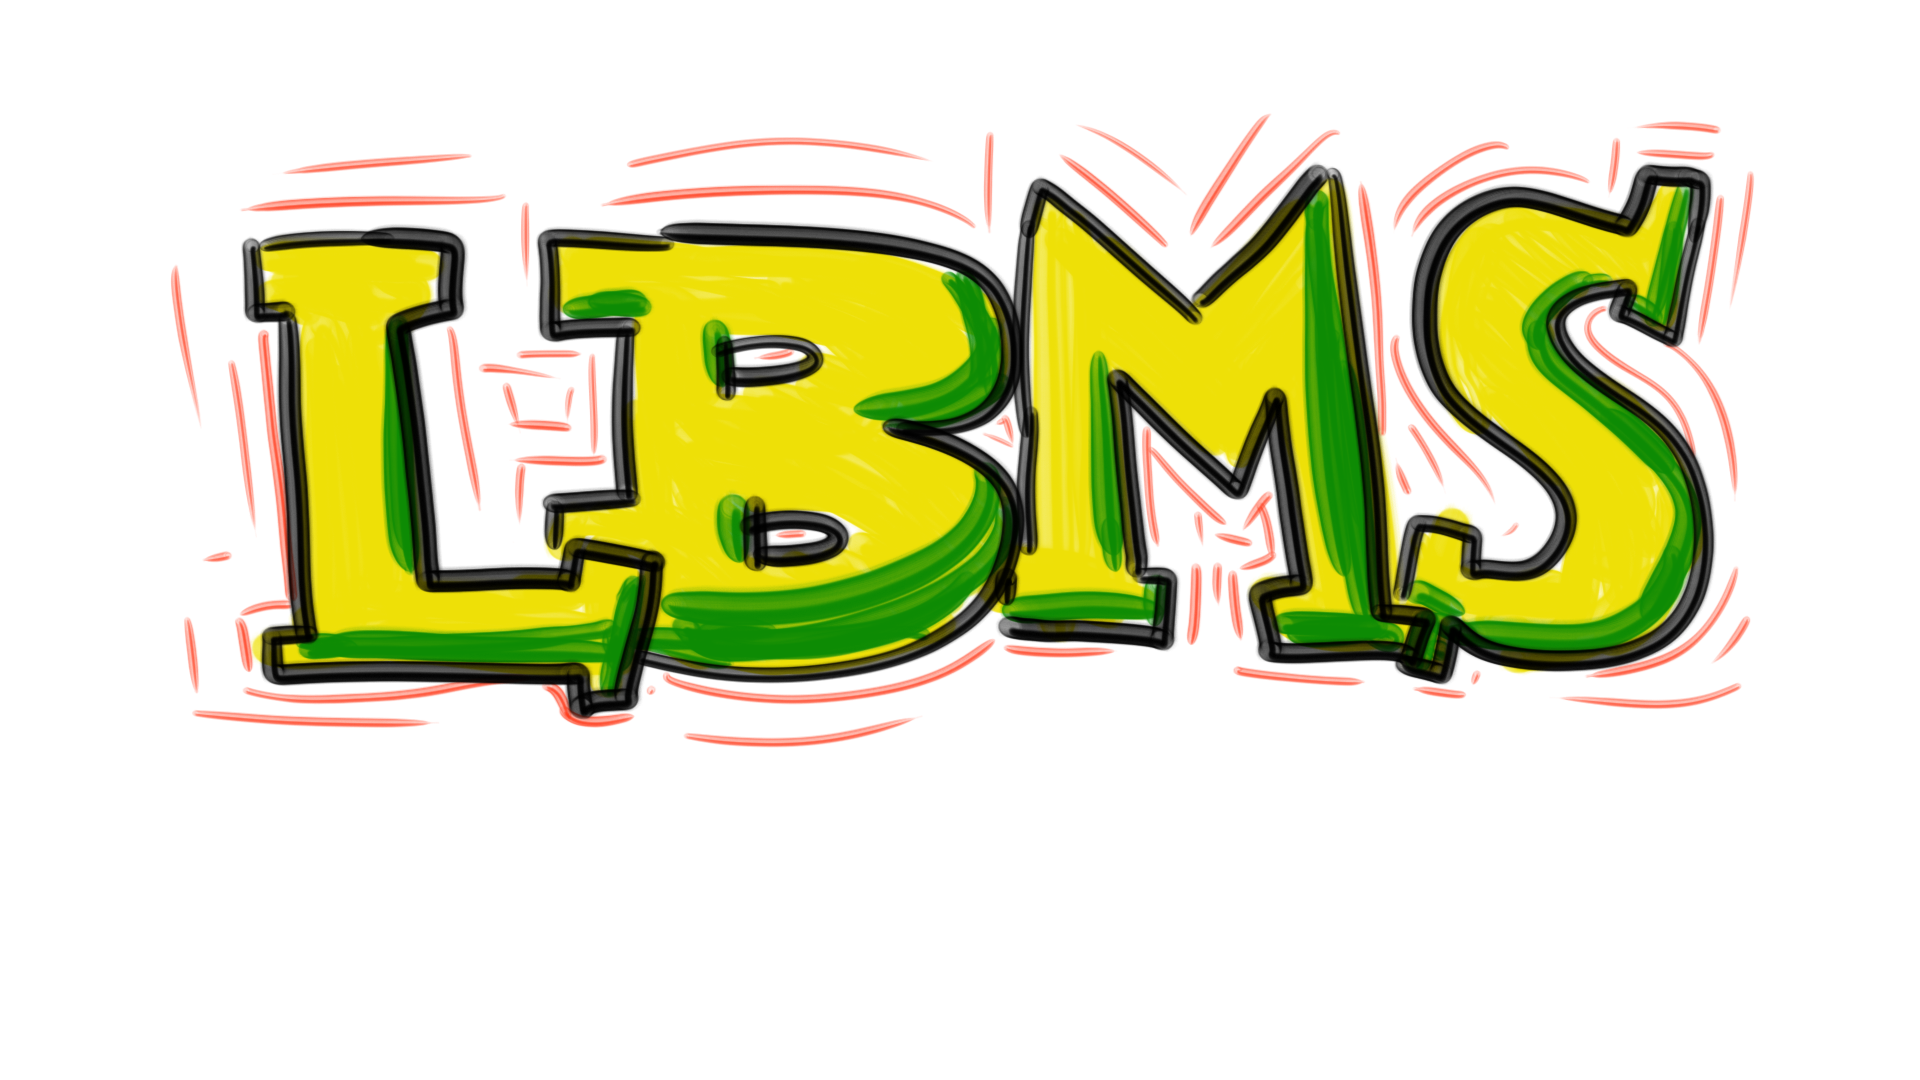
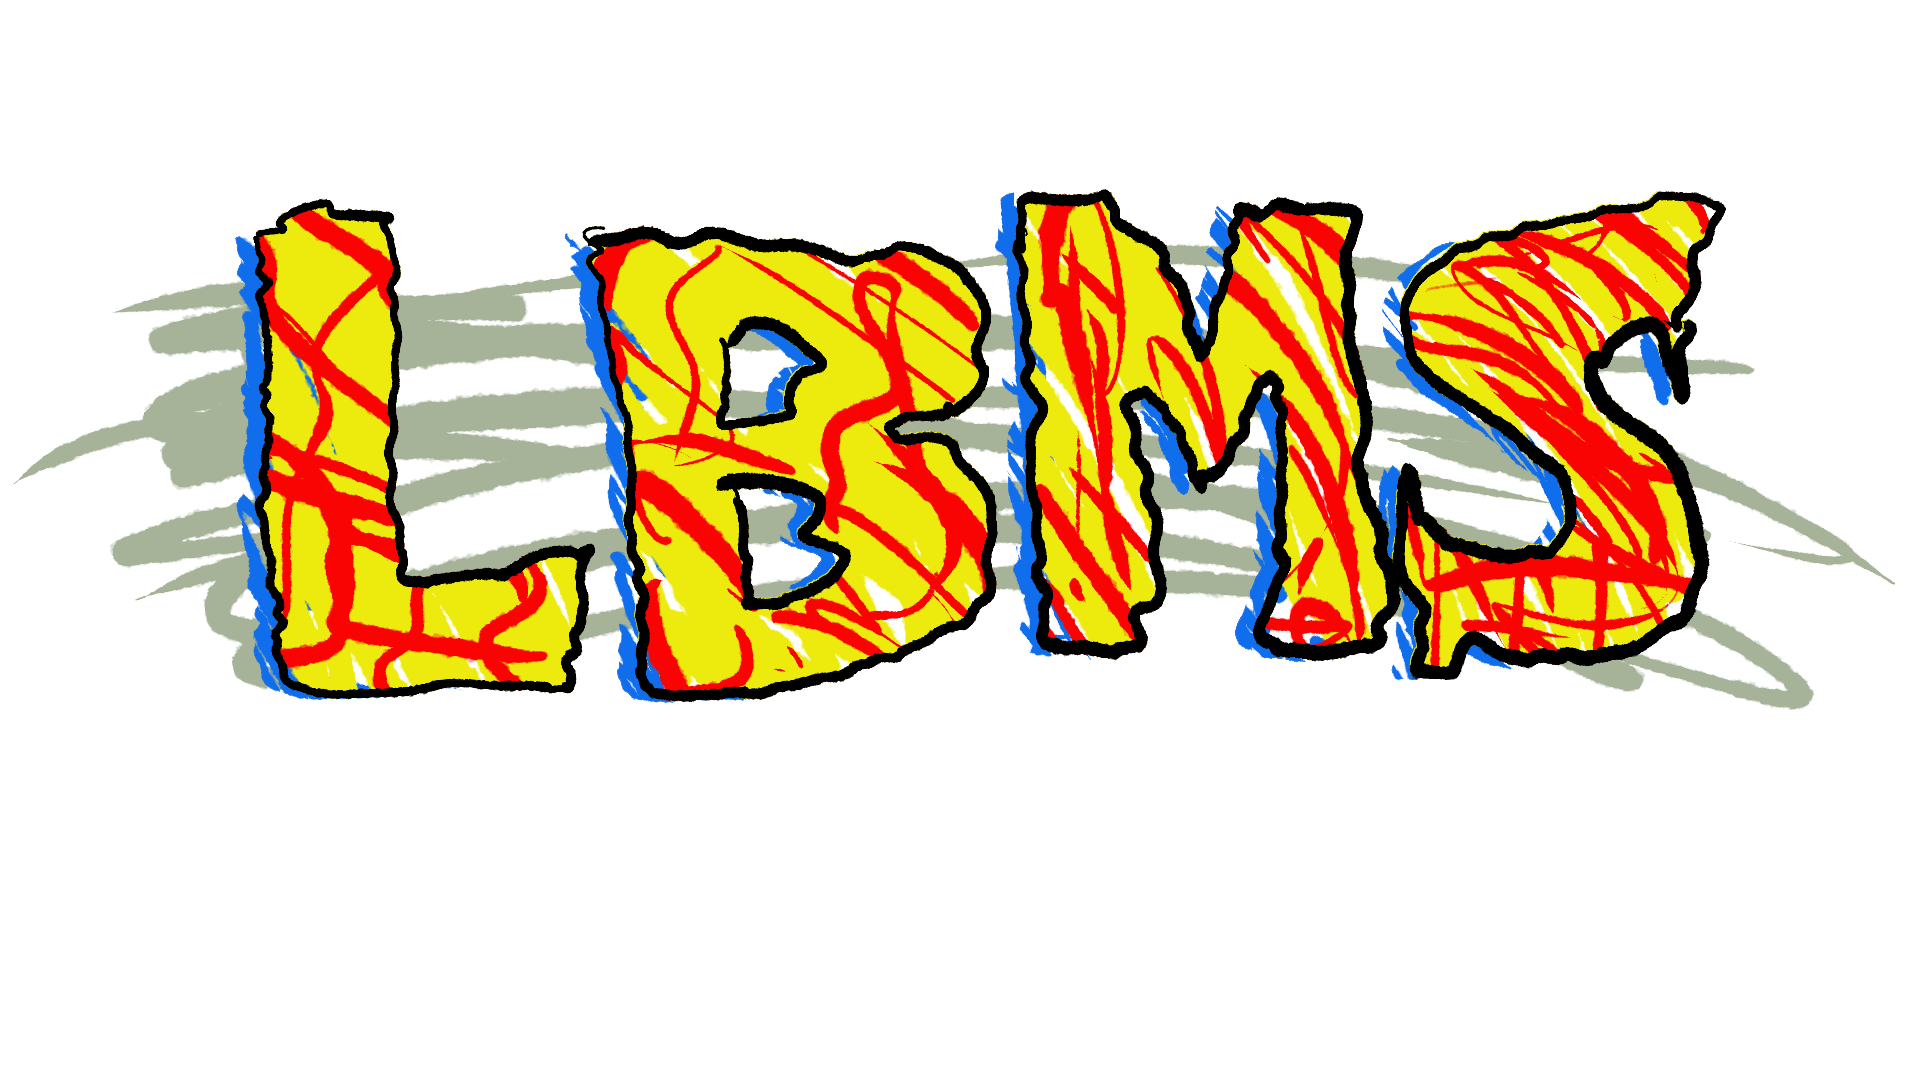
Samples
Every graffiti artist has their own style. These are a few examples, but they are certainly not the only ways to tag.


This tutorial will show one way to make a tag. It is not the only way! If you want to do yours a different way, you may, as long as it follows these basic rules:
- All visible elements are hand drawn. No built-in fonts, no downloaded images, no filters!
- No more than six colors.
- All text is school appropriate.
- All text is reasonably easy to read (no wildstyle, please!).
- Separate layers for colors and outlines.
- A transparent background (or a background that can be hidden without breaking the tag).
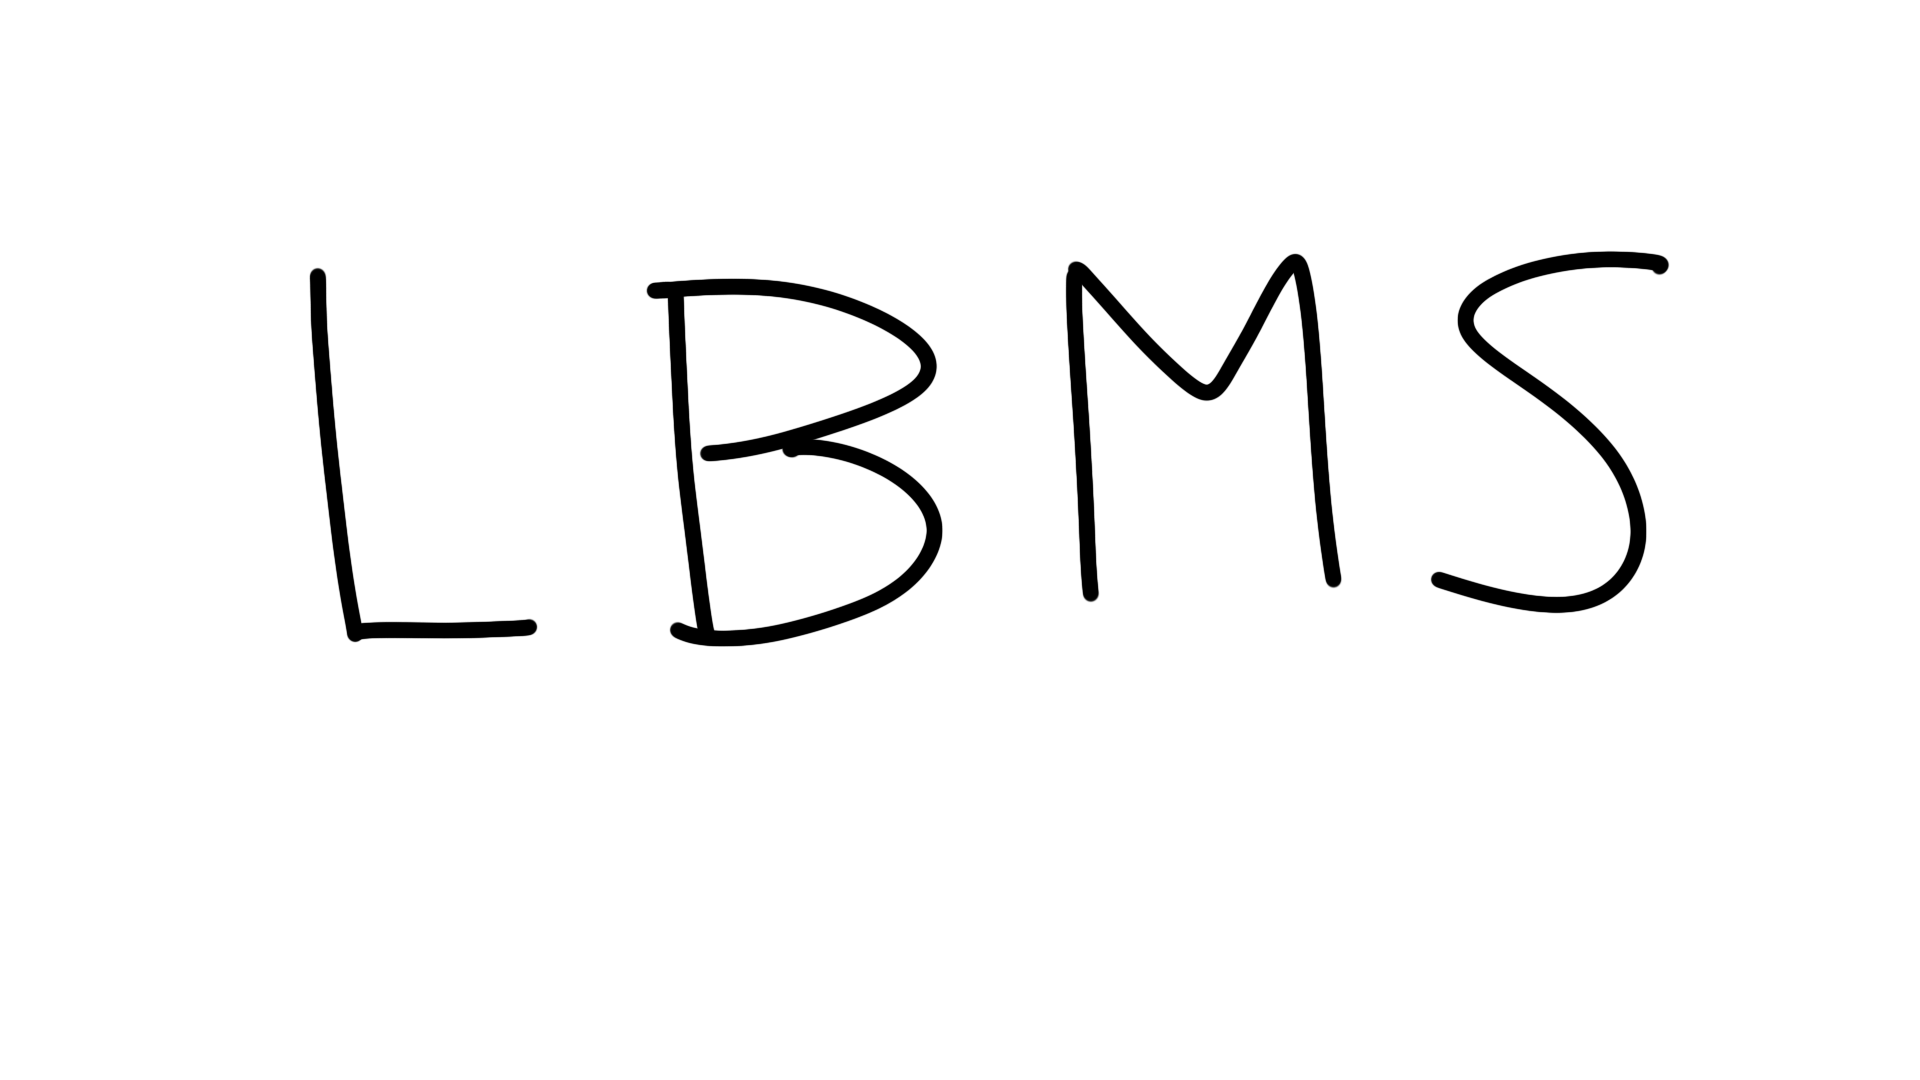
Plan your letters
Open a new document. Make it fairly large. The sample image is 1920 pixels x 1080 pixels.
Make a new layer. Name it something like guide layer.
Add guide text. You can draw the letters, or use a simple font. These are hand drawn:
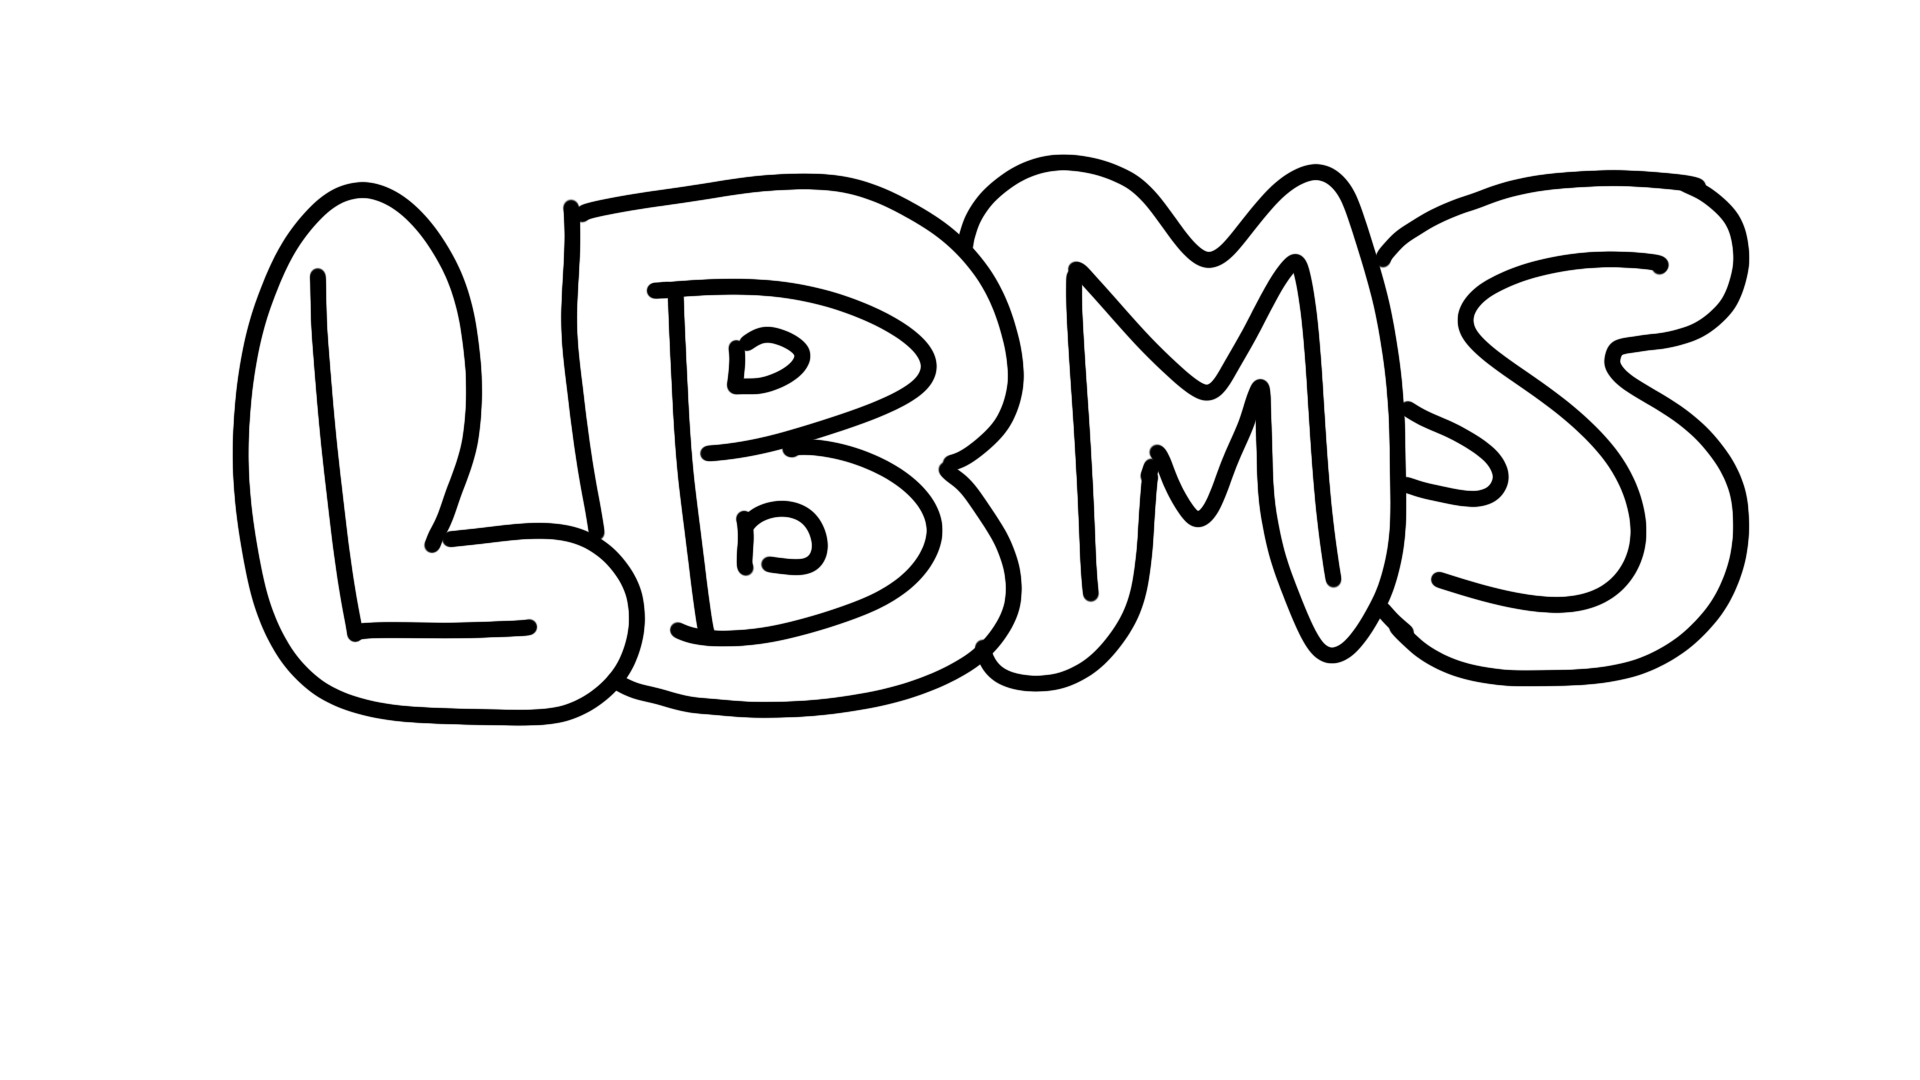
Make another layer for the outline. Name it something like outline.
Make an outline around each of the letters. Some or all of the letters might overlap.
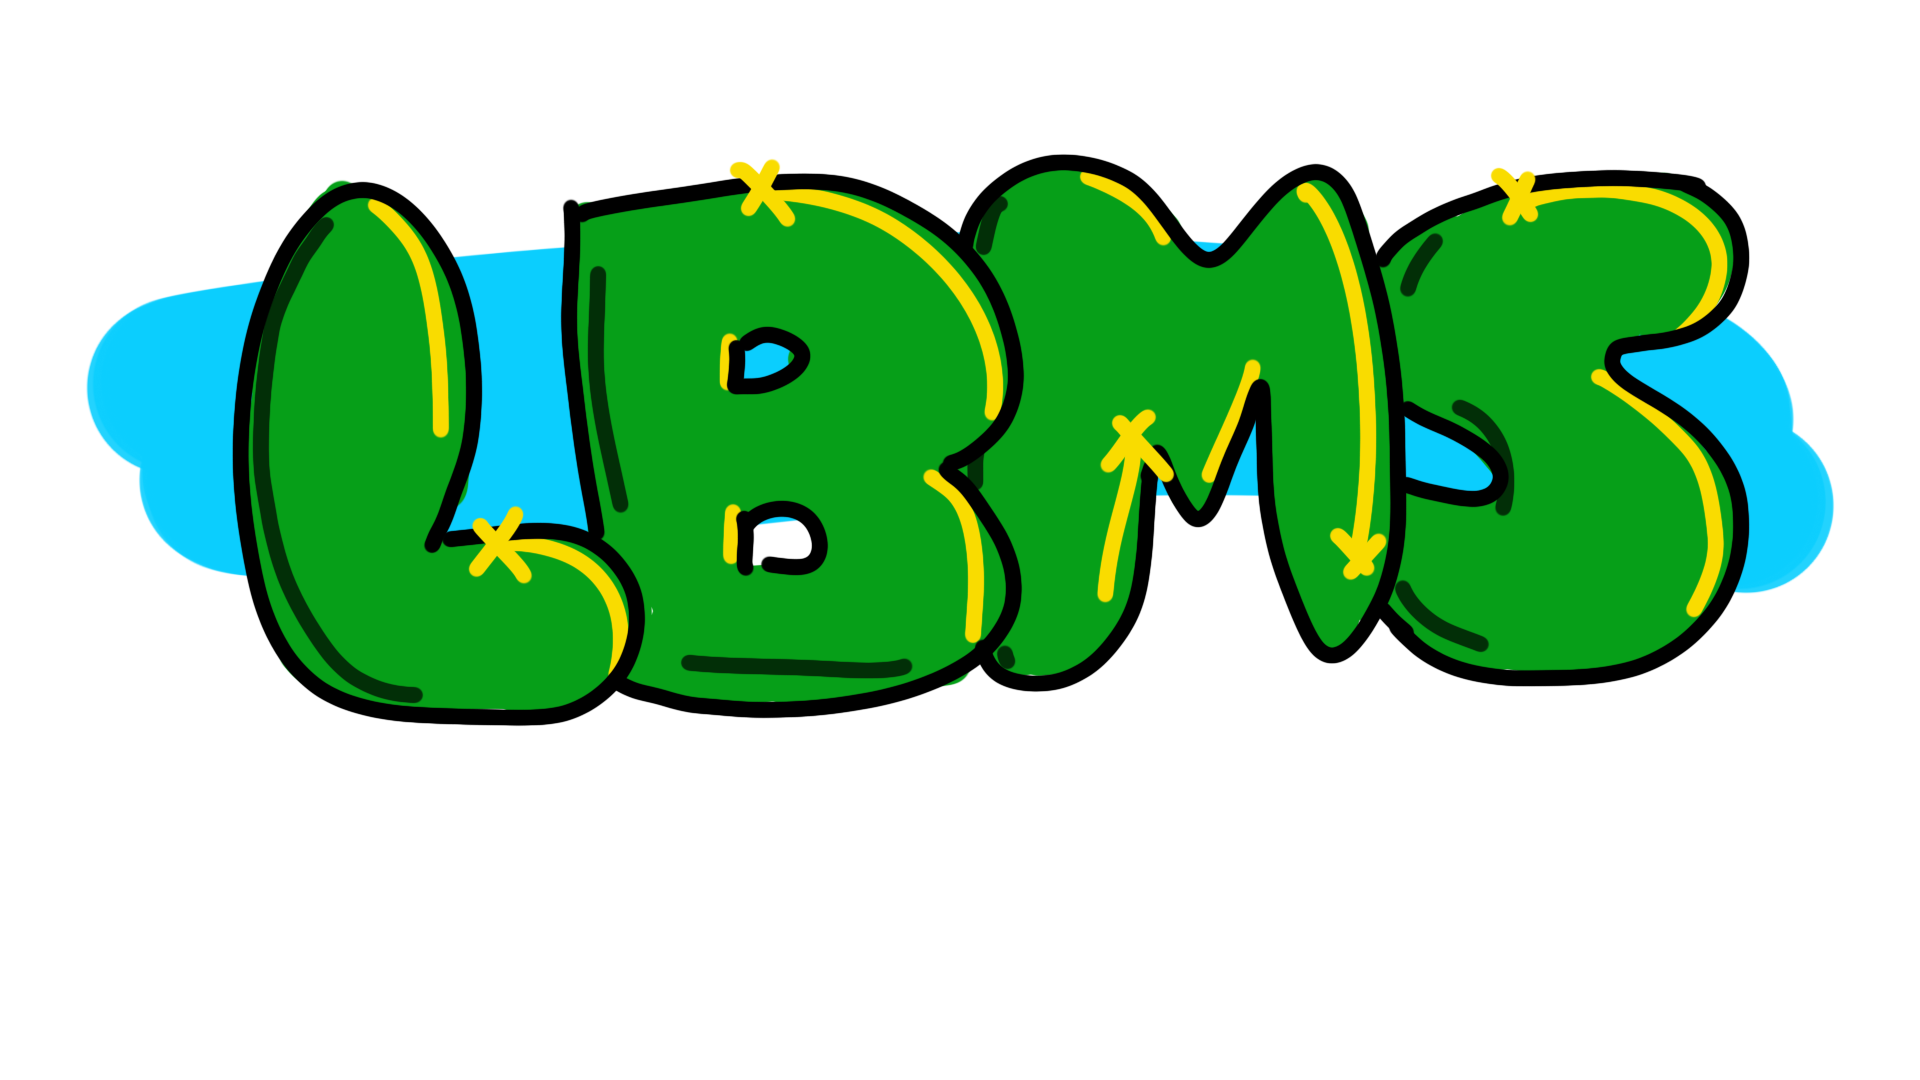
Make a layer between the guide layer and the outline for your main color. I usually name it the name of the color I’m going to use.
Color the color layer inside the lines of the outline layer.

Make it fancier. Add more layers for stylistic choices light shadows, highlights, borders, and depth. DO NOT USE FILTERS! DRAW EVERYTHING!
This is a simple tag. You can change the look by using different brushes.
If you’d like some Photoshop brushes that look more like spray paint, you can find some here.