
Instructions
Open your base image in Photoshop.
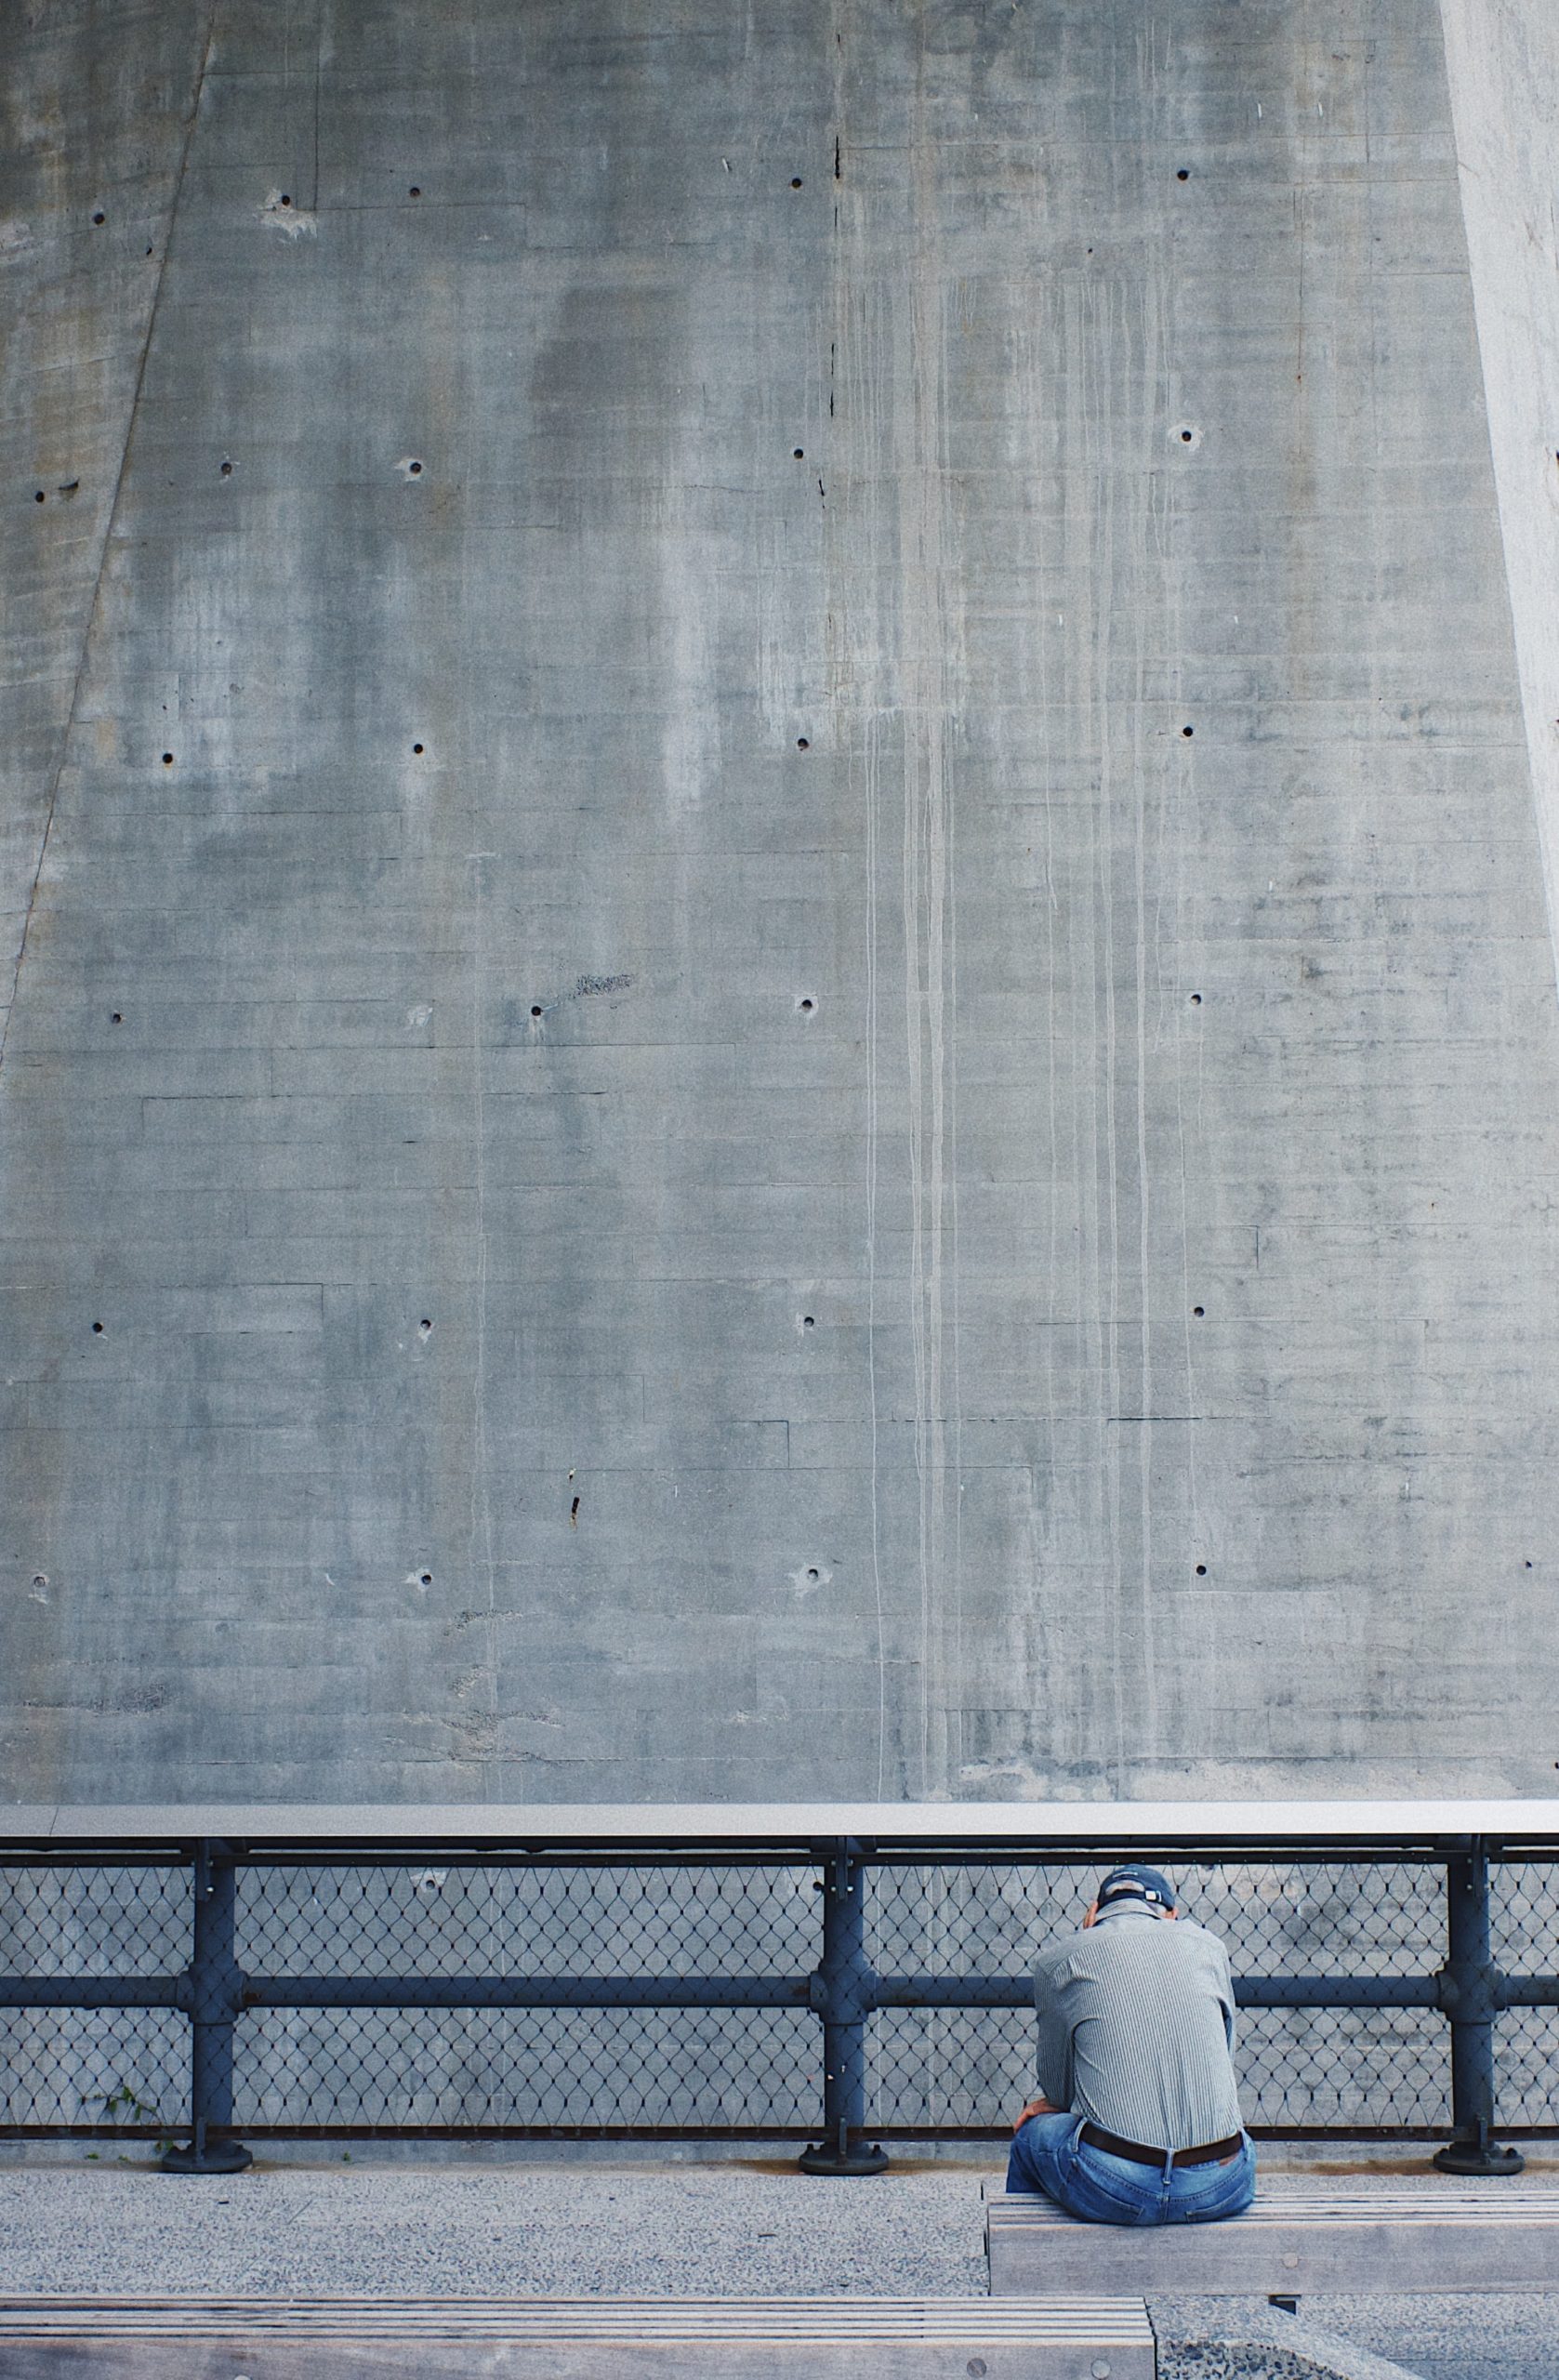
This is the base image for this tutorial.
Add your art image as a smart object.
From the menu at the top of the screen, select File > Place Embedded.

Navigate to your image and select Place in the bottom left corner of the open window. Your art image will be loaded as a smart object. It will probably be the wrong size and in the wrong place.

Resize and reposition the image. You can move the image by clicking on it and dragging. Resize the image by clicking and dragging the handles (the white boxes) around the edge of the image. You can rotate the image by hovering just outside the image until you see a bent double-headed arrow and then clicking and dragging.
When the top image is placed correctly, select Done on the Contextual Task Bar. If you don’t have the Contextual Task Bar, you can turn it on from the menu by selecting Window>Contextual Task Bar.

When you select Done, the Contextual Task Bar will change to give new options.


Select Remove Background.

The image layer will now have a mask layer, and it will be selected. Select the main thumbnail by clicking it.

From the main menu, select Image>Adjustments>Hue/Saturation.

Set the Saturation slider to -100.

Your image should look something like this:

From the main menu, select Image>Adjustments>Levels.

The levels window will open.

Here is how I adjusted the black and white arrows. Yours will almost certainly be different.

Your image should look something like this:

There’s a trick to make the image look a little more like a stenciled image: Blur the image, then sharpen it.
From the main menu, select Filter>Blur>Gaussian Blur.

Set the Radius to 3.0.

Your image will now be a little too blurry.

From the main menu, select Filters>Sharpen>Unsharp Mask.

Adjust the Unsharp Mask. These are the settings used in this tutorial, but experiment to find a look you like.

Your image will look something like this:

Now we’ll get rid of the white areas by changing the blending mode. On the layers panel, change the blending mode of the layer from Normal to Multiply.

The last step is to slightly decrease the opacity of the layer so the image looks less harsh and the detail of the wall partially reappears. Change the opacity of the layer to 75%.

Final Product
