
The big lie!
Here’s something someone probably told you: “The three primary colors are red, yellow, and blue. you can make every color by mixing those three colors together in the right amounts.” That’s neat, except it’s not true! With this project you will make two color wheels that show the two different sets of primary colors that really can be mixed to make any color.
Two ways to make colors
The first problem with figuring out primary colors is that there are two ways to make colors: additive and subtractive.
Additive colors are made by adding light to a surface. The more light you add, the brighter the surface becomes. Light bulbs, projectors, and most computer monitors use additive colors.
Subtractive colors are made by an object absorbing light instead of letting it be reflected. Perfectly white paint reflects all colors of light. Red paint absorbs all colors of light except red, and reflects the red light. Perfectly black paint absorbs all light and reflects none. The absorbed light is often converted to heat, which is why black objects get hotter than white ones. Any object that does not have a built in light source uses subtractive colors.
Let’s make some wheels!
We’re going to make two wheels. The first one will use subtractive colors.
Open Photoshop.
Select the New file button.
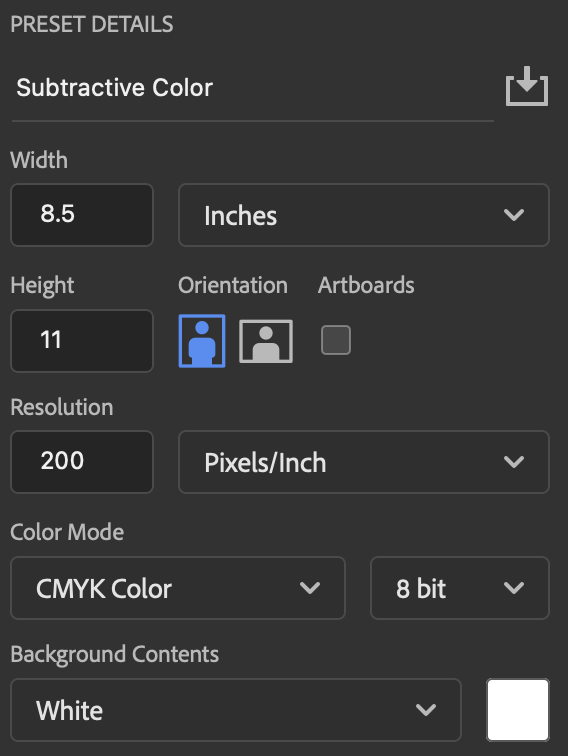
Create a document with the following settings. Make sure the color mode is CMYK Color.
Make your first circle
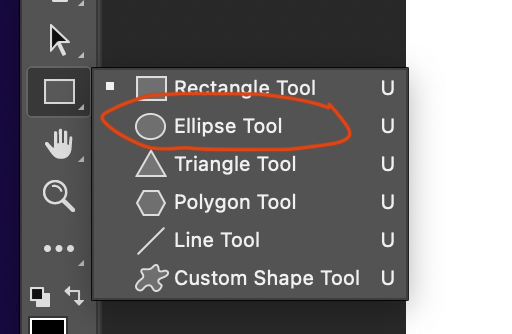
Find the Ellipse tool on the left side of the screen. It’s usually toward the bottom of the tools, under the Path Selection tool (the arrow). It may be a different shape, like a rectangle or even a puffy star. If it’s the wrong shape, click and hold on the shape and choose the ellipse in the menu that appears.
At the top of the screen, make sure the ellipse is set to “Shape.”

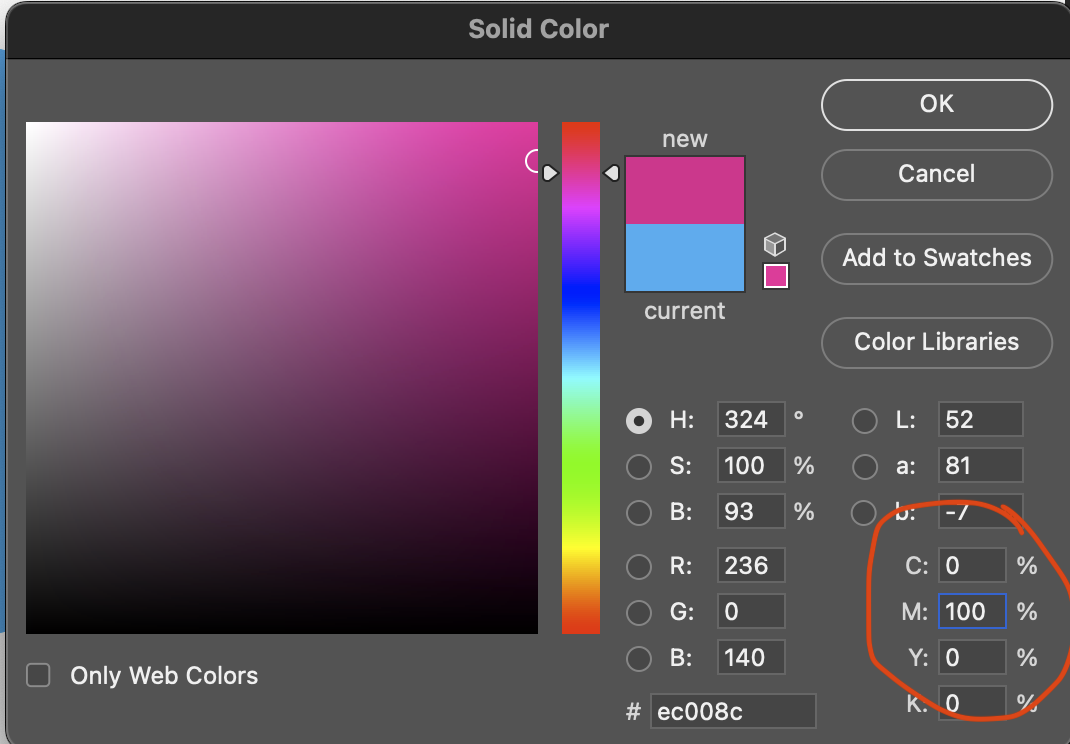
Select the Fill box (to the right of Shape), and then select the color picker in the upper right corner.

There are a LOT of different ways to change colors with the color picker. We’re going to use the one in the bottom right corner. Set C (for Cyan) to 100, and the other letters to zero. This means “use 100% of cyan, and no magenta, yellow, or black.

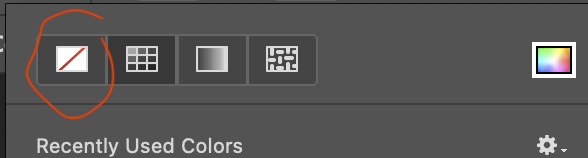
Select the Stroke box (to the right of Fill), and select No Stroke (the white box with the diagonal red line).
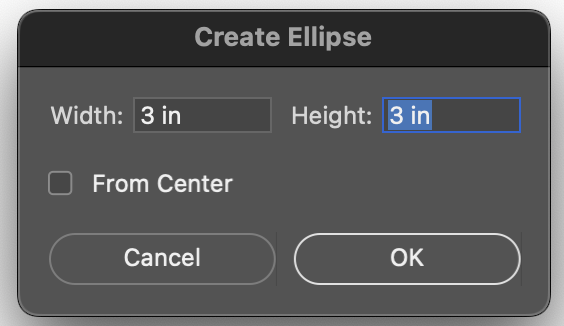
Click once on your image, but do not drag. A “Create Ellipse” menu will appear. Set the width and height to 3 inches.
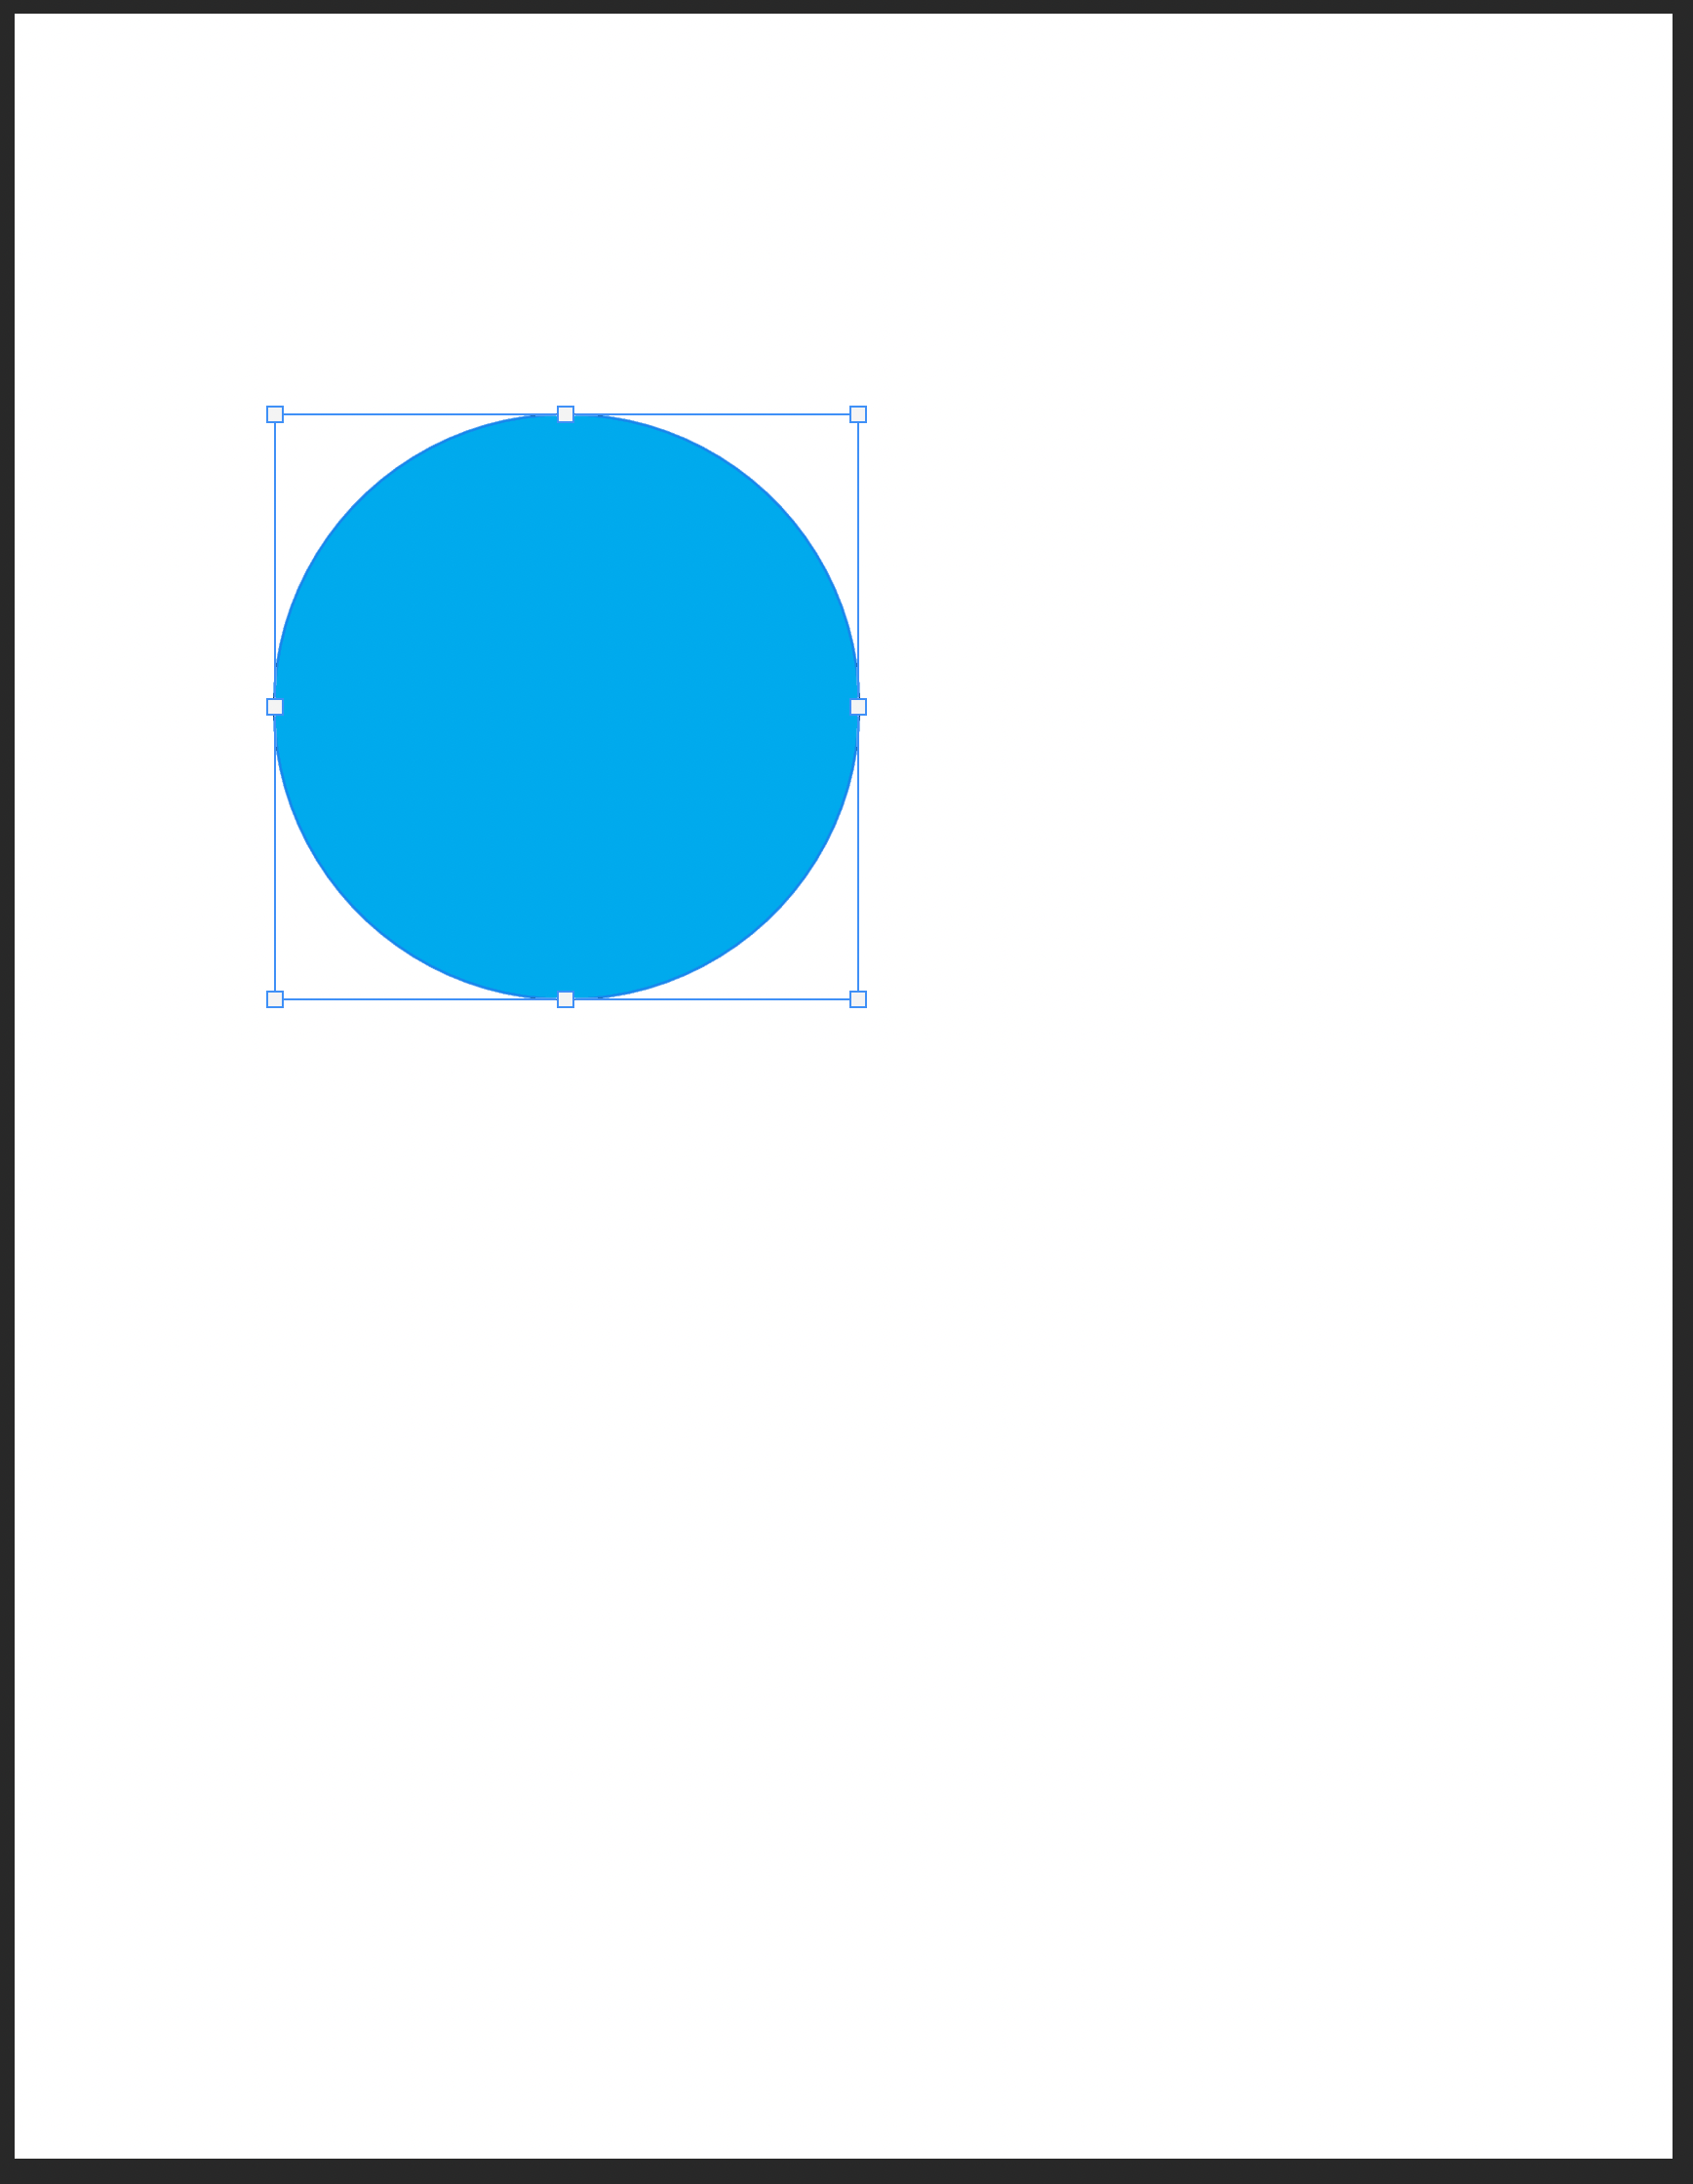
Now you have one circle somewhere on your image, like this:

Switch to the move tool. It’s usually the top tool on the left. It looks like four arrows.

Move your circle toward the upper left of your image.
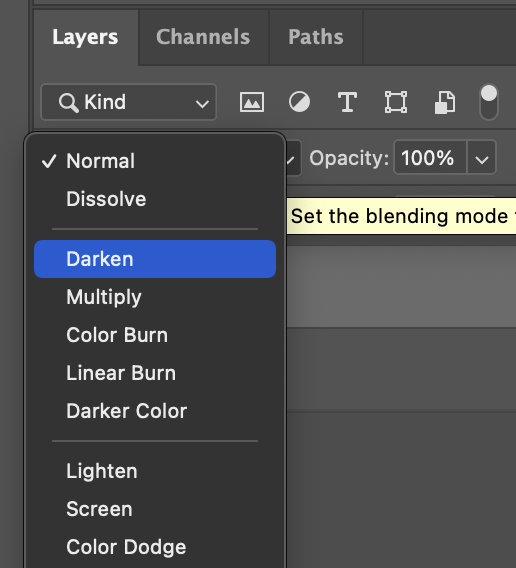
We need to make one more change. Right now the layer with the circle on it is set to Photoshop’s Normal blending mode. This just puts the layers on top of each other, like cut out pieces of paper. To make them blend like paint or markers would, we need to change the blend mode. Find the layers panel (usually in the bottom right corner) and change the blend mode to Darken.
Make the another circle
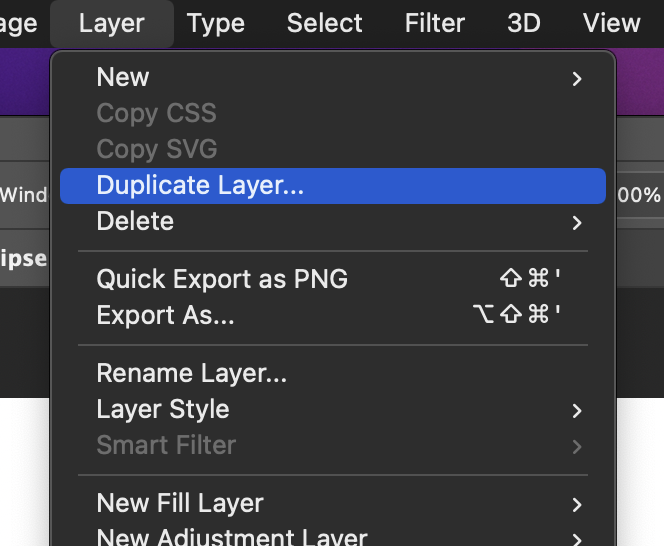
Now that we have one circle, we can copy it to make the others. Make sure the Ellipse layer is highlighted in the layer panel. Go the menu at the top of the screen and select Layer, then Duplicate layer.
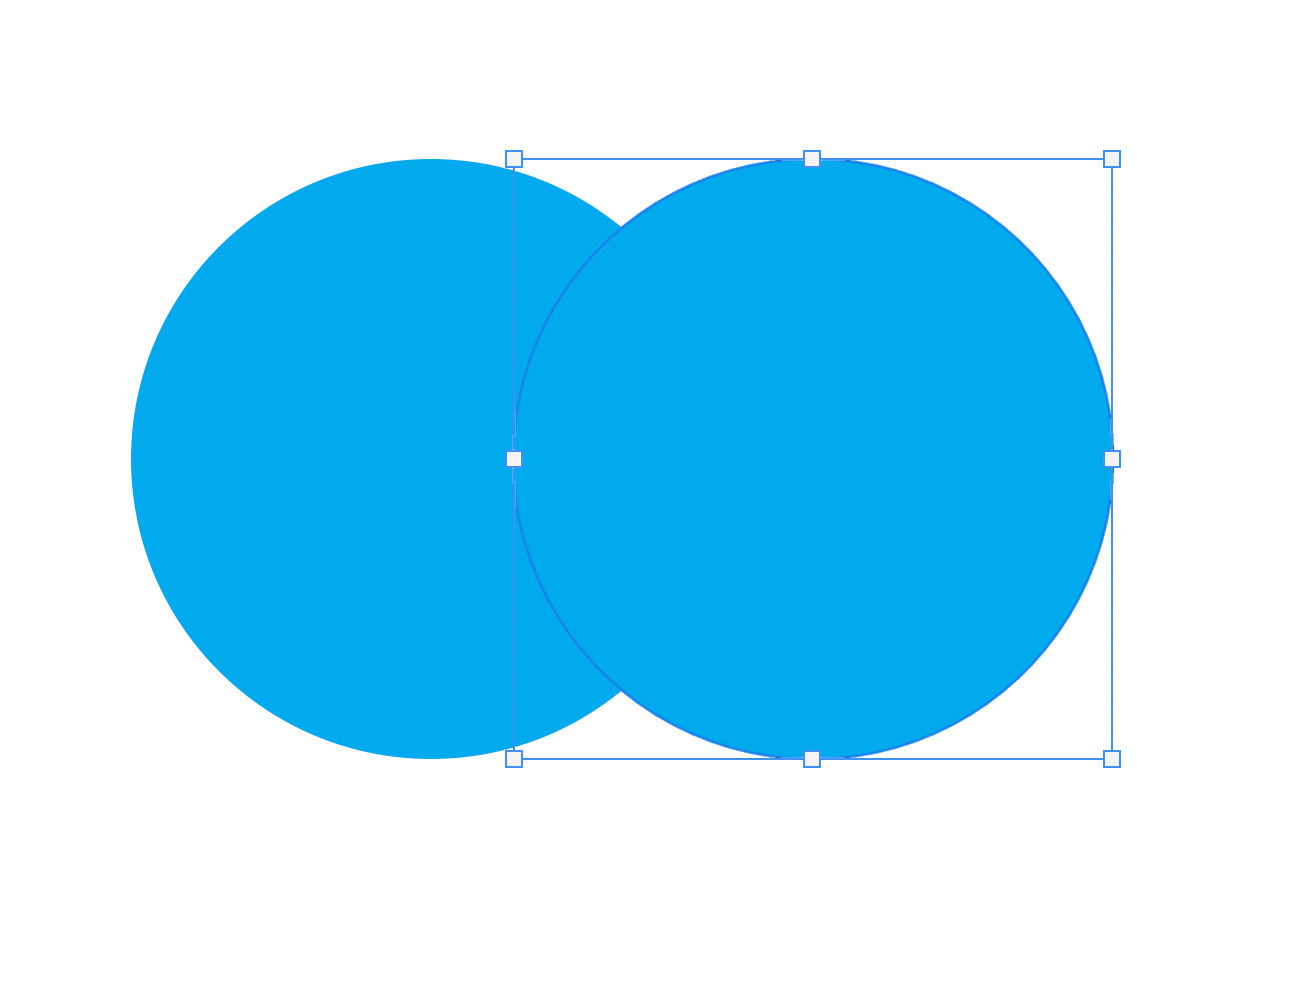
Move the new circle so it overlaps the first one.
Find the Properties panel (above Layers on the right) and select Fill
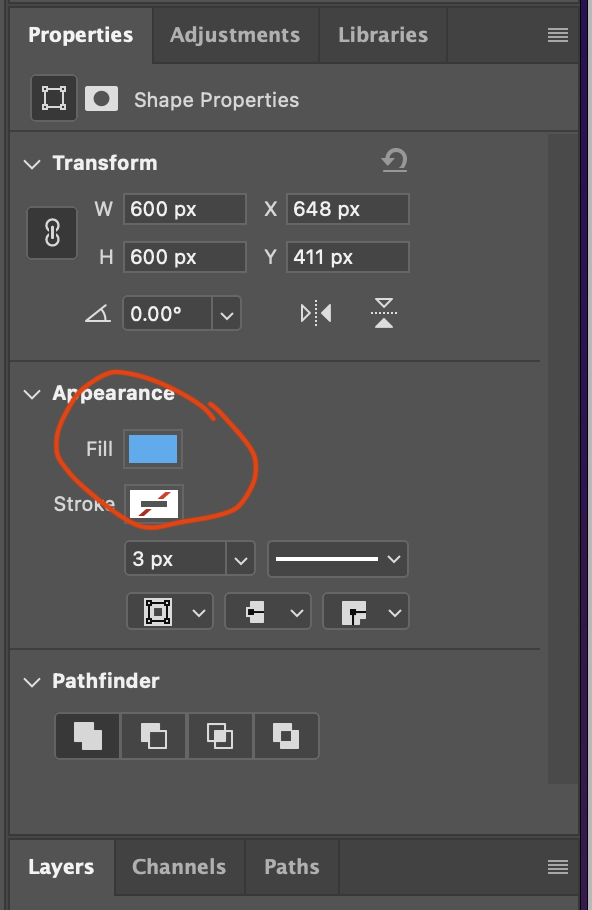
Select the color picker and change the color to 0% cyan and 100% magenta.
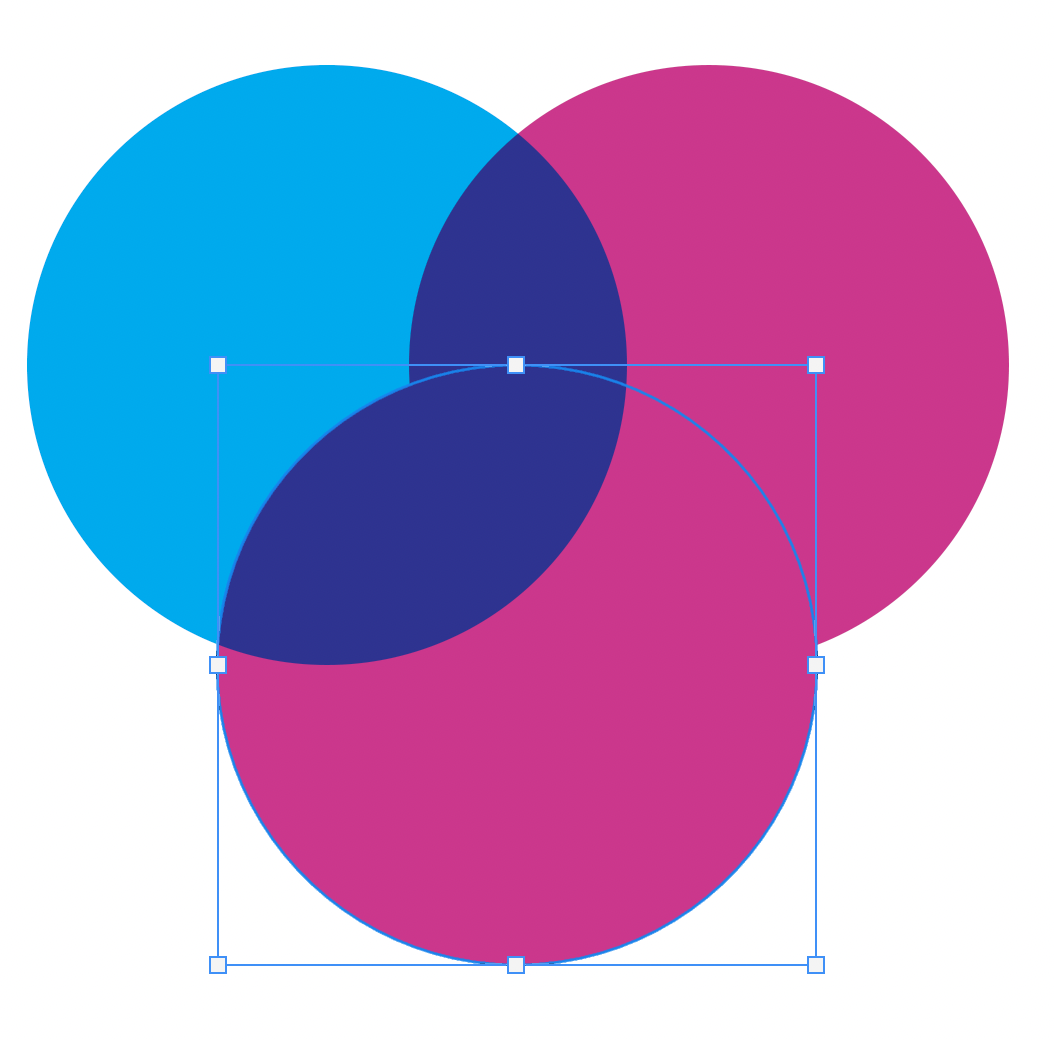
Look at the way the colors mix. Cyan and magenta make blue!
One more circle
Copy the ellipse again and make it overlap the first two circles.
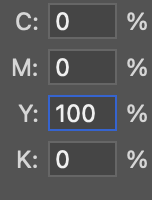
Change the color of the circle to yellow.
Now you have this:
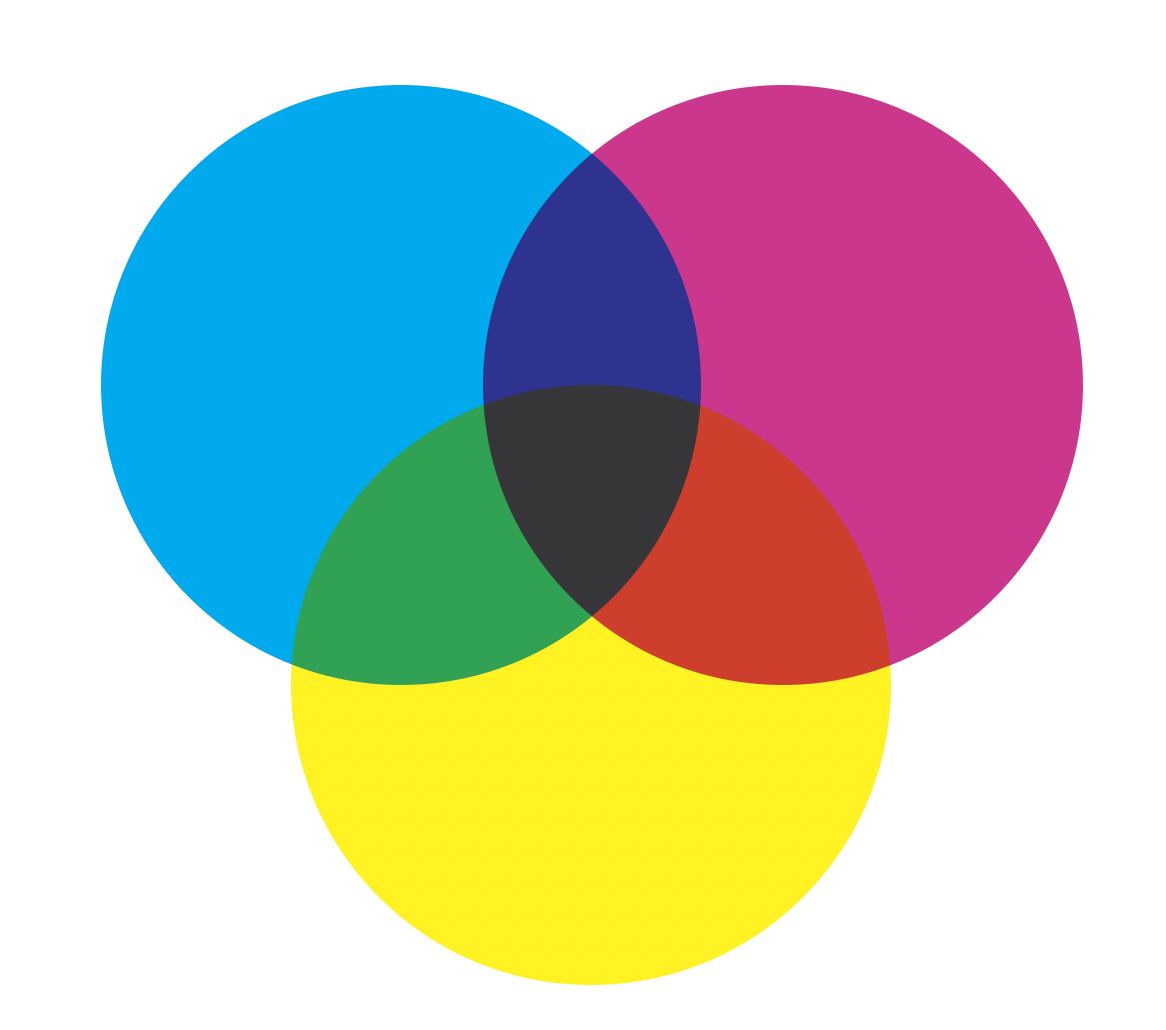
In subtractive color the three primary colors (Cyan, Magenta, And Yellow) overlap and make the secondary colors: Red, Blue, and Green. Where all three colors overlap they create gray. Different colors and shades are created by using smaller amounts of each primary color and by adding blacK. Why is a K used for black? Probably so it doesn’t get mixed up with Blue.
Additive Colors
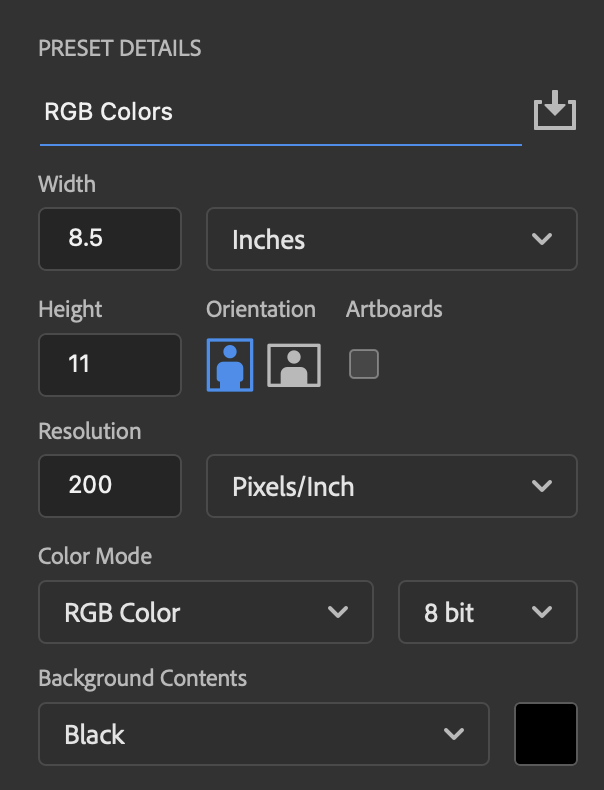
Make a new document with these settings. Make sure to set the color mode to RGB and the background color to black:
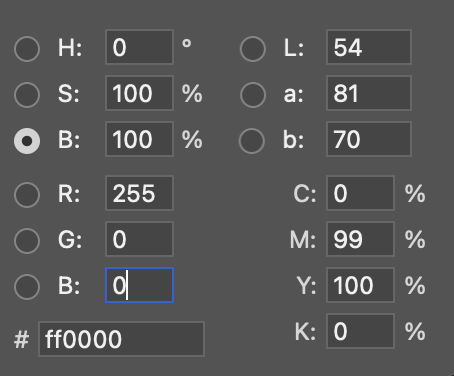
Make three circles the same way you did for the CMYK color chart, but this time set each color to all red, all green, and all blue. instead of 100%, set the color sliders to 255
Set each layer to “lighten.”
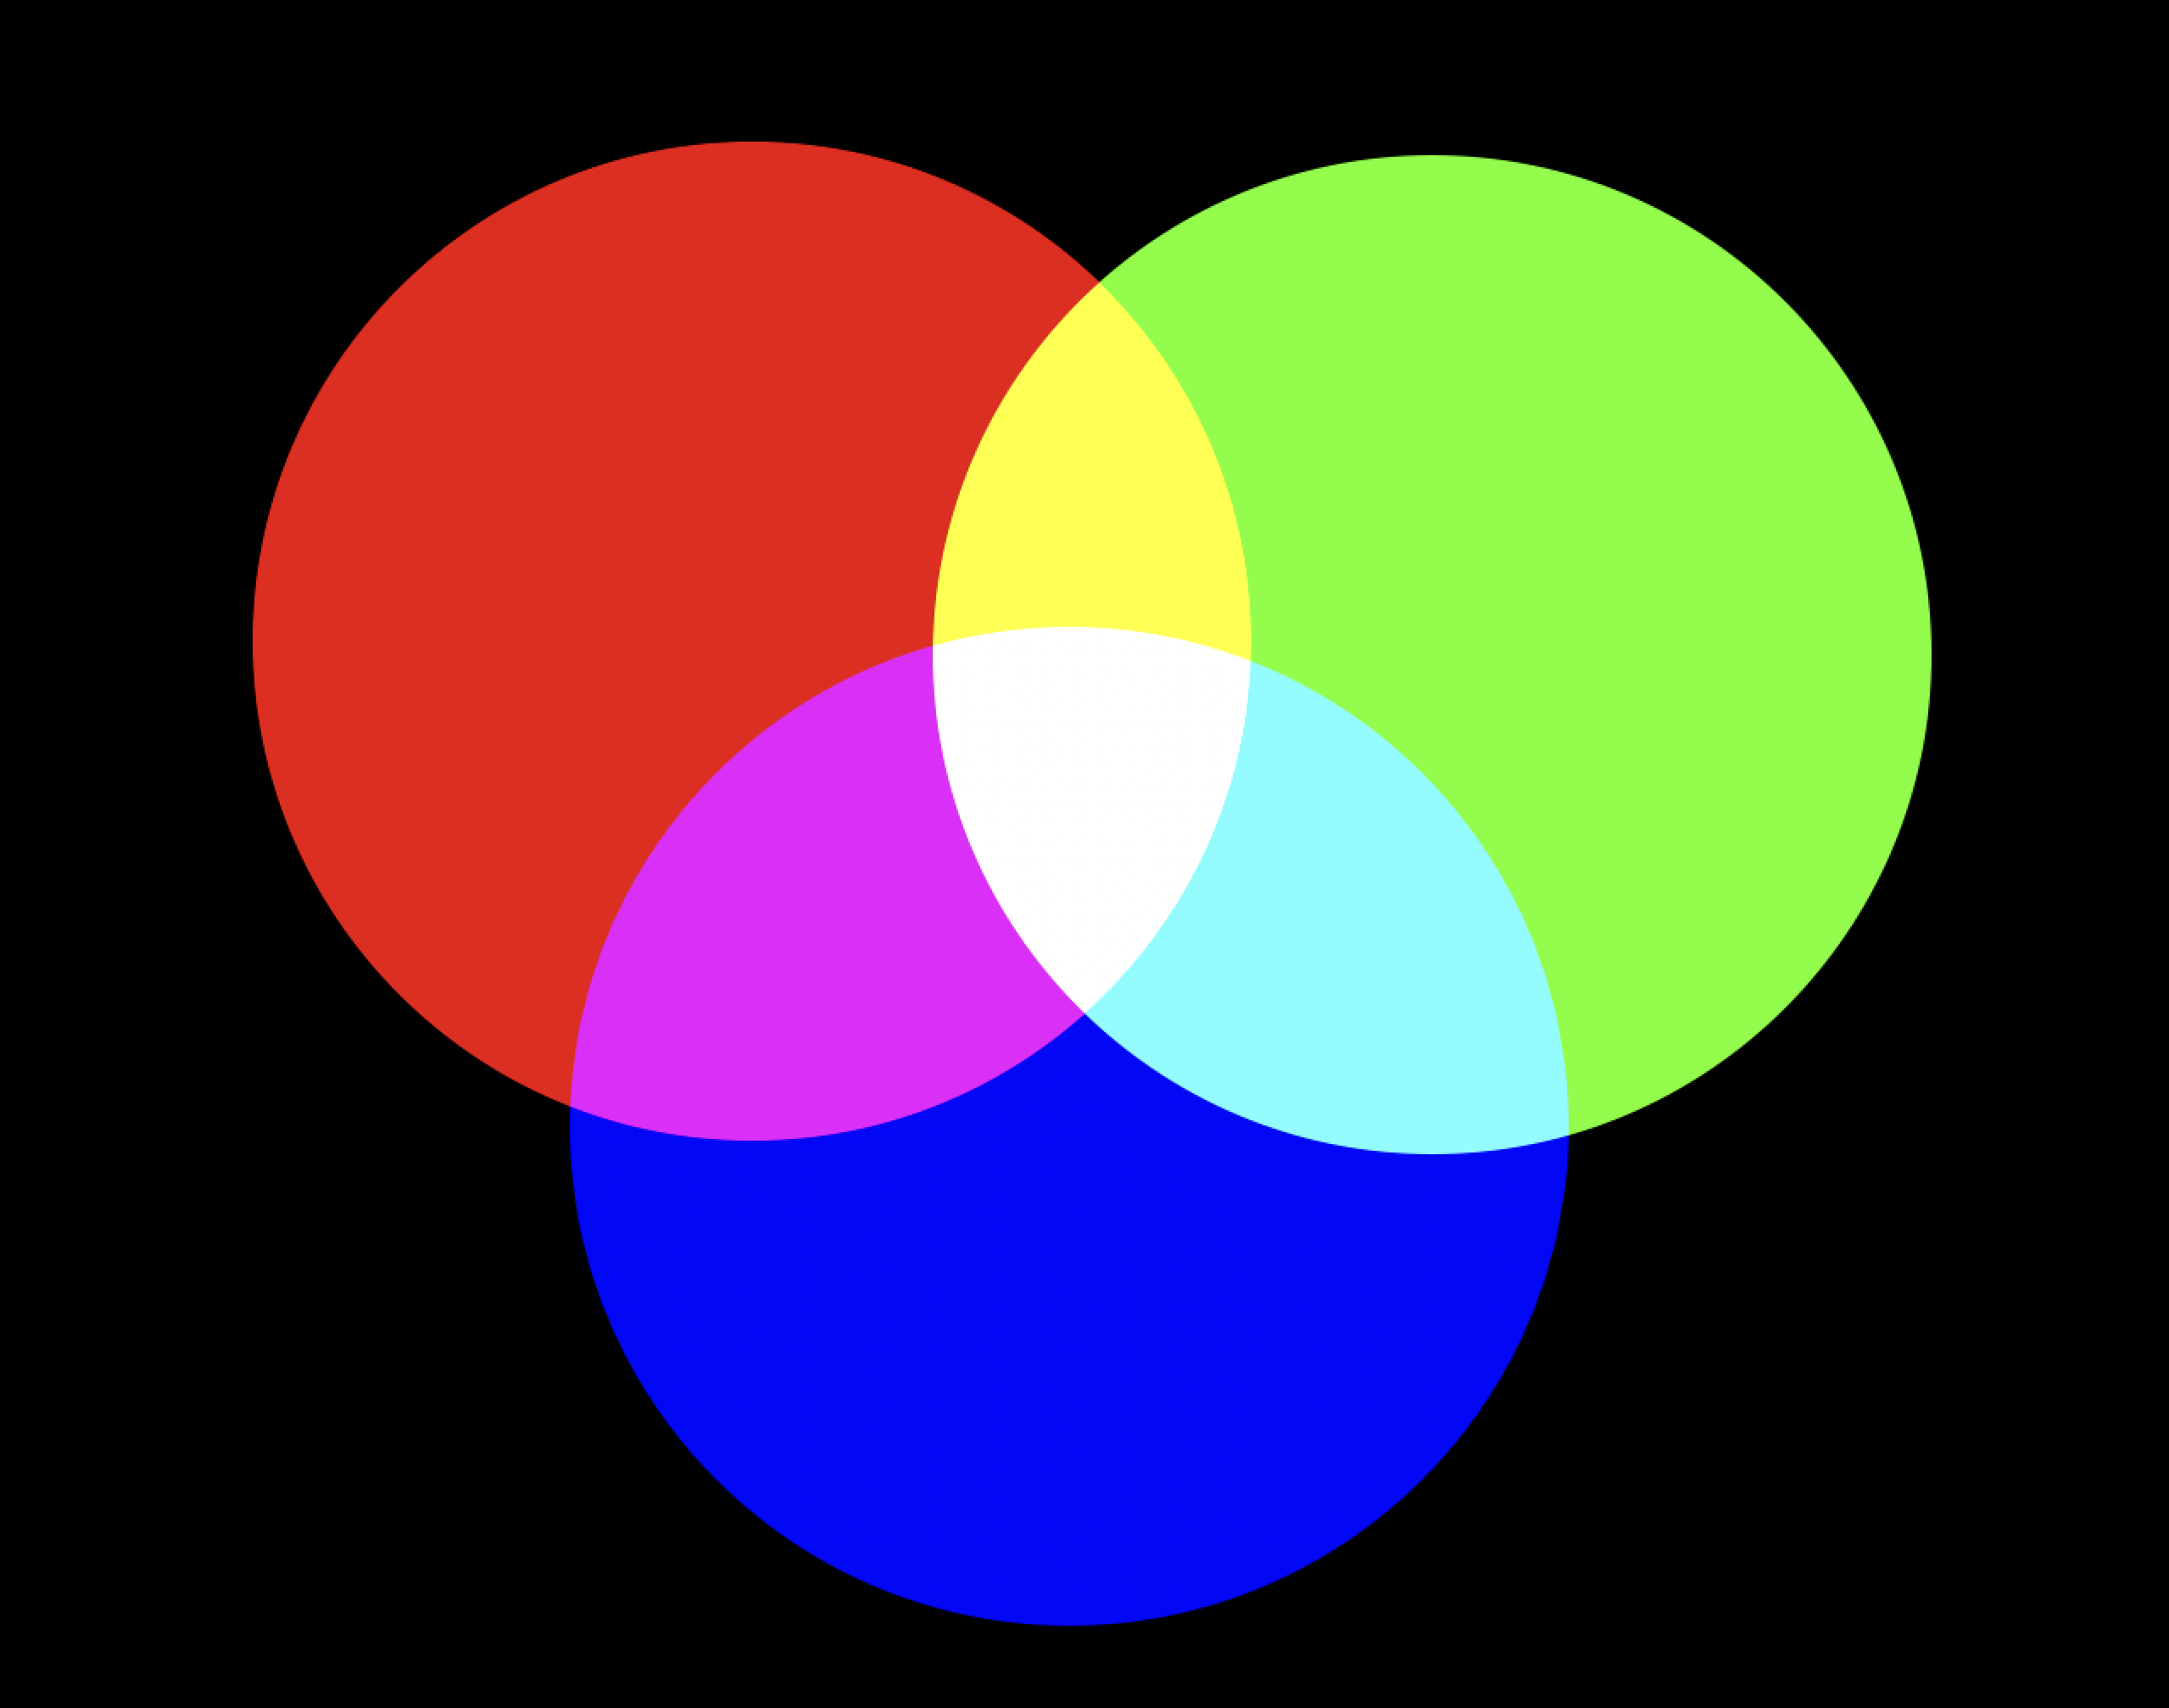
Your final project should look something like this:
Turn in both versions!