Goal
Using a photograph as a base image, create multiple layers of color blocks to build an image with a drawn appearance.
It’s always useful to keep different parts of an image on their own layers so you can alter or remove one section without having to recreate anything that may be touching the part you want to change.
Software Used
Photoshop (but the principles apply to an image editor that uses layers)
Directions
Find a large image of a face with clear details.
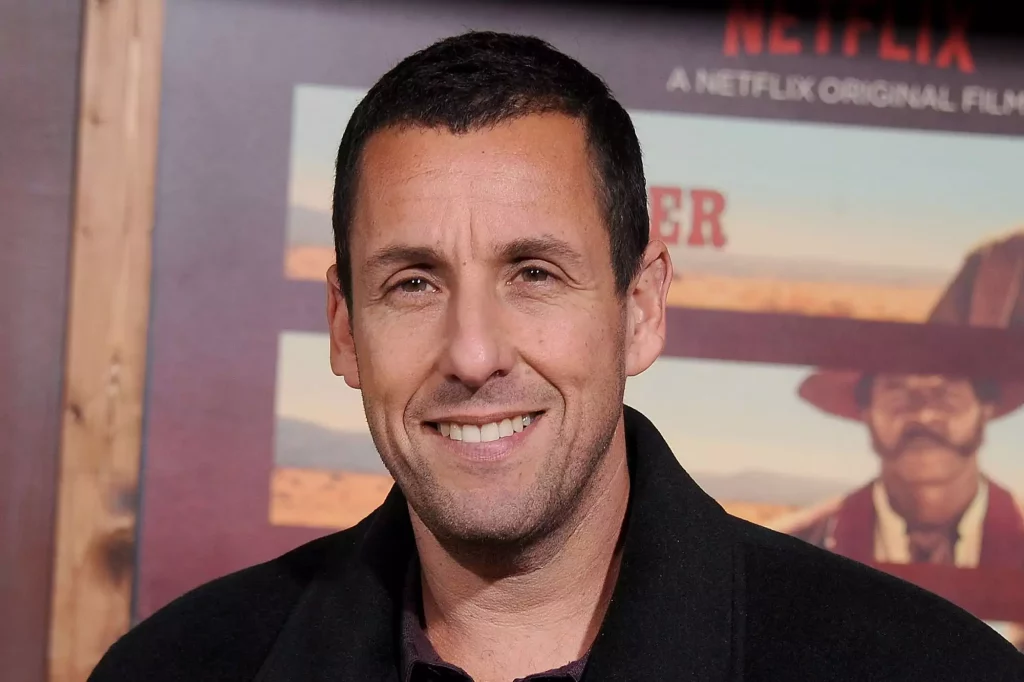
Open the image in Photoshop.
When you’re making this image, it might help to imagine that each layer you create is a piece of colored paper. Put the largest pieces down first, then put the smaller ones on top.
Make a new layer and name it something like “main skin” or “skin.”

You can give the layers any name you like, but you should always give them names that describe what is on the layer. If you don’t, you’ll end up with files full of names like “Layer 34” that won’t help you figure out what the layer actually does.
Select the eyedropper tool and sample the main skin color.
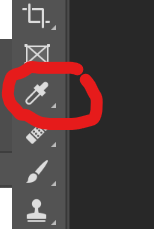
Skin is not a single color. If you look at the picture of Adam Sandler, you can see the skin above his eyebrows is lighter than the skin near his hair. Move the eyedropper to a place on the face that looks close to the average tone of the skin and select the color.
Fill in the main skin color
There are a few different tools you could use for this. You could use the brush tool, the shape tool, or something else. I used the polygonal lasso tool. It makes the edges of colors sharp, but it doesn’t do curves very well.
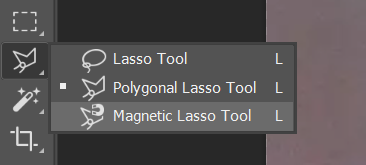
Whatever tool you choose, fill in the whole area of skin.
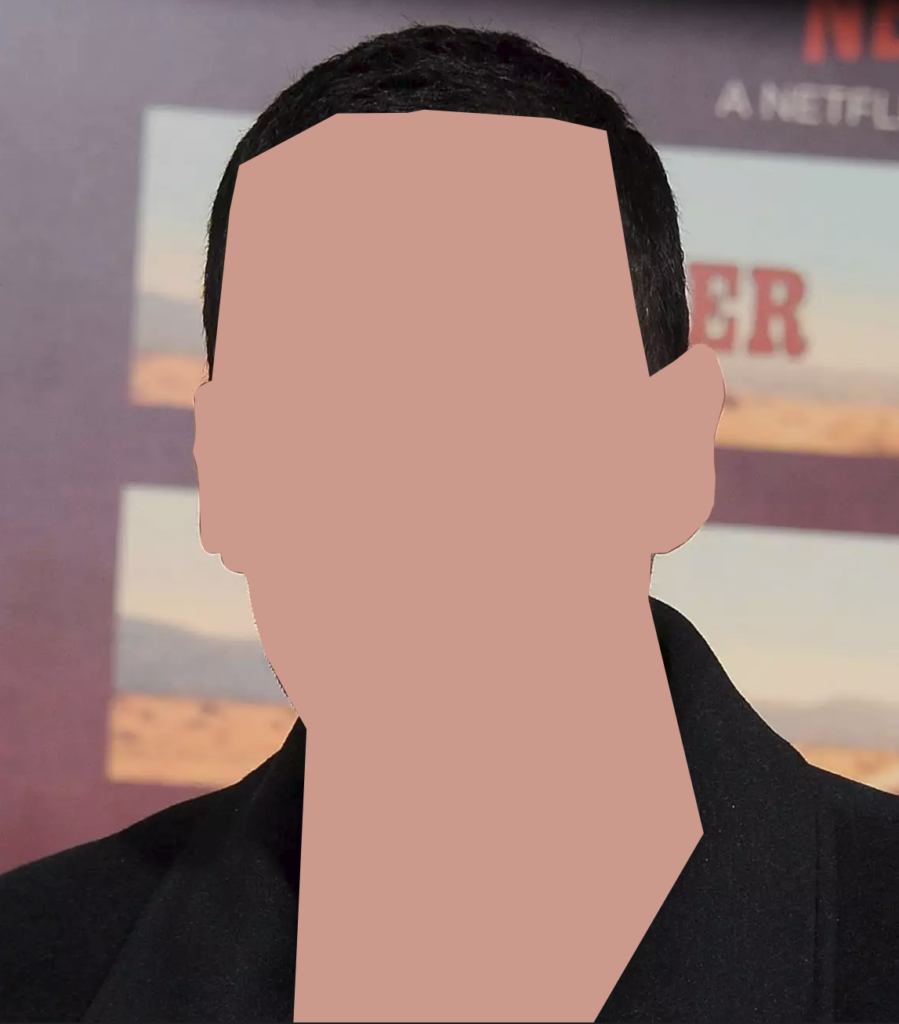
Carefully follow any edges that won’t be covered by other colors, but don’t worry about areas that will end up hidden. In this image, notice I was careful to follow the edges of the ears and parts of the jaw, but I didn’t worry at all about the areas that will be covered by hair or clothes.
HIDE THE SKIN LAYER

Select the eye icon to the left of the layer to hide it.
Create a new layer above the skin layer and add another color
At this point, your layer names may not match what I have. The next two layers I made were for the shadows on either side of the face.
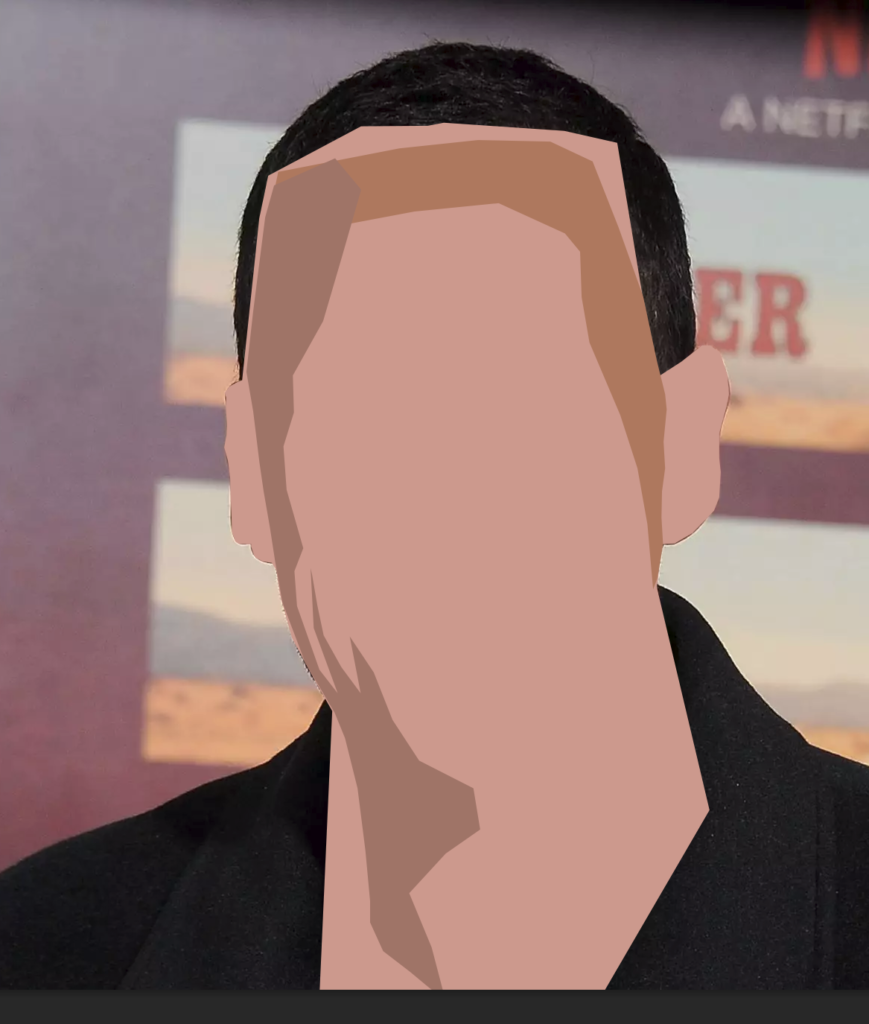
The important thing is to make sure you name your layers so you know what each one does.
Tips
Start with the biggest areas. Remember: all of the layers will stack on top of each other. You can put a big blob of color down first, then define the edges with smaller color blobs.
Follow colors, not body parts.
Look at the nose here:
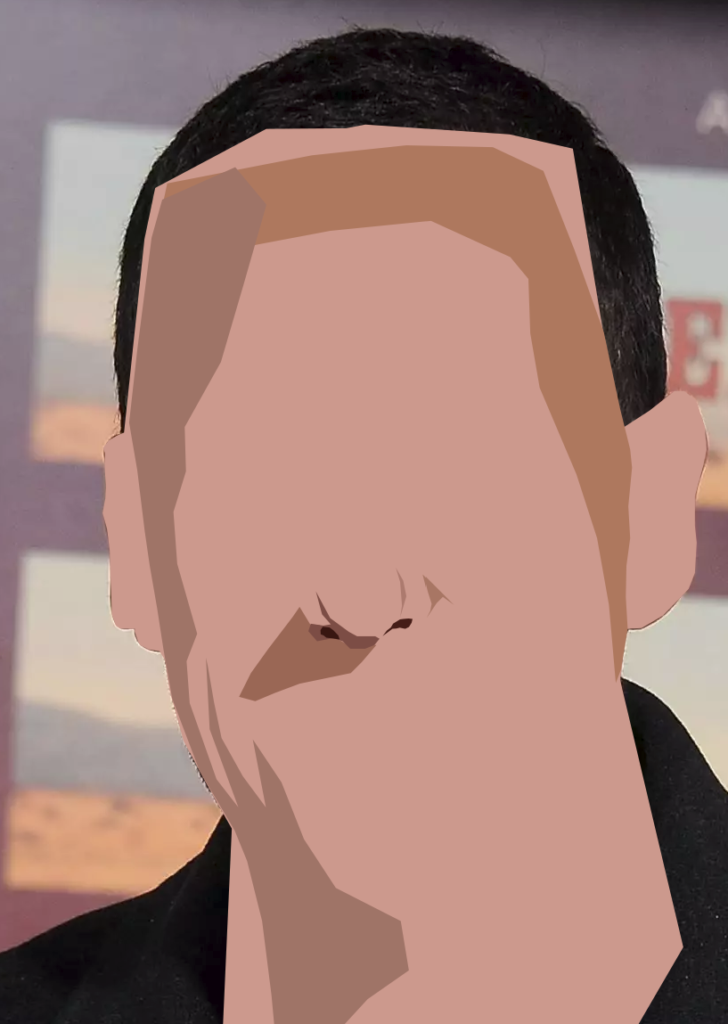
Notice that the whole nose isn’t selected. Noses are not separate parts. They blend in to the skin around them. Don’t pick your nose! Pick the shapes and colors!
Also, look at how many different shapes and colors there are just in the tip of the nose. each of those shapes is a new layer!
Skin can be difficult. Skin changes colors gradually, so there won’t always be an obvious line showing where you should change to a new color. That’s okay. There is no “right” place to change colors. If you think it should change, change it!
Keep things organized! Name every layer so you know what it is! If you have several layers that all belong together, you can select all of them and put them in a group. You can even put groups inside of groups.

Lots of layers and groups is great! Look what the layer stack looks like for the final version of this image:

My final version of this image has over forty layers and groups. Yours might have more!
Be patient. It’s not a race to the finish. this trace took me almost two hours, and I’ve done it a million times before.
This is what my final image looks like. I added a blue background to make him stand out.
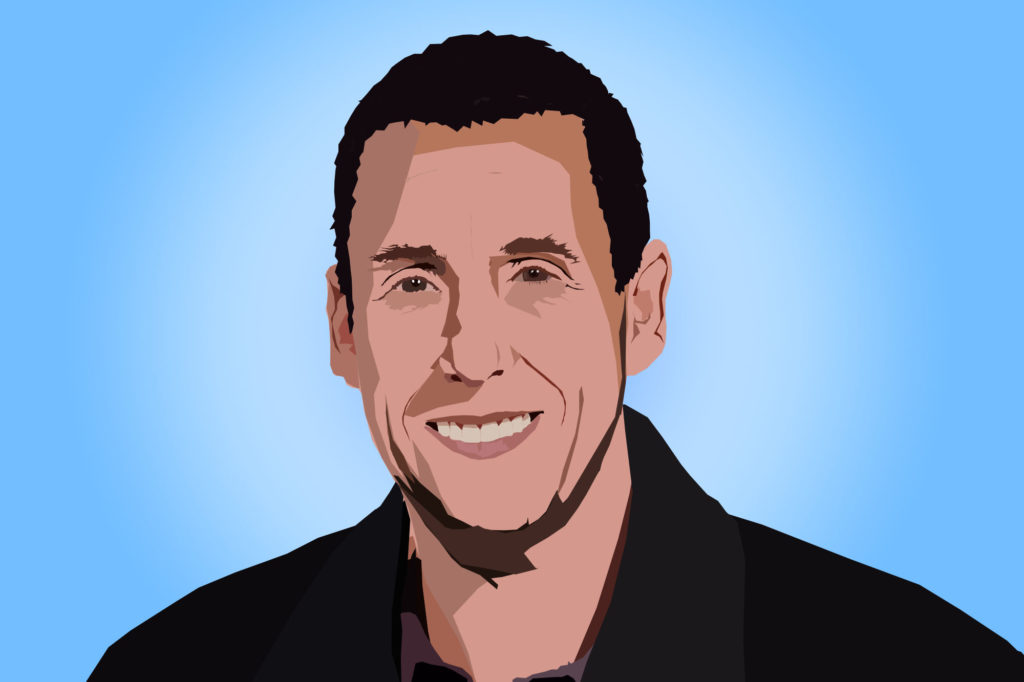
If you’d like to see my full project file, you can get it here: https://lbmslab.org/media/sandler%20face%20trace.psd
One more thing
If you are trying to do this project in Photopea or another online image editor, you might run into problems if you try to use so many layers. In that case, you can follow this less-detailed set of instructions:
