
GOAL: Create an animated puppet mouth from an image and a sound file.
Directions
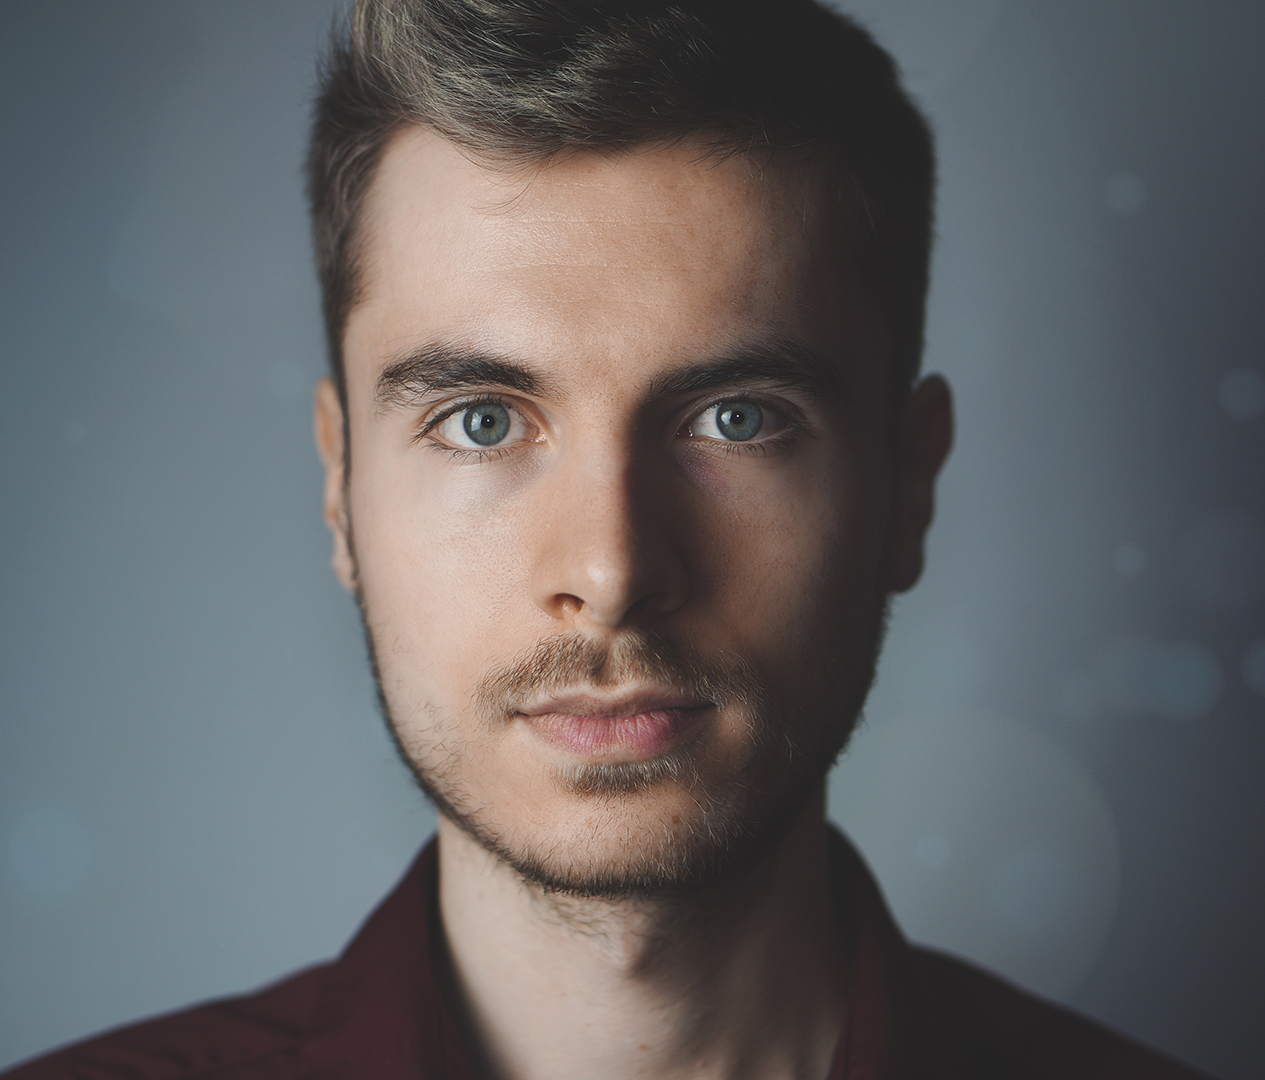
Find a picture
Try and find an image that’s large, but not huge. The mouth should be clearly visible. It’s also easier if the head is facing the camera. I’m using this stock photo. It was a really large, so I resized it. Anything under 2000 pixels high should be fine.
Cut out the chin
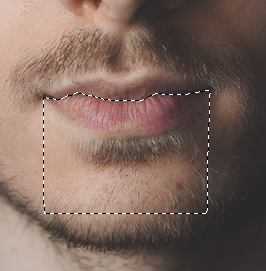
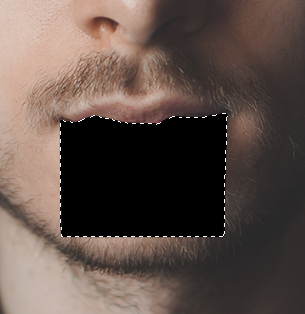
Use the polygonal lasso tool to trace between the lips and around the chin. make the selection a little wider on the sides than it is on top.
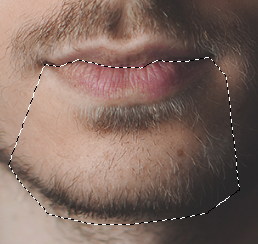
Press command-c (on a Windows machine, ctrl-c) to copy the chihin.
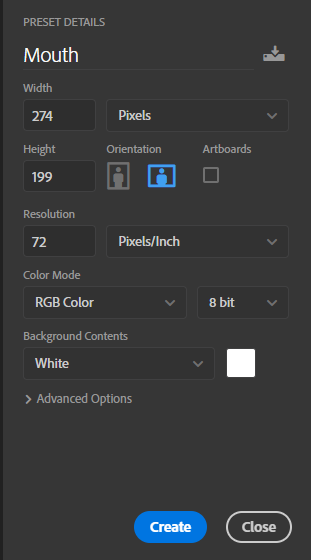
From the text menu, select, File > New. Photoshop will suggest a file that’s the size of the mouth. Change the name at the top to “mouth” and select “Create.”
You’ll get a blank image. press command-v (on a Windows machine, ctrl-v) to paste in the mouth and chin as a new layer.
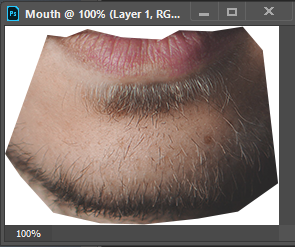
On the layers palette, select the background layer.
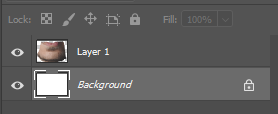
Press delete to remove the background layer, You’ll see that the mouth and chin are now surrounded by a checkerboard pattern. This is how Photoshop shows that the background is invisible.
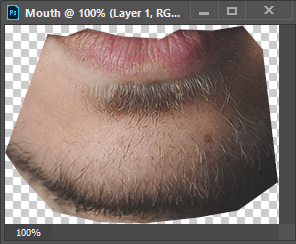
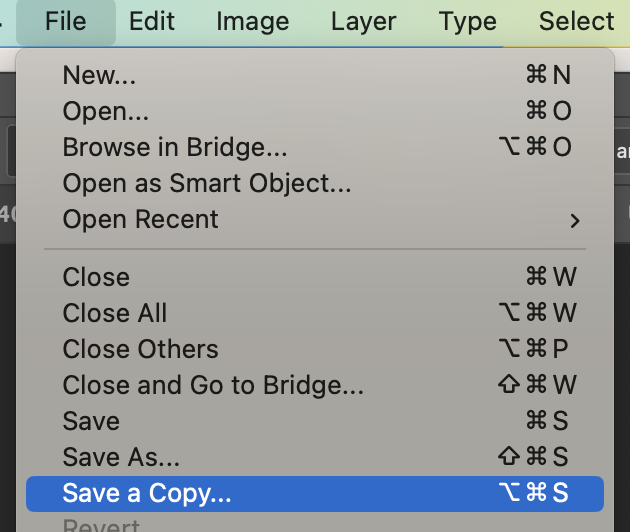
Got to File/Save a Copy and save the mouth as mouth.png close the mouth image.

Set up the rest of the face
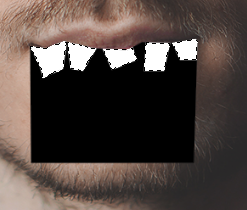
Go back to the face image. Make sure you still have the polygononal lasso tool selected. hold down option (on a Windows machine, hold down alt). you’ll see a small minus sign appear next to the cursor as you move it over the image. Whatever you select now will be removed from the selection.
Leave the top alone, but trim the sides of the selection so that they are straight up and down, and the bottom so its a little smaller than the original selection.
Fill in the selection with black.
OPTIONAL: Add teeth
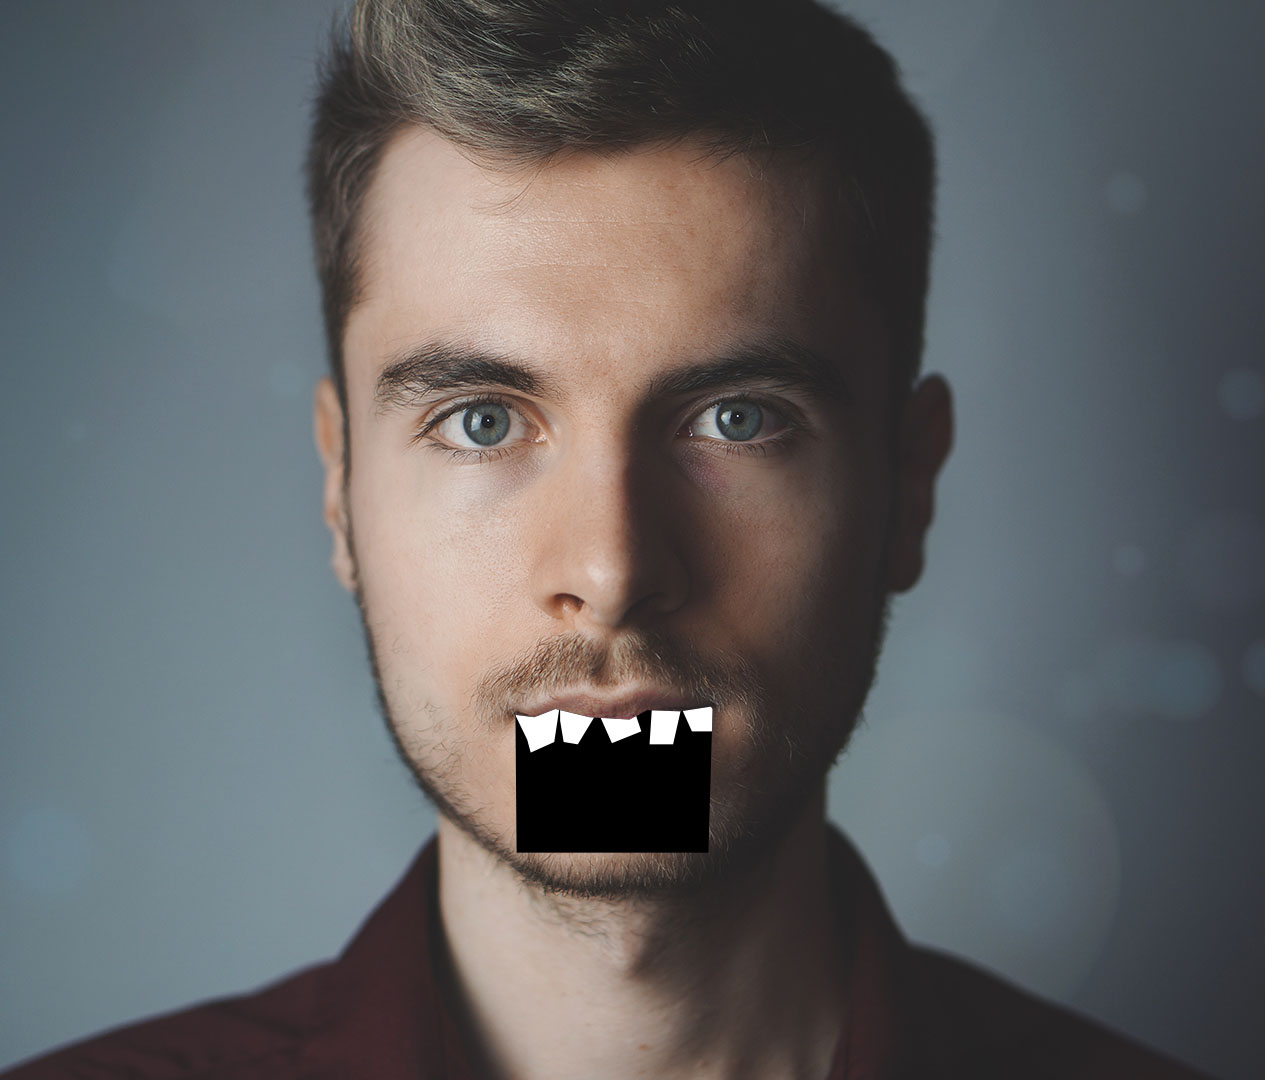
You can add teeth however you like. You might draw them. You might paste in teeth you found. For the teeth here, I edited the selection and filled it with white.
However you add teeth, make sure they are inside the original black area, or they will show when the mouth is closed.
Save your file. I used the jpg format because it’s smaller than a PNG and this image doesn’t need transparency, but feel free to use a PNG file if you wish.
When you’ve saved the face, you can close Photoshop.
Get your audio
When we’re done, the mouth will move for any noise in the sound file, so it’s important to have a file that just has a voice. I recorded a short file on my phone and uploaded it to my computer, but you could use sound you recorded on your computer, a video, or a found voice. If you use a video, you’ll only need the sound.
Put the pieces into a new composition
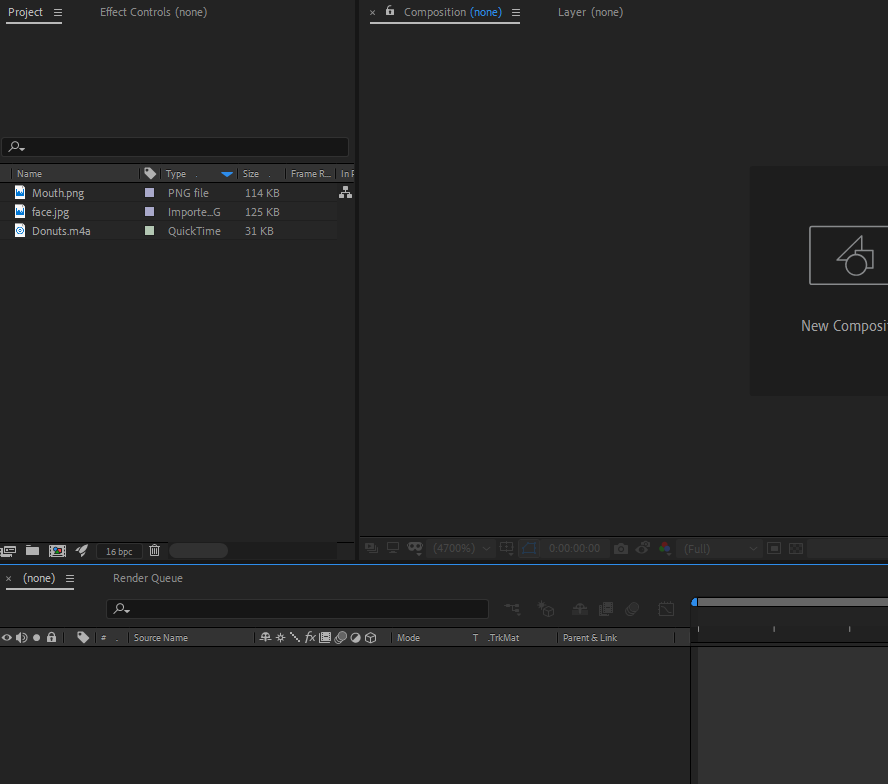
Open After Effects and choose “New Project.”
Make sure you are in Default view (on the top right of the screen).
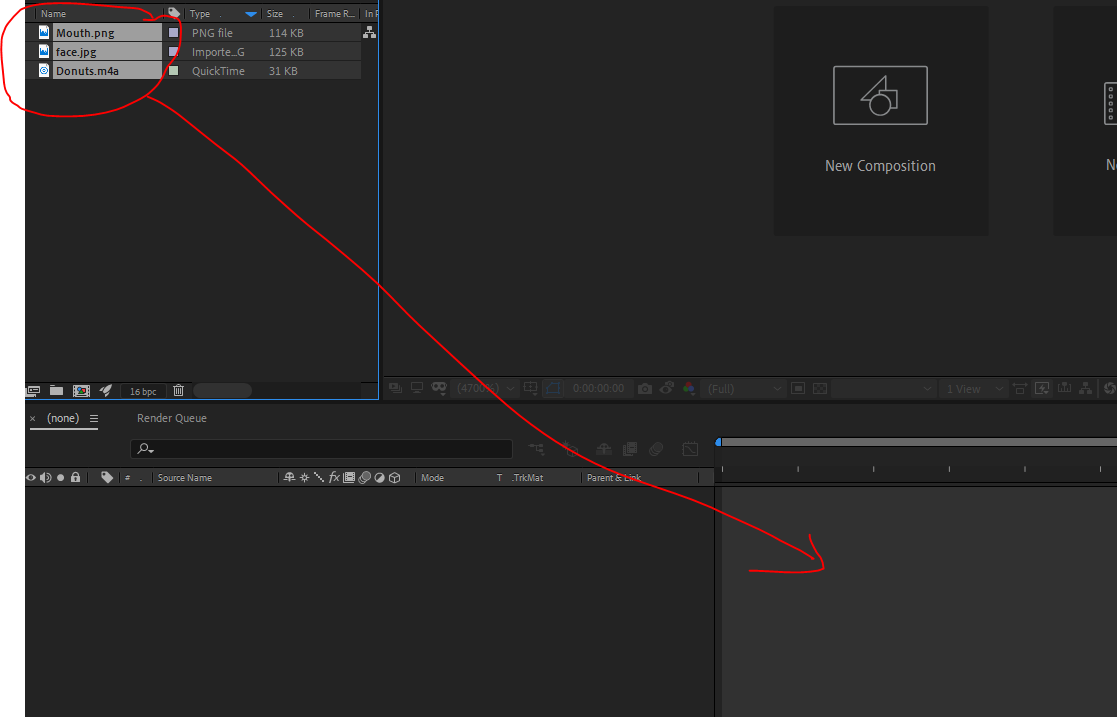
Drag your three files- the face, the chin, and the sound – into the Project window on the top left of the screen. They are now assets – materials you can use in your composition.
Drag the three assets into the timeline. Make sure you get all three at once!
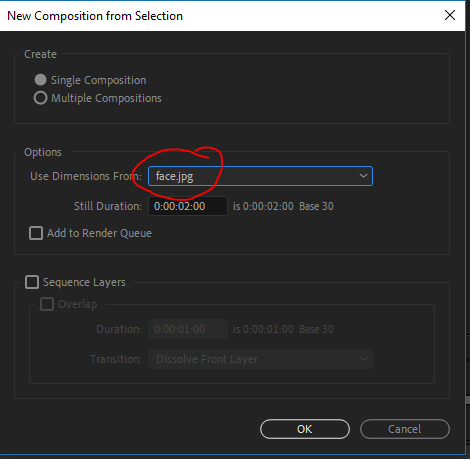
The New Composition window will open. Most of the settings are fine, but make sure you set it to use the dimensions from the face or your image will be too small.
Your composition should look something like this:
Fix the length of the layers
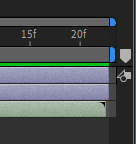
On the timeline, you will see a layer for each asset. The image layers will probably be shorter than the sound layer. Hover over the edge of the layers and a double-headed arrow will appear. Click and drag the layers to make them the same length as the sound.

When you drag them, you probably won’t be able to get them to exactly line up. That’s fine. Get them as close as you can.
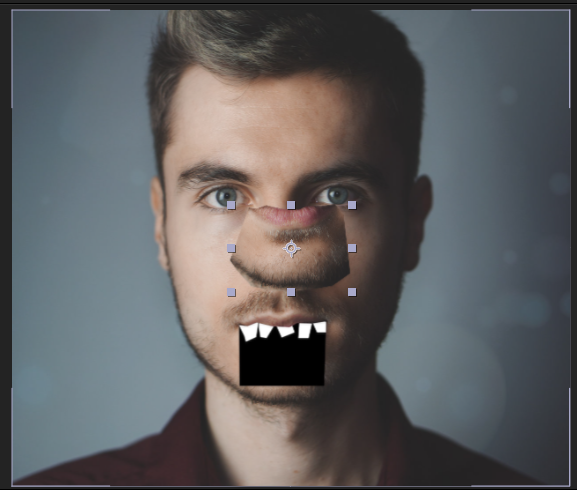
Fix the mouth location
Now we need to fix the mouth. Click a blank space inside the layer names window to deselect all the files. Then click the name of the mouth layer.
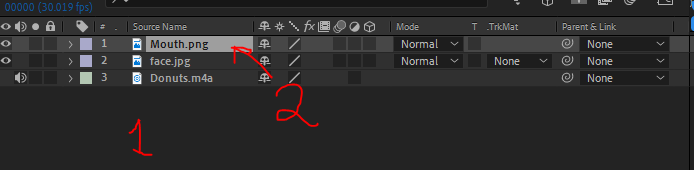
Make sure the move tool is selected (top right of the screen).

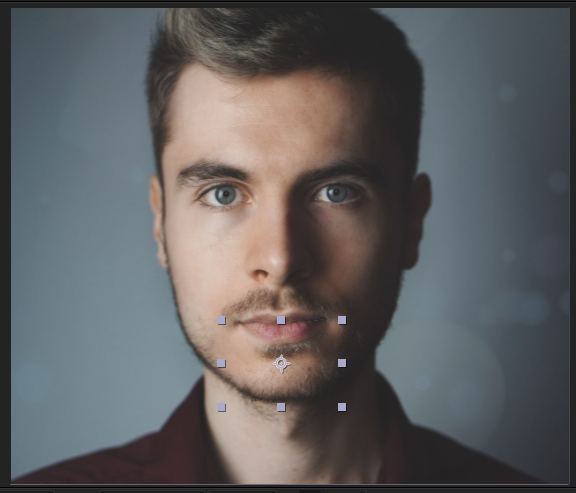
Move the mouth into place. The black section should be completely covered.
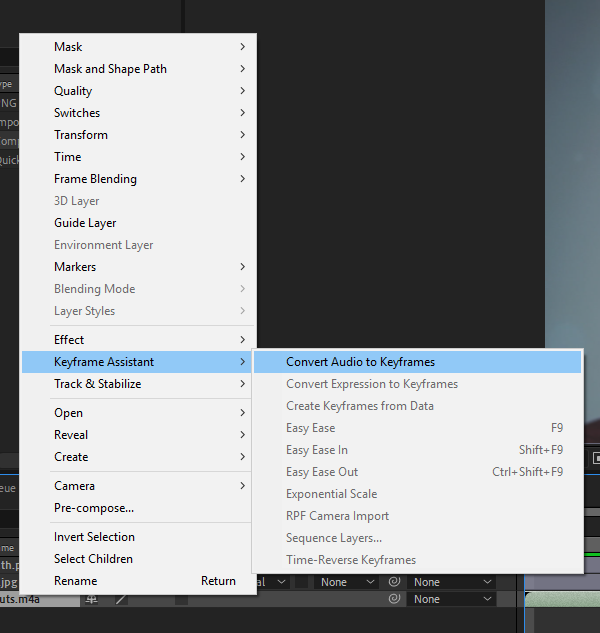
Select your sound layer. Right click (or control-click if you don’t have your right click turned on) the sound layer. A menu will appear. Select Keyframe Assistant > Convert Audio to Keyframes.
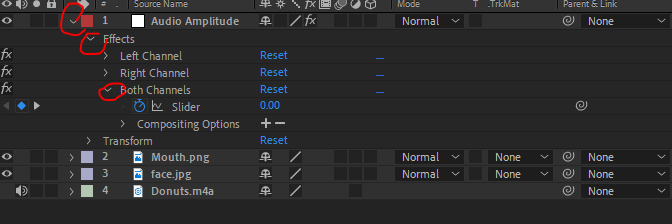
A new null layer called Audio Amplitude will appear. A “null layer” holds information you can use with other layers, but doesn’t have an image or a sound of its own.

To the left of the Audio Amplitude layer name will be an arrow pointing to the right. Click it to twirl it down. Do the same next to Effects and Both Channels, You’ll see a variable called “Slider” with a stopwatch next to it.
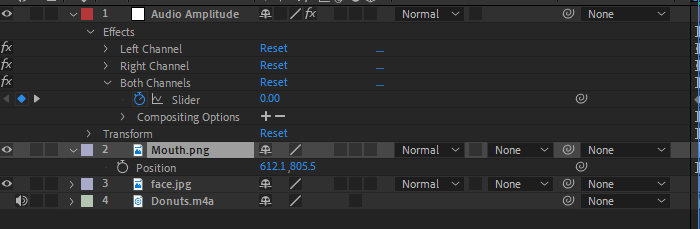
Click on the mouth layer.
Press the letter P on your keyboard to open the Position variable. Your numbers will be different because your mouth will be in a different place than the example.
Hold down option (windows users, hold down alt) and click the stopwatch next to Position. Some new controls will appear.
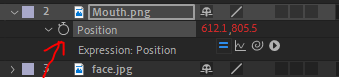
The control we care about is called the pick whip. It’s the one that looks like a swirl. Click and hold on it, then drag up to the stopwatch next to Slider.
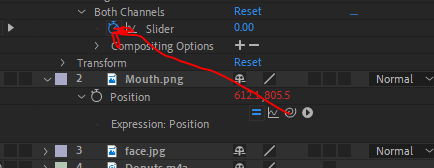
The mouth will temporarily fly up to the upper left corner, but we’re going to fix that.
On the timeline next to position, a new line of text will appear. You’ll probably only be able to see [temp, temp], but you can scroll to see the rest of the text, or do what I did and stretch the layer of the mouth layer on the timeline to make it taller.

The last thing you need to do is change the code in that line to match this:

You’re done! Here’s how mine turned out:
I’ve used this effect to make a dollar bill talk:
I made the composition of the talking George first. Then I imported it into another composition that had the parts of the dollar. Then I imported THAT composition into the final one with the background, sounds, and text.