
Goal
Use multiple versions of the same image to explore the image adjustment tools and filters in Photoshop. Remember to try many different filters and colors. No two images should look the same!
Applications Used
- Photoshop or Photopea
- Photo Booth (or equivalent)
The Photopea version of the instructions (at the bottom of the page) uses smaller images to work better on devices with smaller screens like Chromebooks, but the basic instructions are the same.
IMPORTANT NOTES
These instructions were created before Photoshop switched to saving documents on the cloud by default. When you go to save, the onscreen prompts might be different. That’s okay- as long as you save your work along the way somewhere you’ll be fine. The video walkthrough at the end of the tutorial shows the newer file save behavior.
The Photoshop instructions were written for use with Macintosh computers, but will work with minor adjustments on Windows-based machines.
A video walkthrough of the instructions can be found at the bottom of the page.
Photoshop Instructions
Open Photo Booth. It will open in a small window.
The upper left corner of the Photo Booth window shows three “traffic dots.” The red dot closes the window. The yellow dot minimizes the window to the dock. The green dot makes the app full screen. Select the green dot, like this:
Make sure your face is near the center of the image and comes close to filling the screen, then take a picture. It will be added to the picture roll below the big image.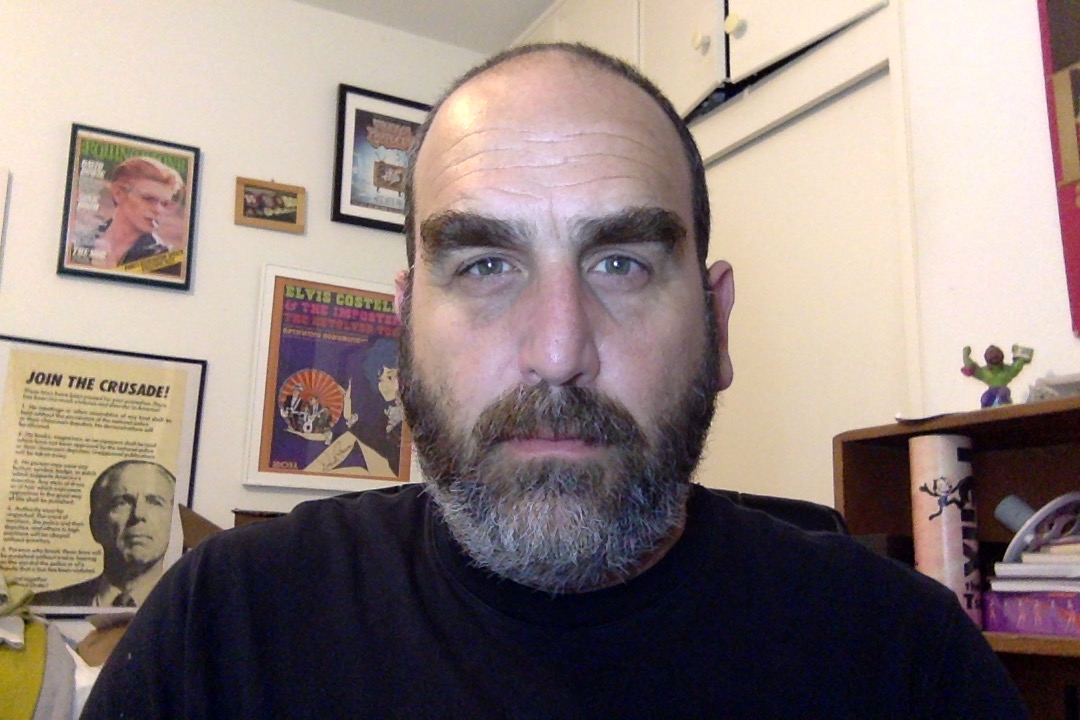
Press ESC on your keyboard (the first button on the keyboard).Photo booth will return to its smaller size.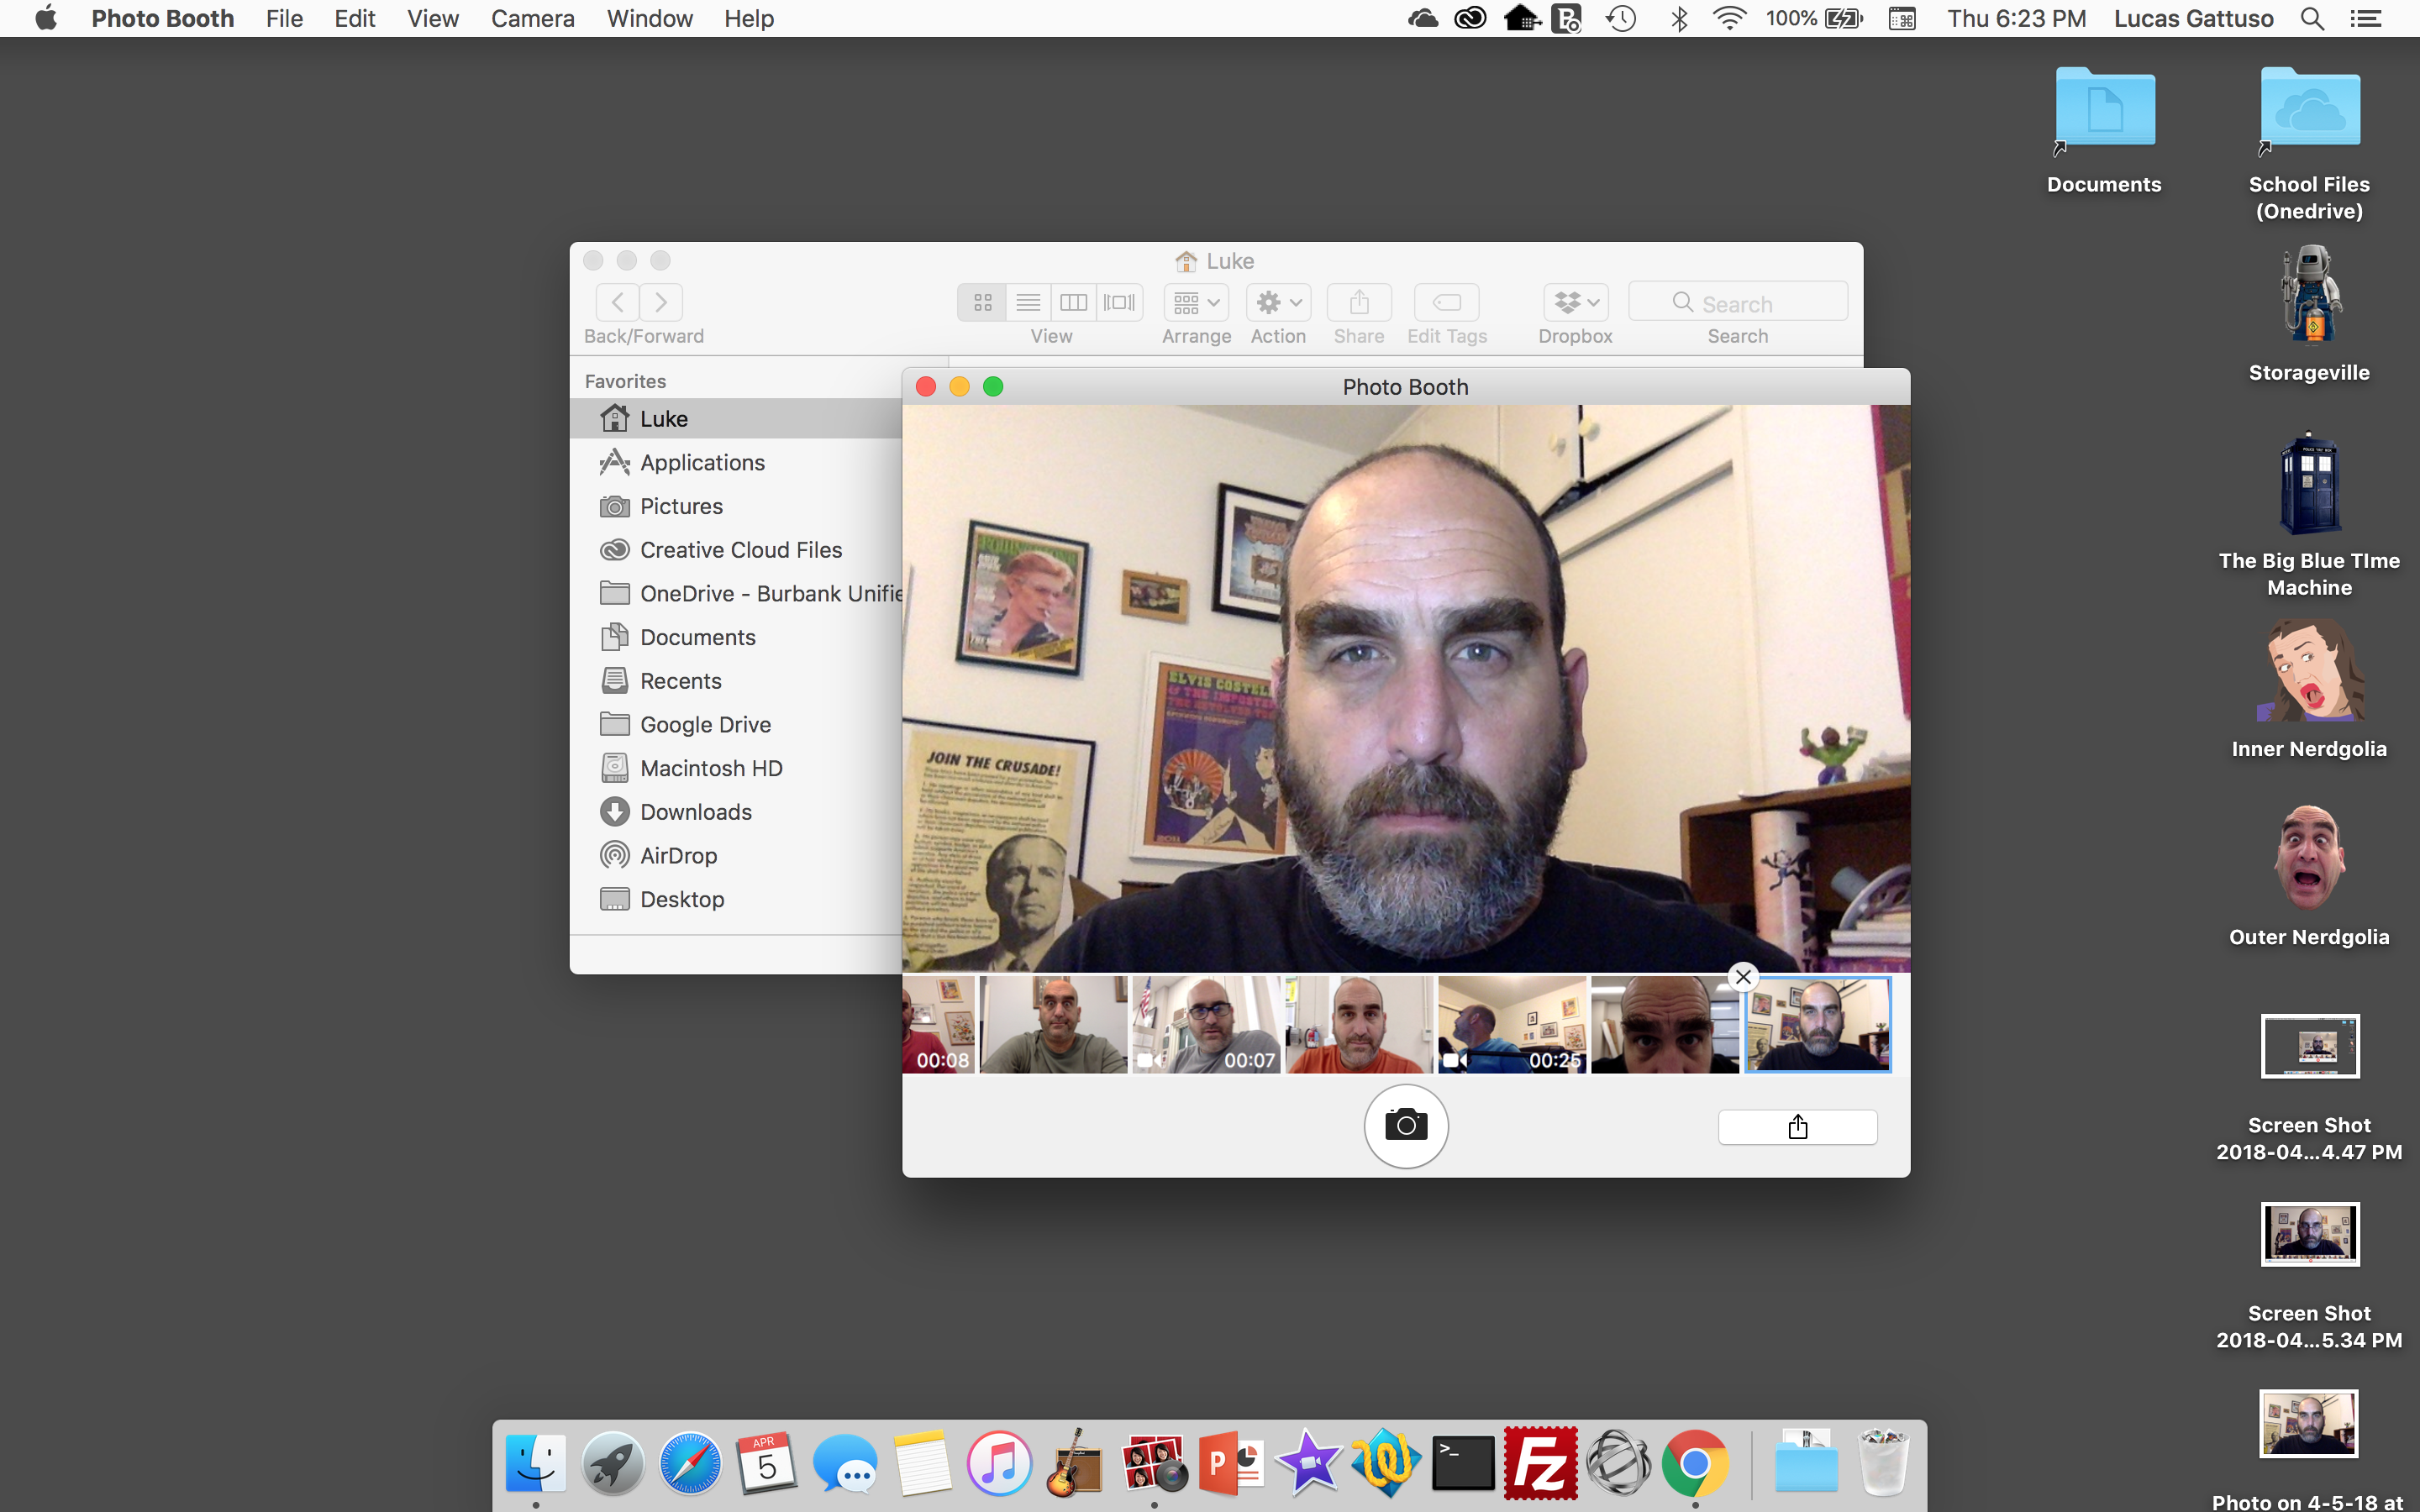
Click and hold on the thumbnail (the small picture) of your photo. Drag the picture onto desktop.
Start Photoshop
On the text menu at the top of the screen, choose File, then Open.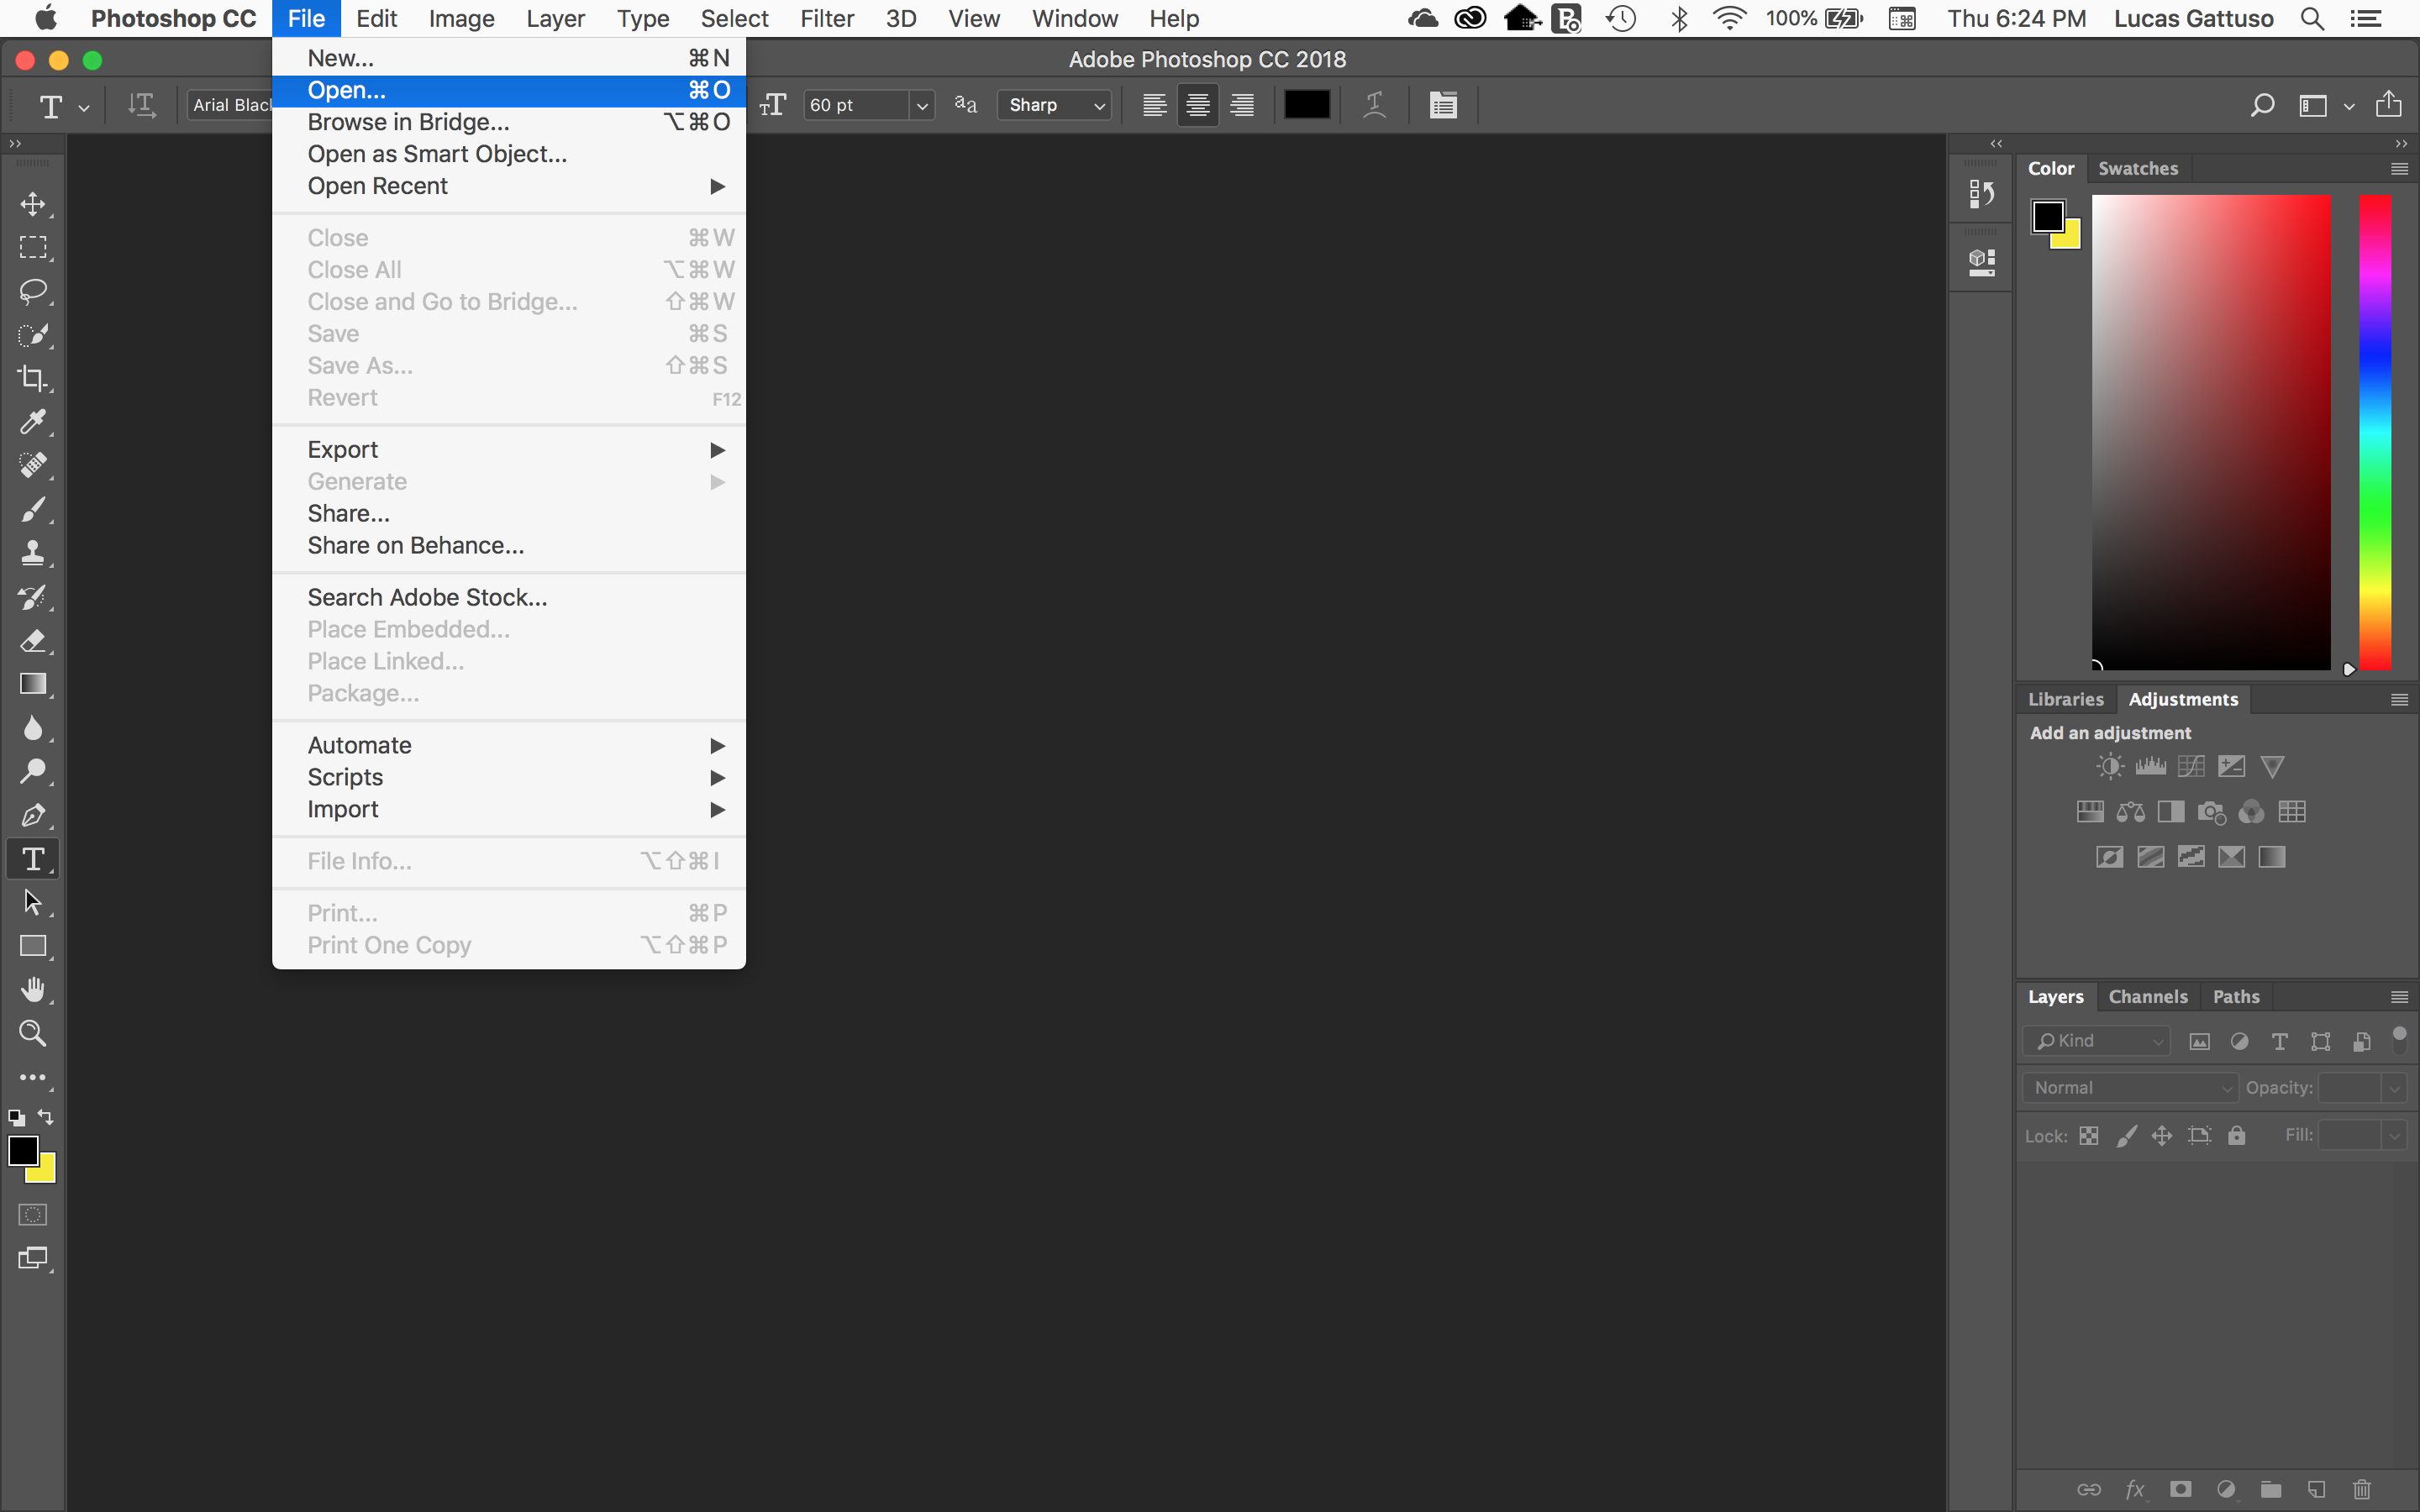
Find your image on the desktop. Select it, then press Open.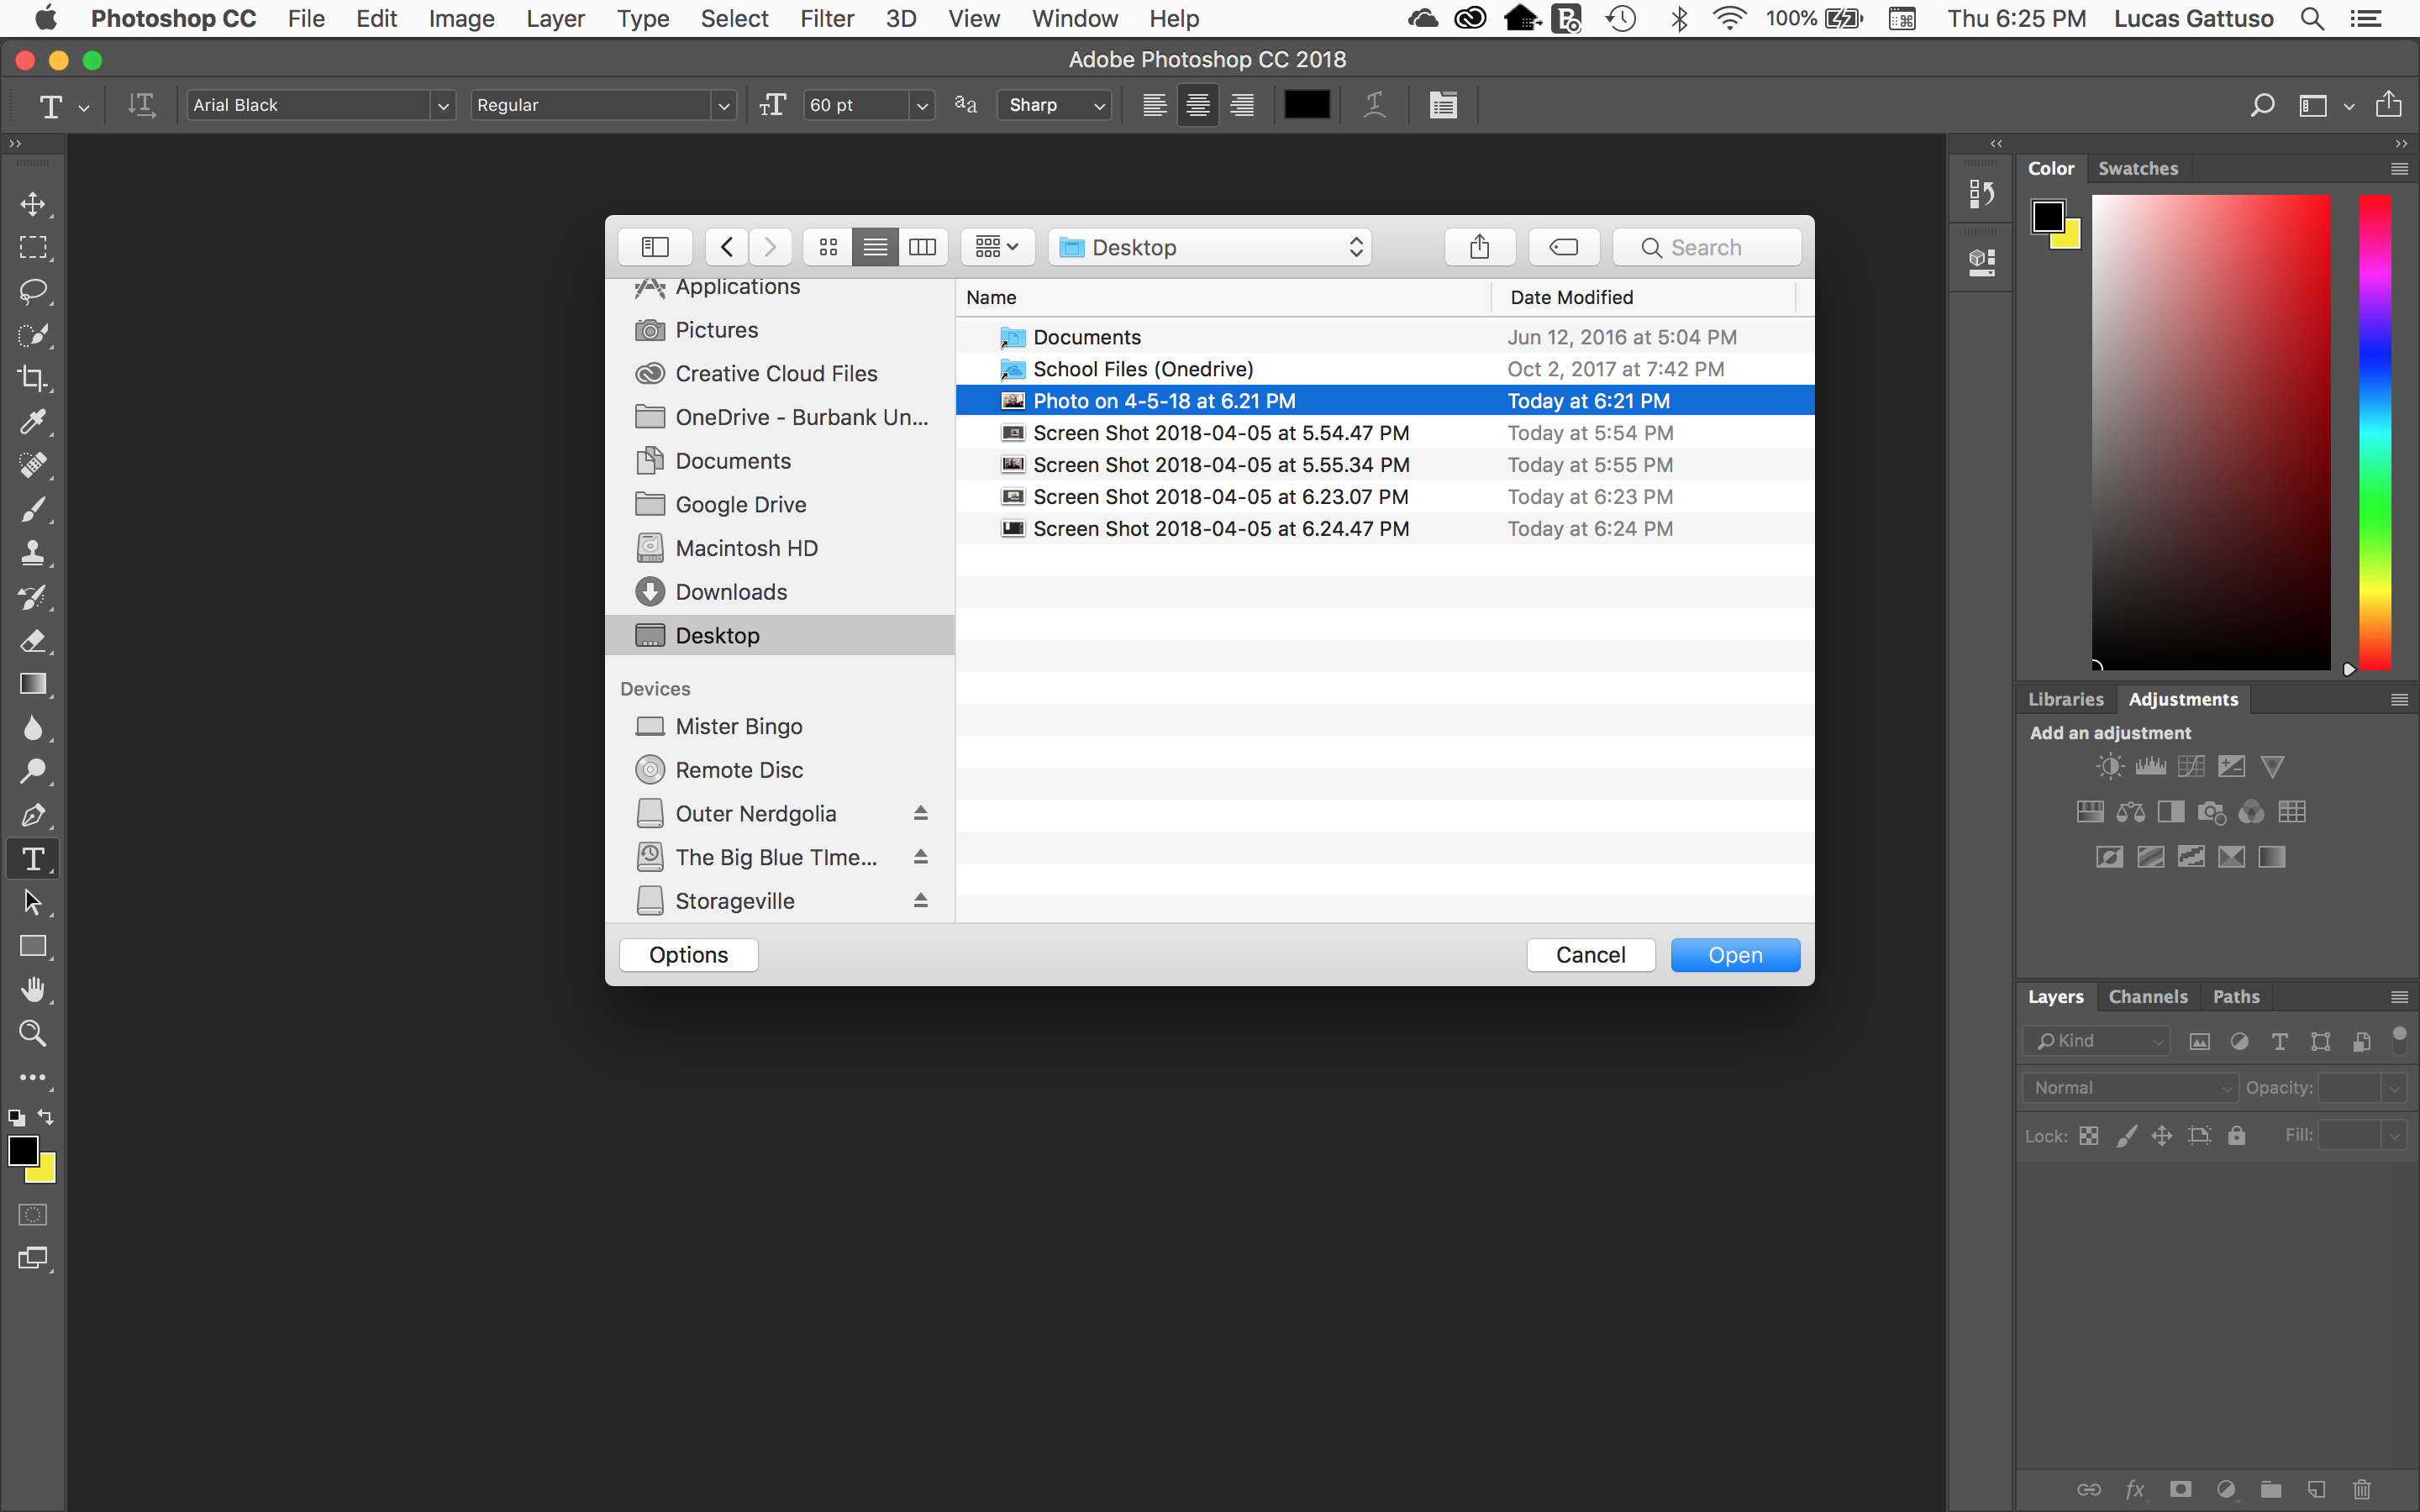
Your image will open in the middle of the screen. A tab with the name of the image will appear in the work area.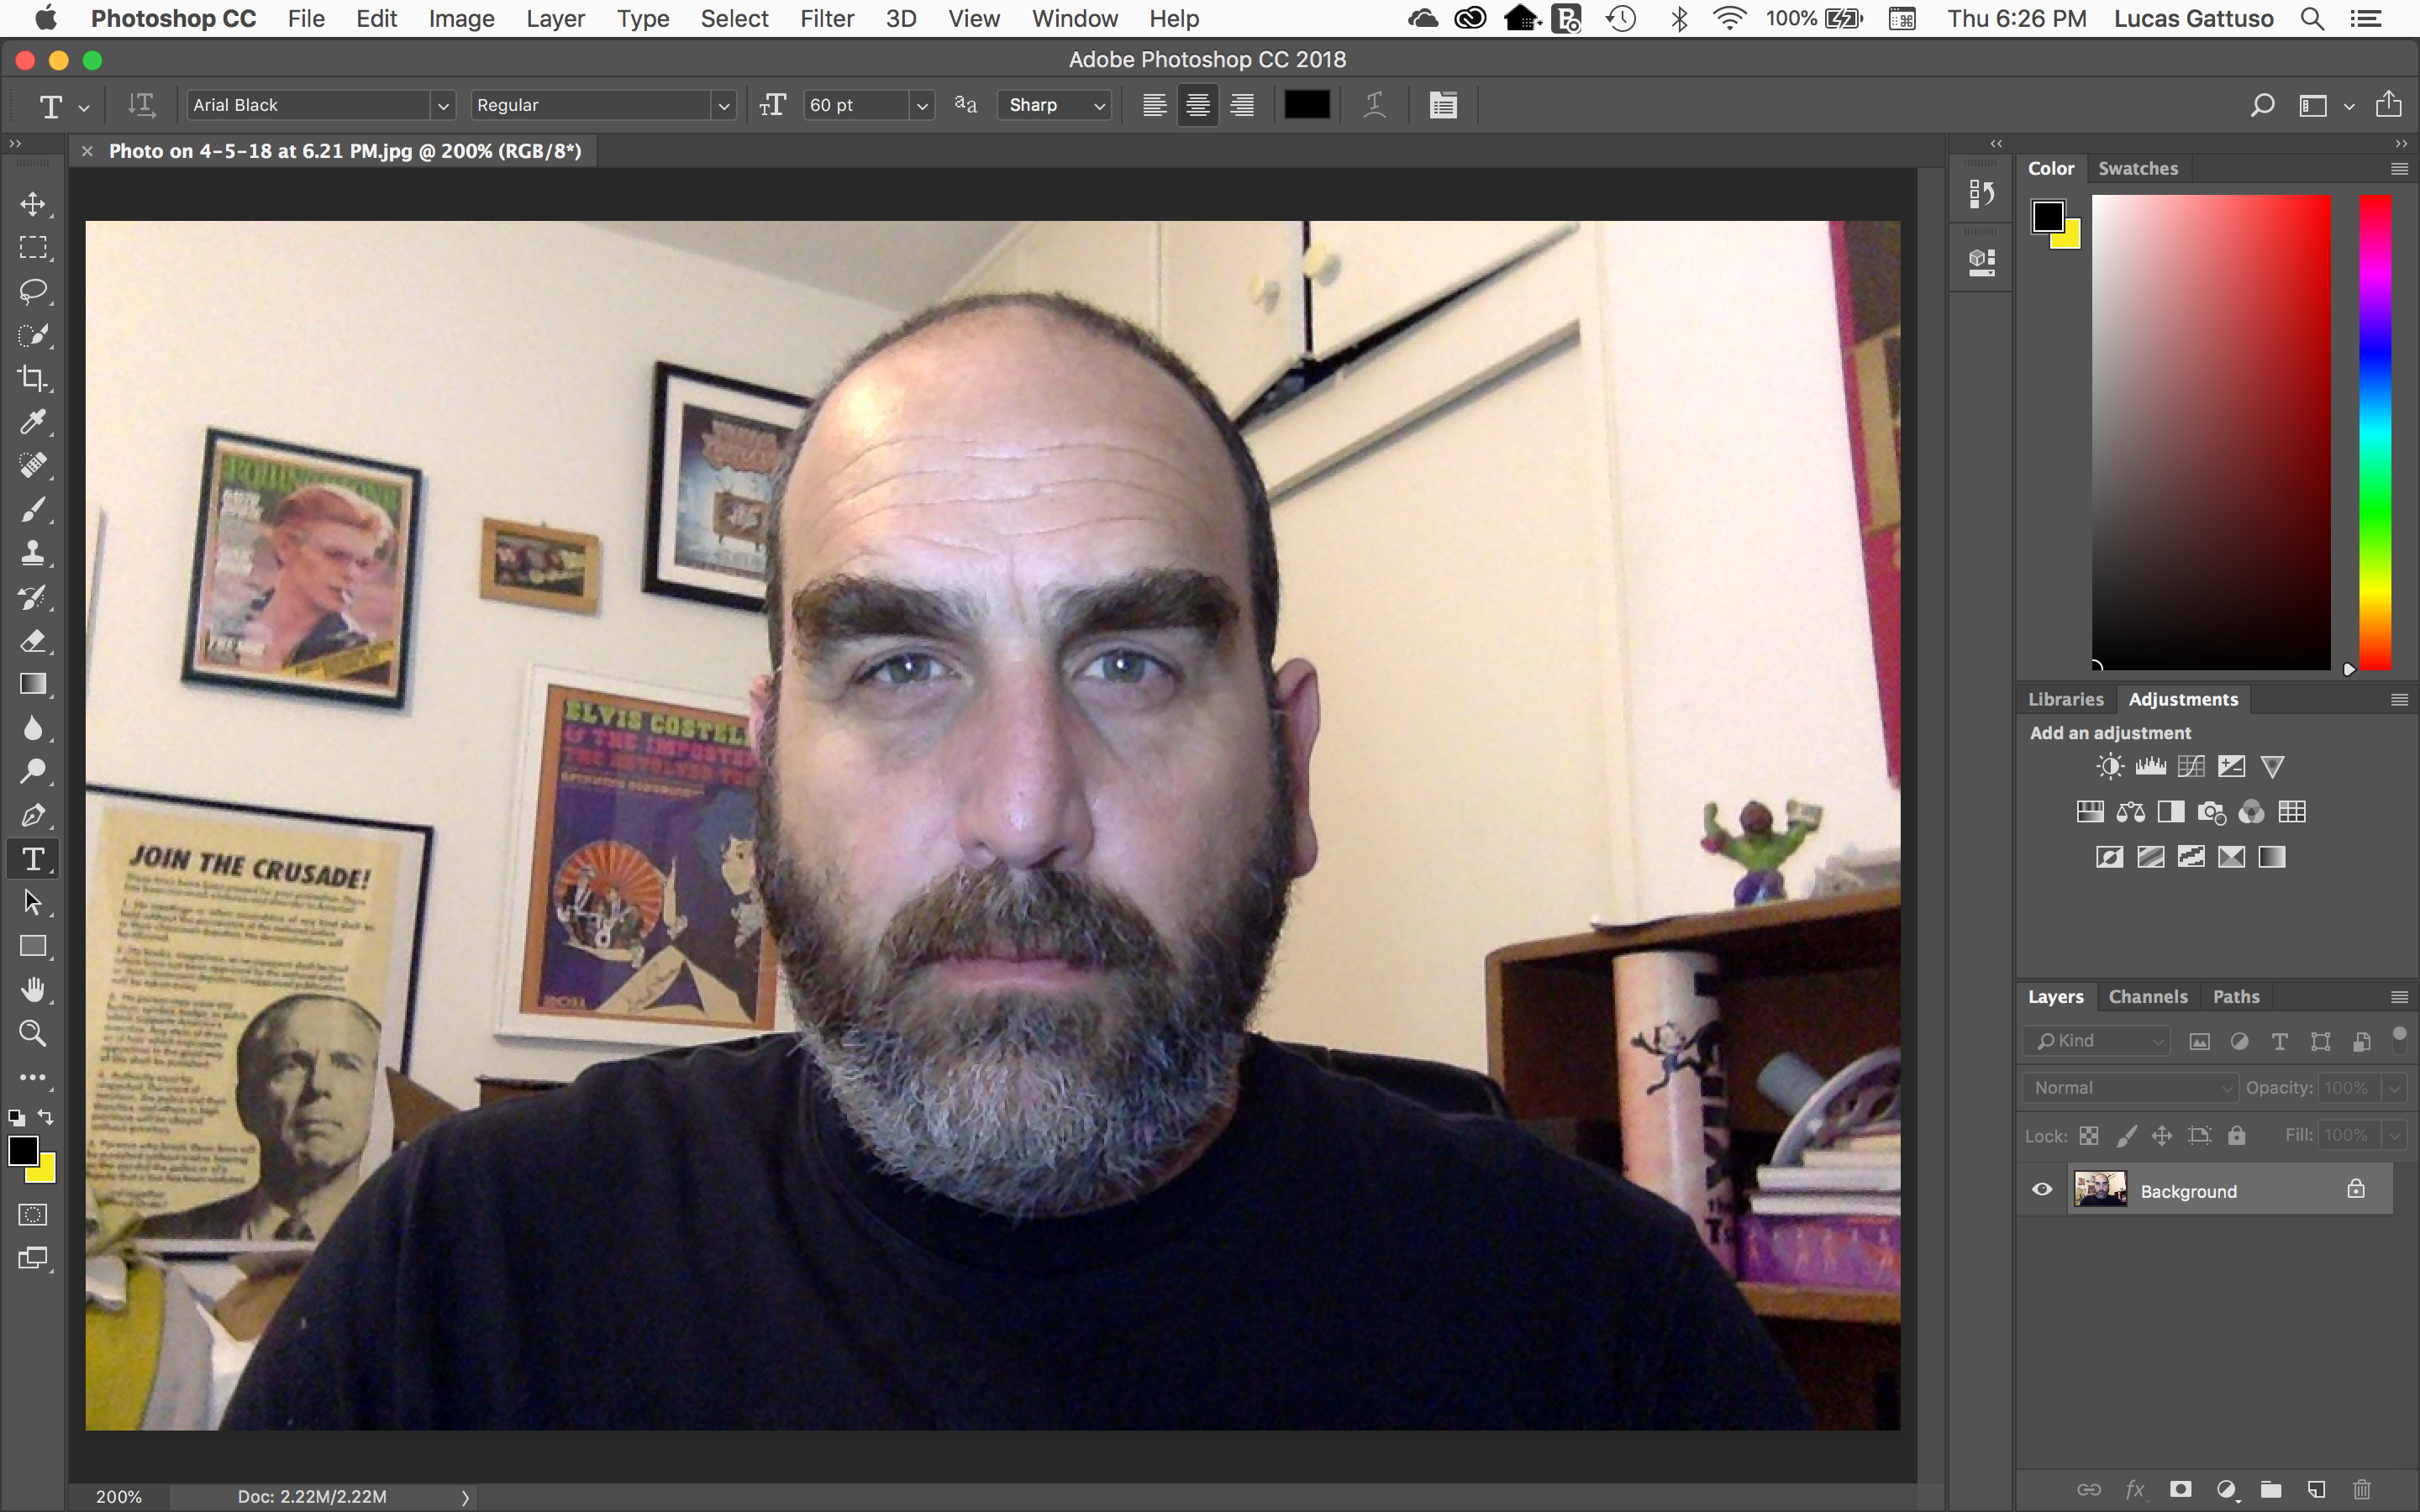
From the tools menu on your left, select the crop tool.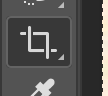
The crop tool cuts off edges of images. When you switch to the crop tool, the context menu (near the top of the screen, right above the image name tab) will change to show controls for cropping images. If you haven’t used it before, it will show a control that says “Ratio.”
Select the arrow to the right of “Ratio” to see a list of crop modes. Select “W x H x Resolution.”
Now there will be three boxes next to W x H x Resolution. They are for the width, the height, and the number of pixels (square dots) it takes to make a line one inch long.
Set the size to 4.5 inches wide, 6 inches high, and 200 pixels per inch.

You’ll see the crop box change shape to match the new width and height.
The crop box has handles on the corners and edges that let you resize it. You can also click inside the box and drag to move the whole crop box around.
Adjust the box so it is mostly filled with your head. Depending on how you took the original picture, it may not need to move much.
Press return on your keyboard (or select “Done” on the Contextual Task Bar) to accept your crop. The sides of your image will be removed.
On the menu at the top of the screen, Select “File,” then “Save as.”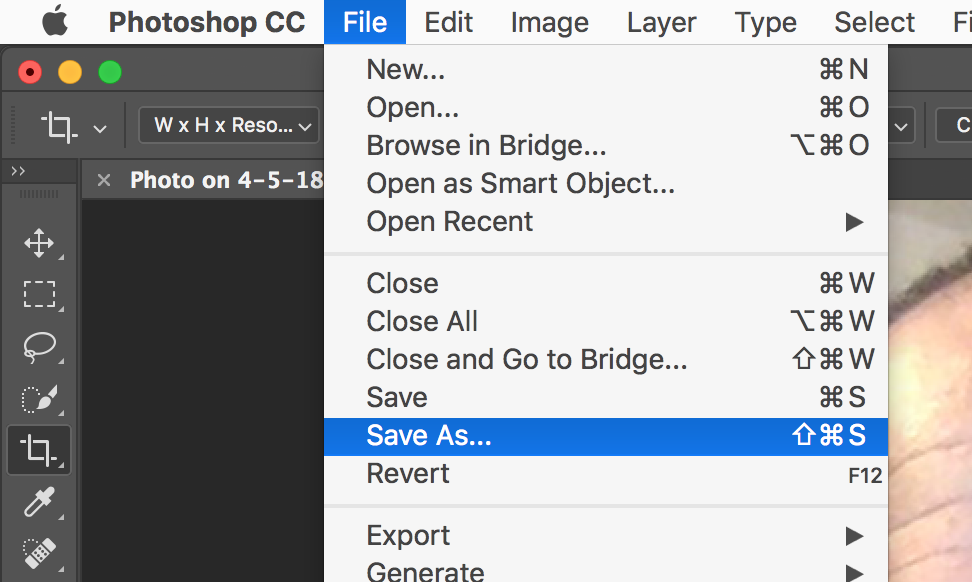
Change the name of the file to “Center Image” and select the Save button.
A “JPEG Options” window will appear. For now, don’t worry about the settings.
Select the OK button.
From the text menu, select “Image,” then “Duplicate.”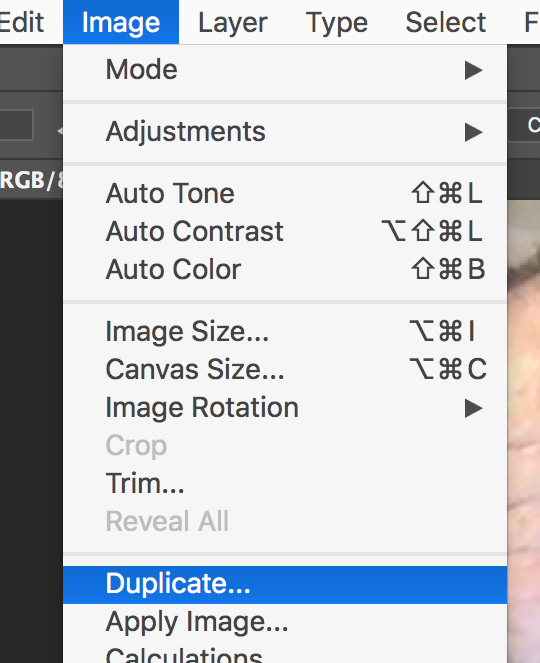
The Duplicate Image window will appear. It will suggest the name “center image copy.” That will work.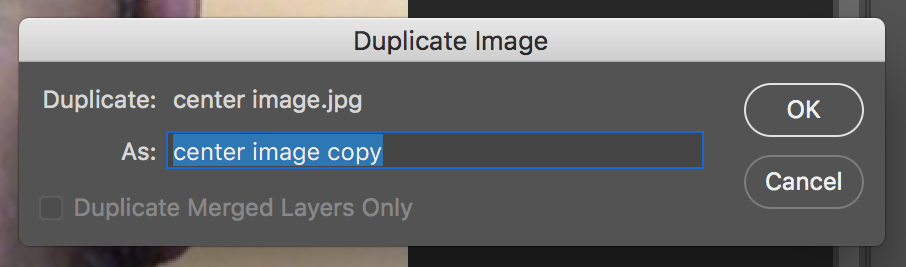
Select OK to close the duplicate image window.
The center image copy file will appear. It may look like it’s a different size, but that only means that Photoshop has changed the zoom (how close you’re looking at the picture).
Both files (center image and center image copy) are now open. You can switch between them by selecting the tabs at the top of the window.
On the text menu, choose “Image,” then “Image Size.”
The Image size window will appear.
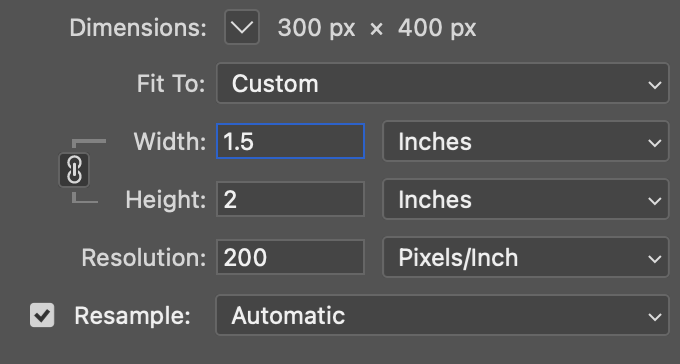
Change the width to 1.5. The height will automatically change to 2.
Select the OK button to resize the picture. it will look pretty small.
Now we’re going to open a third file. This will be the big blank page where we’ll place all of the little pictures.
On the text menu, select “File,” then “New.”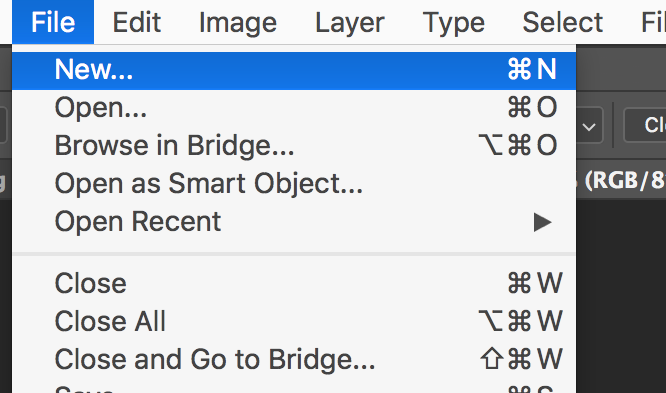 The New File window will open.

On the right side of the window, set up the new image with the settings listed above. Don’t forget to change the name to Multiple Me, and to set the units to inches! A new blank document will appear.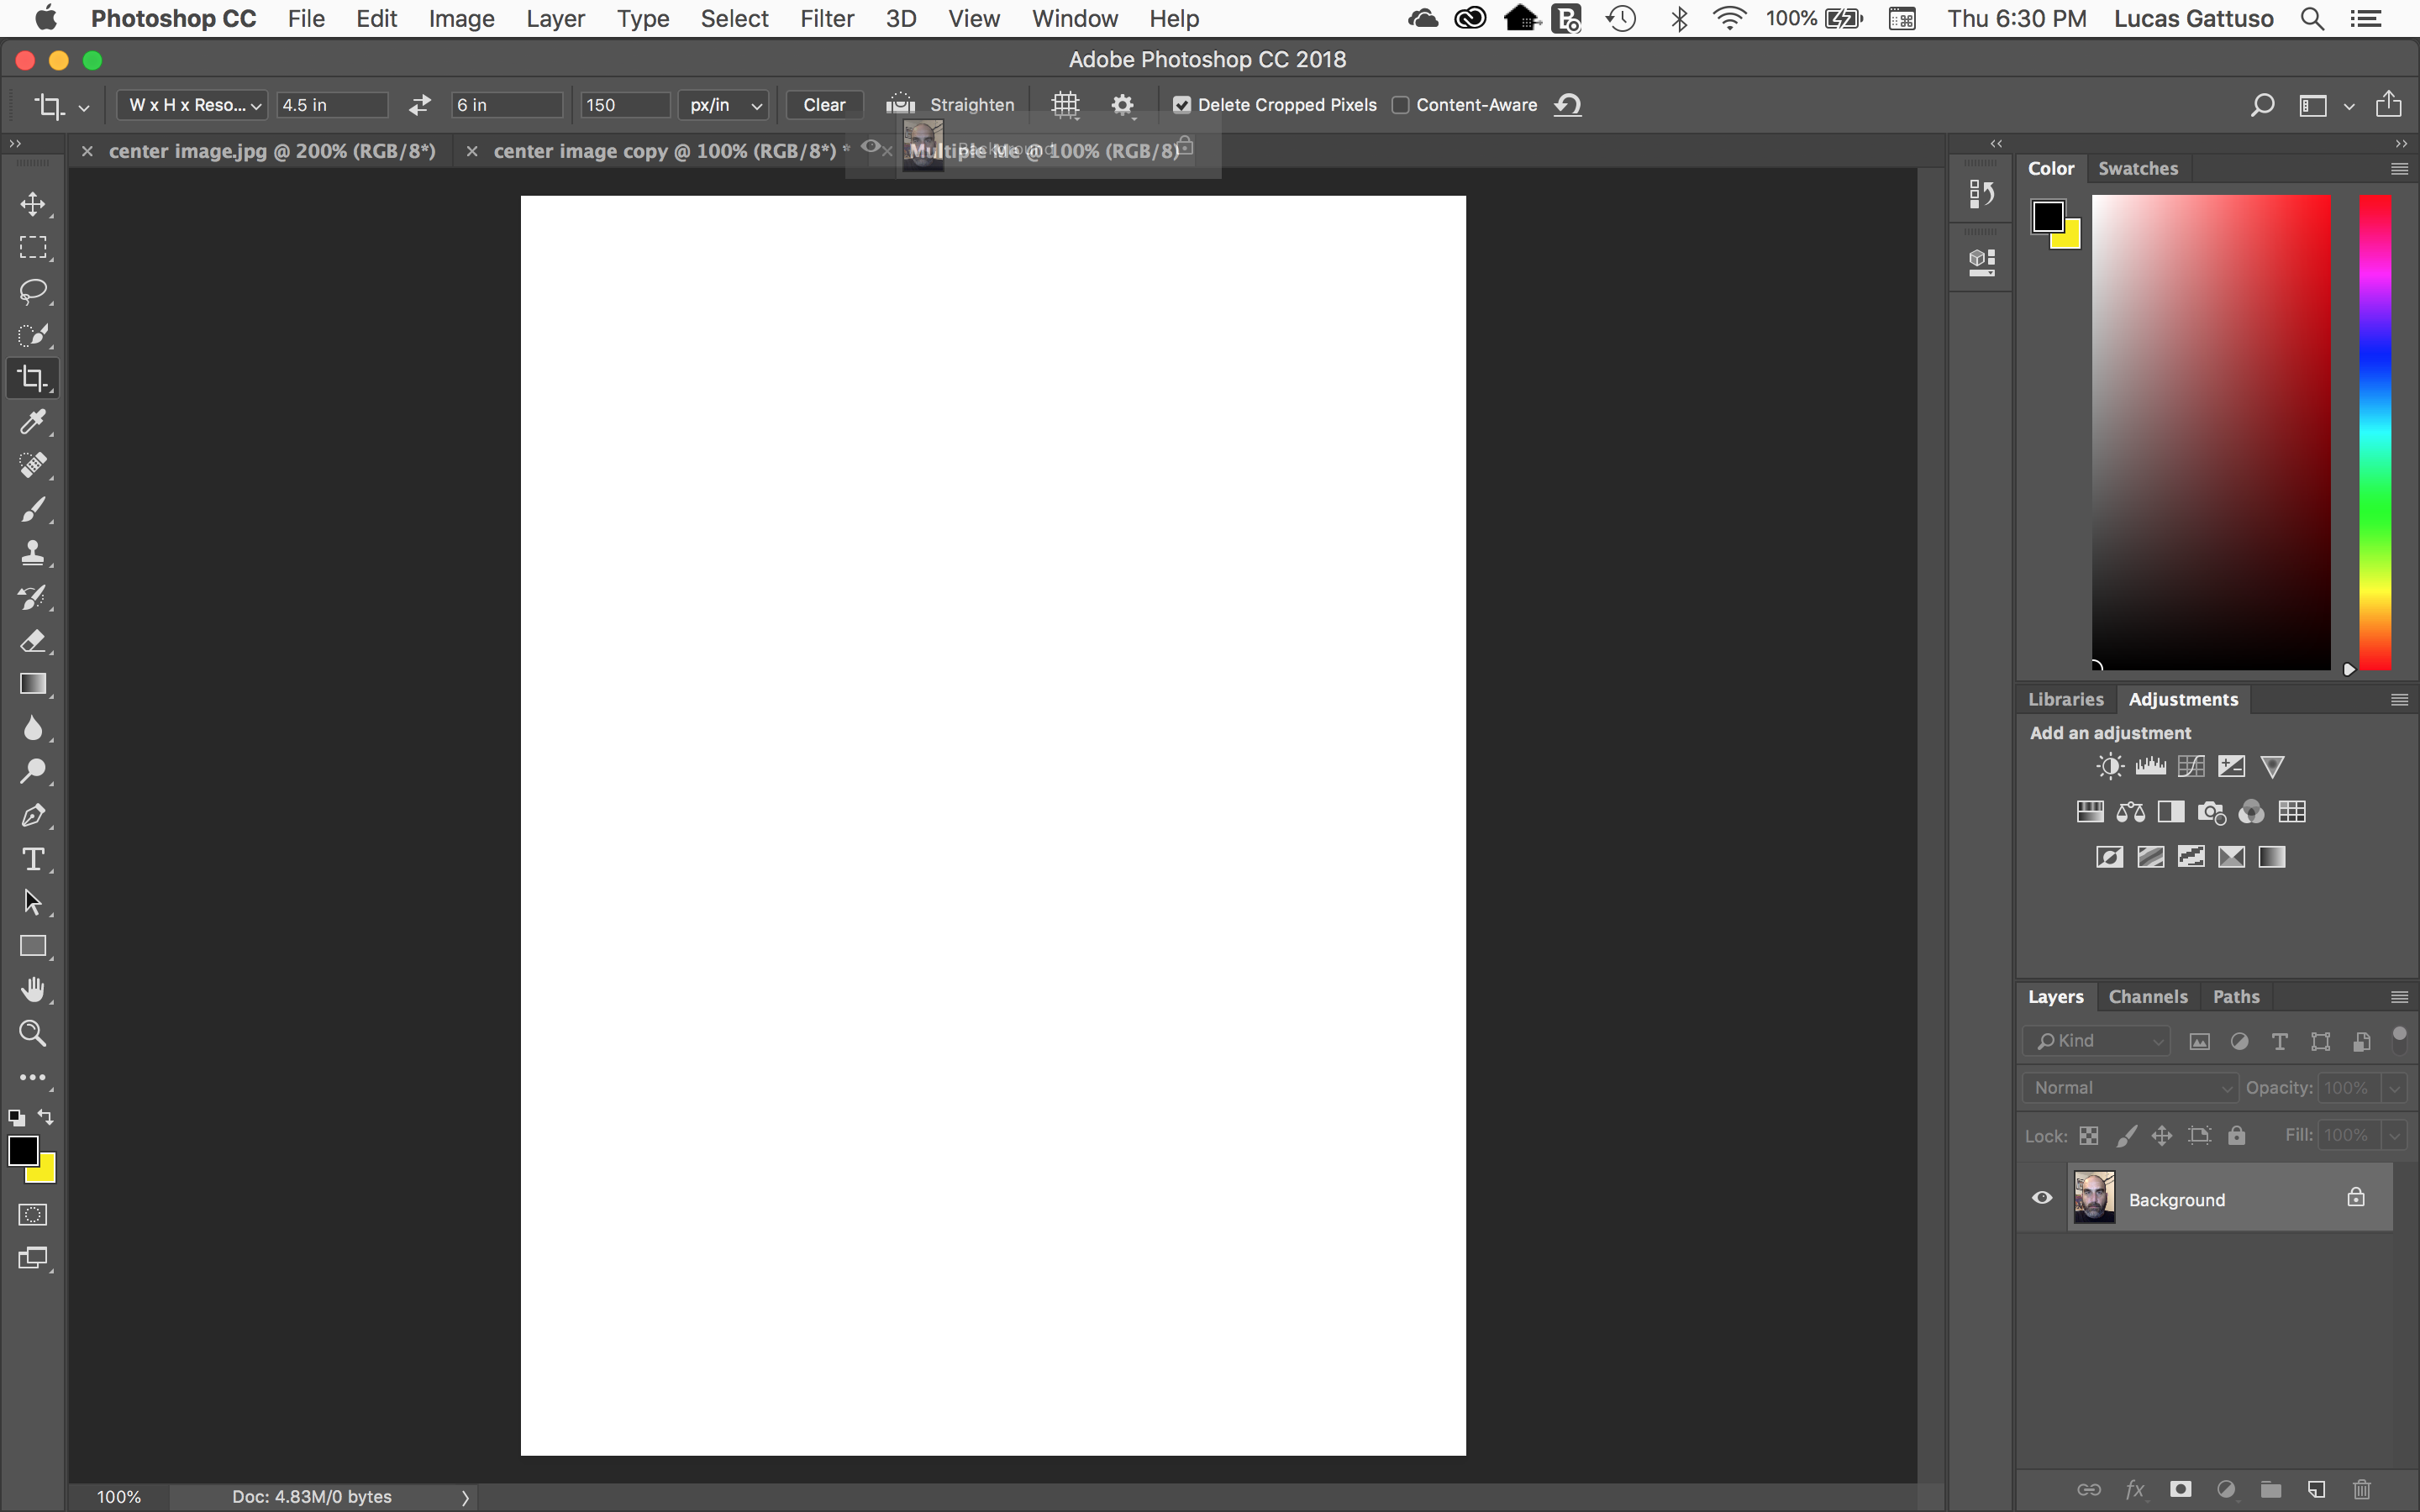
Switch to the “Center Image” tab (at the top of the image window).
On the tool menu, select the Move tool (it looks like four arrows):
On the right side of the screen there is a window called “layers.” It will only show one layer, called “Background.” The layer has a thumbnail (small picture) of the background layer.
Click and hold on the background layer.
Drag the background layer onto the tab for multiple me, but DO NOT LET GO!
STILL holding down the button, drag to somewhere in the middle of the blank file, THEN let go.

Click and drag to move layer one to the center of the image. You’ll know it’s in the right place when crosshairs appear.
Switch to the “center image copy” tab.
On the text menu, select “Filter,” then “Filter Gallery.”
The Filter Gallery window will open. There are multiple sets of filters on the right side of the screen. As you select each one, different controls will appear.
When you find a filter effect you like, select the OK button (top right corner of the window).
Drag your filtered image onto the multiple me file the same way you dragged on the center image, and place it in the corner.
Switch back to the center image copy.
On the text menu, select “Edit,” then “Undo Filter Gallery” to undo the filter.

Continue adding small images around the outside to fill up all the space. Experiment! Use lots of different filters!
You can also change the colors that some filters use by changing the foreground and background colors. look for this:![]()
If you click on those colors, you’ll get a palette that will let you change them.
Sample finished product:

Walkthroughs
Photoshop
This is a very basic walkthrough. There is no voiceover, but the instructions are all shown on-screen.
Photopea
This is a more detailed walkthrough, but some of the instructions are different. This version of the project makes a square image.